MySQL Workbench is a tool that used a very rich Graphical user interface to provide a comprised visual platform for developers and database architectures or Database administrators. In simple words, the developers or administrators can visually design, generate, manage and model the databases directly from the interface of the MySQL Workbench.
In addition to data modelling the MySql Workbench also provides SQL development, build SQL queries, manage MySQL servers; other admin tools for database backup and recovery; configuring servers, users; audit data, monitoring, database health and more…
MySQL Workbench enables the developers to perform all kind of data modelling require for complicated ER models, forward and reverse engineering. From the Dashboard of the MySQL Workbench, the Database administrators can quickly view the performance reports and also get an idea where is the bottleneck and where the optimization is needed.
The best part is though MySQL-Workbench is an open source tool, available to all major and operating systems such as Windows, Linux and MacOS.
In this tutorial, we will show how to install MySQL Workbench on Ubuntu using command terminal.
Installing MySQL Workbench is super easy using the Ubuntu package manager. We are using Ubuntu 18.04 for this tutorial but you can use given steps on older versions too such as Ubuntu 17.04, 16.04, 15.04, and so on…
- First Go to your Ubuntu Desktop or server Linux Operating system.
- Open the Command Terminal. The keyboard shortcut for it is CTRL+ALT+T.
- After opening the Ubuntu Command Terminal, first, run the command to update and upgrade the Ubuntu.
-
sudo apt update
-
sudo apt upgrade
-
- Once the system updated, run the below command to download and install the MySQL Workbench on Ubuntu using Ubuntu package manager.
-
sudo apt install mysql-workbench
-
- Now run the Ubuntu MySQL Workbench using the command:
-
mysql-workbench
-
- The above command will start the Workbench, however, you can explore more command of its by seeing the help section.
-
mysql-workbench --help
-
- After successful installation move to next step for configuration.
Usage overview MySQL Workbench on Ubuntu
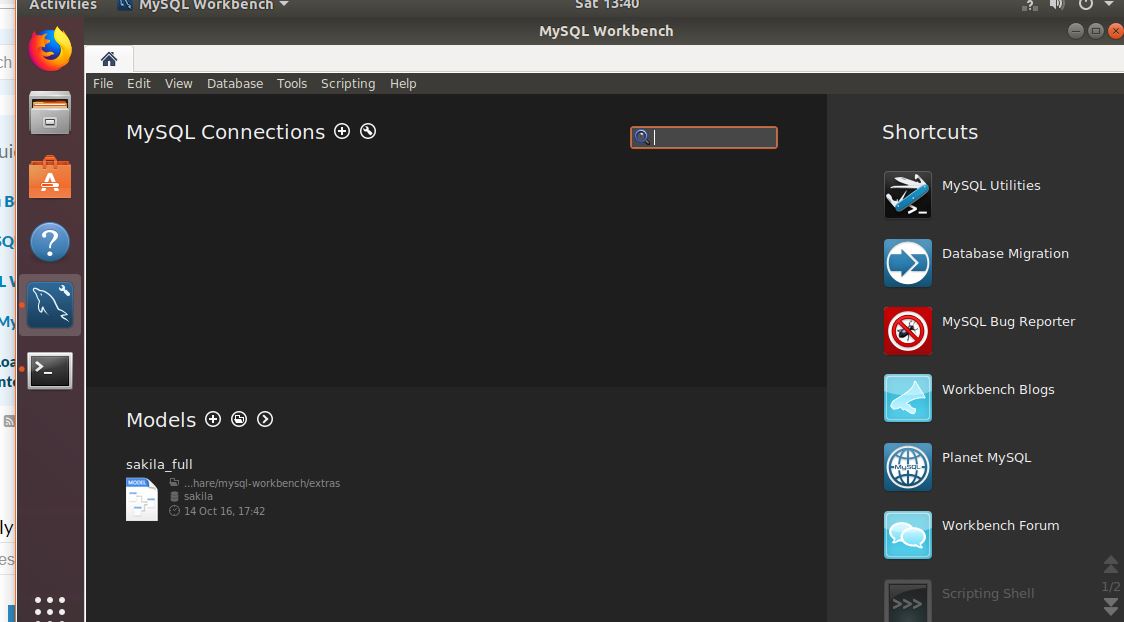
If you are new to this tool and after installation, you want to have a look at how it works. Then you can click on the sample database provided by the MySQL called Sakila database.
To access the demo database click on the Sakila full database icon.
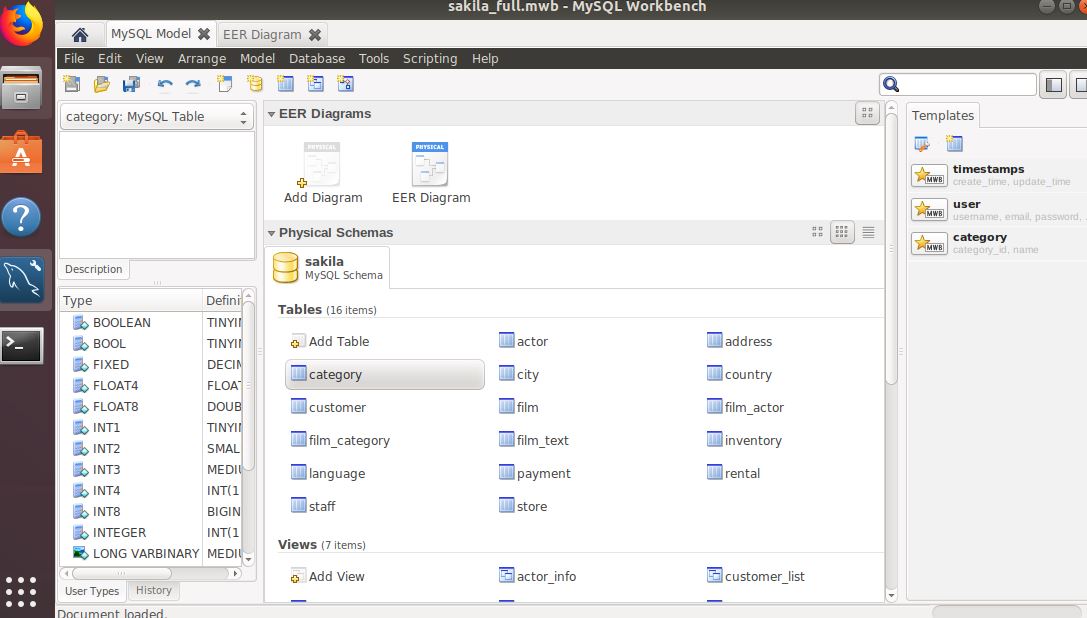
Once it will you will get two tabs:
One shows the ER (Entity-relationship) diagram
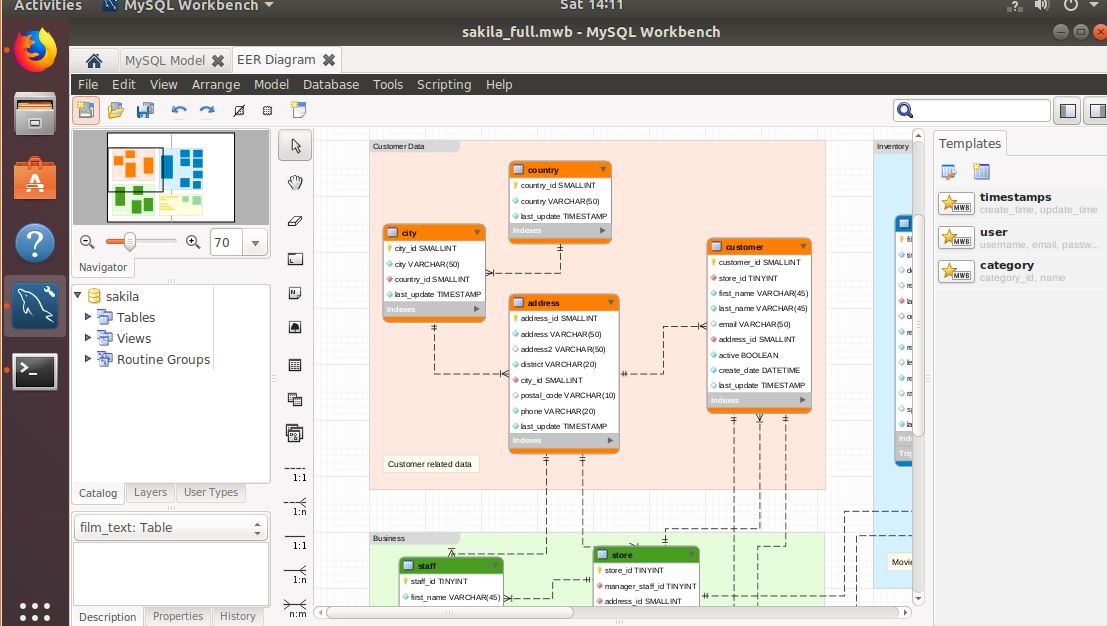
And the other one will show the Database model
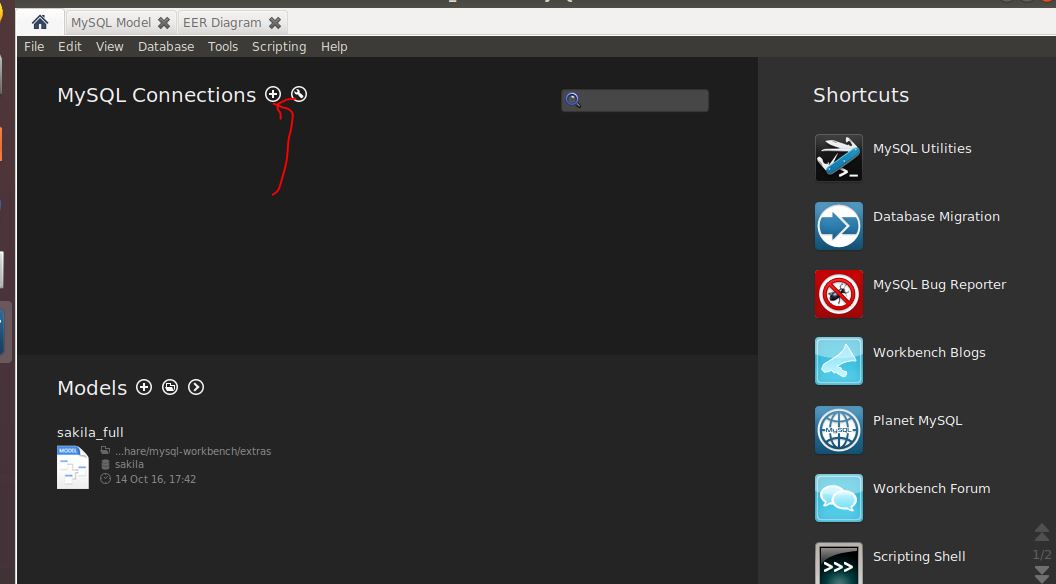
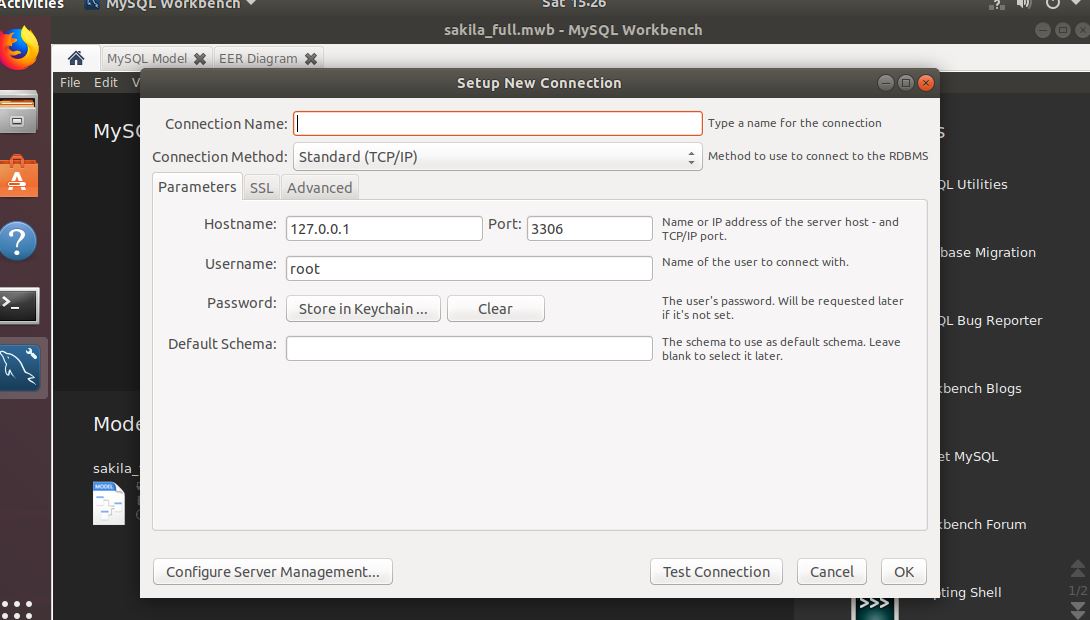
If you want to access your own Database into MySQL-Workbench then from the home screen of the tool click on the + icon.
Now add the details of your MySQL database. Given some name to your new connection and then select the method by which you want to connect the MySQL. And then the IP address of MySQL server and username plus password associated with that databse. Then click on the OK button.
For further MySQL Workbench, you can refer to the official site: Link
Command to uninstall MySQL workbench ubuntu
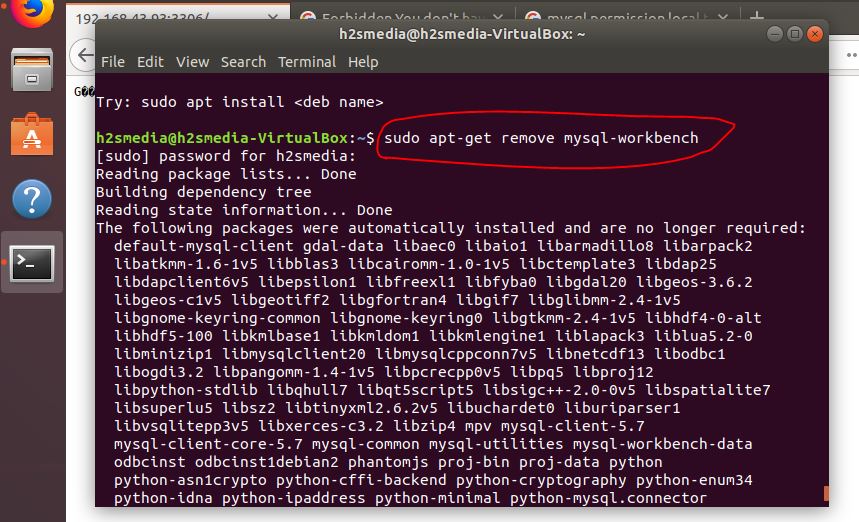
To uninstall MySQL Workbench on Ubuntu, first close and save you Database projects and then close the workbench too. Then get back to Ubuntu command terminal and run the below command to remove the MySQL-Workbench.
sudo apt-get remove mysql-workbench
Other Resources:
- How to Uninstall MySQL in Ubuntu Linux
- Tutorial to restart Apache and MySQL in CentOS/RHEL/Fedora/Scientific Linux version
- How to Change MySQL user password in Linux
- How to Create a Database in PHPMyAdmin
Related Posts
How to Install SQL Server Express on Windows 11 using PowerShell or CMD
Install Apache, PHP & MYSQL on Windows 11 | 10 using CMD
How to create a Mysql Database on Amazon LightSail
How to install only PSQL client in Windows 11 or 10?
What is Pandas Read SQL?
PopSQL Editor Software Review: Write queries, visualize data, and share results