Are you looking for one of the best open source chat software to communicate with your team in real time? Then think about Rocket Chat.
What is Rocket chat app?
It is self-hosted free and open source chat solution and best alternative to other open source chat software like Slack for team communication. It allows companies or any group to create their own online chat platform to communicate and collaborate using team chat, even video or audio calls with screen sharing can be possible with Rocket chat for more efficient teamwork.
The Rocket chat is divided into two sections server and client. We can install server on Linux OS such as Debian and Centos. However, here we are using Debian based Ubuntu for Rocketchat server installation. Whereas the client of the Rocketchat is a cross-platform app available for Windows, Linux, MacOS, Android and iOS.
It is real-time or asynchronous team chat open source which means no delay in discussing and sharing ideas, project and files.
Note: We are using the Ubuntu 19.04 for Rocket Chat, however, the installation steps and the process will be the same for Ubuntu 18.10/18.04;17.10, 16.10, 16.04. 15, 14.04; plus Debian, Linux Mint, Elementary OS and other Debian based.
You can install RocketChat server on Ubuntu using two methods one is SNAP and other is manual by adding each and every dependency. Will show both.
Installing Rocket Chat server on Ubuntu 19.04 using Snap
Recommended method: It is the most simple and straight forward way to install the Rocket Chat server on Ubuntu without any headache of setting up different things. Just type single command and Puff! You are done.
Using Snap
In Ubuntu 19.04, the snap is installed by default, however, for older versions, we need to install it first:
sudo apt-get install snapd
After the Snap installation, type the Rocket chat server installation command:
sudo snap install rocketchat-server
Wait for a few minutes and when it completes open the browser and type:
http://localhost:3000
Second method- Manually install Rocket chat
In this method, we will install each and everything one by one for Rocket.Chat on Ubuntu 18.04
Step 1: Install necessary Rocket chat dependencies on Ubuntu
sudo apt-get install dirmngr
sudo apt-get install curl graphicsmagick build-essential
Step 2: Install MonogDB for Rocket Chat
The installation of RocketChat Ubuntu needs a MongoDB for data storage, so here are the commands for its installation. While writing the article the latest version was 4.0. You can see the later updates of MongoDB from here.
sudo apt-key adv --keyserver hkp://keyserver.ubuntu.com:80 --recv 9DA31620334BD75D9DCB49F368818C72E52529D4
echo "deb [ arch=amd64 ] https://repo.mongodb.org/apt/ubuntu bionic/mongodb-org/4.0 multiverse" | sudo tee /etc/apt/sources.list.d/mongodb-org-4.0.list
sudo apt-get update
sudo apt-get install -y mongodb-org
Add MongoDB to automatic startup with boot
systemctl enable mongod
systemctl start mongod
To upgrade the MongoDB to latest just run the apt-get update command.
Step 3: Install Node.js & NPM
sudo apt-get update && sudo apt-get install -y curl && curl -sL https://deb.nodesource.com/setup_8.x | sudo bash -
sudo apt-get install -y nodejs
sudo npm install -g inherits n
sudo n 8.11.3
Step 4: Install Rocket Chat
sudo curl -L https://releases.rocket.chat/latest/download -o /tmp/rocket.chat.tgz
sudo tar -xzf /tmp/rocket.chat.tgz -C /tmp
sudo cd /tmp/bundle/programs/server
sudo npm install
sudo mv /tmp/bundle /opt/Rocket.Chat
cd..
sudo cd opt/Rocket.chat
Configure the Rocket. Chat service
Add a user for Rocket Chat:
sudo useradd -M rocketchat && sudo usermod -L rocketchat
sudo chown -R rocketchat:rocketchat /opt/Rocket.Chat
Assigning an IP address and Port to Rocket chat
Change the line “your-server-IP-address” with your server Ip address which you want to use to access the RocketChat.
export ROOT_URL=http://your-server-IP-address:3000/
export MONGO_URL=mongodb://localhost:27017/rocketchat
export PORT=3000
sudo systemctl restart mongod
node main.js
Trivia: If you want to create Rocket chat service that automatically starts with the system in the background then use the following commands:
sudo npm install -g forever
sudo npm install -g forever-service
sudo forever-service install -s main.js -e "ROOT_URL=http://you-server-ip/ MONGO_URL=mongodb://localhost:27017/rocketchat PORT=3000" rocketchat
Commands to interact with service Rocketchat:
Start – “sudo service rocketchat start”
Stop – “sudo service rocketchat stop”
Status – “sudo service rocketchat status”
Restart – “sudo service rocketchat restart”
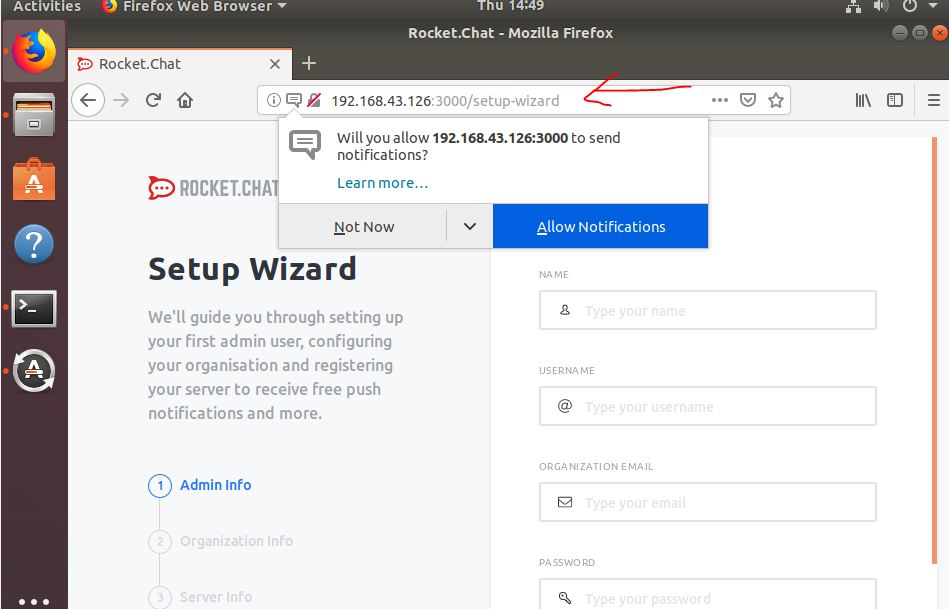
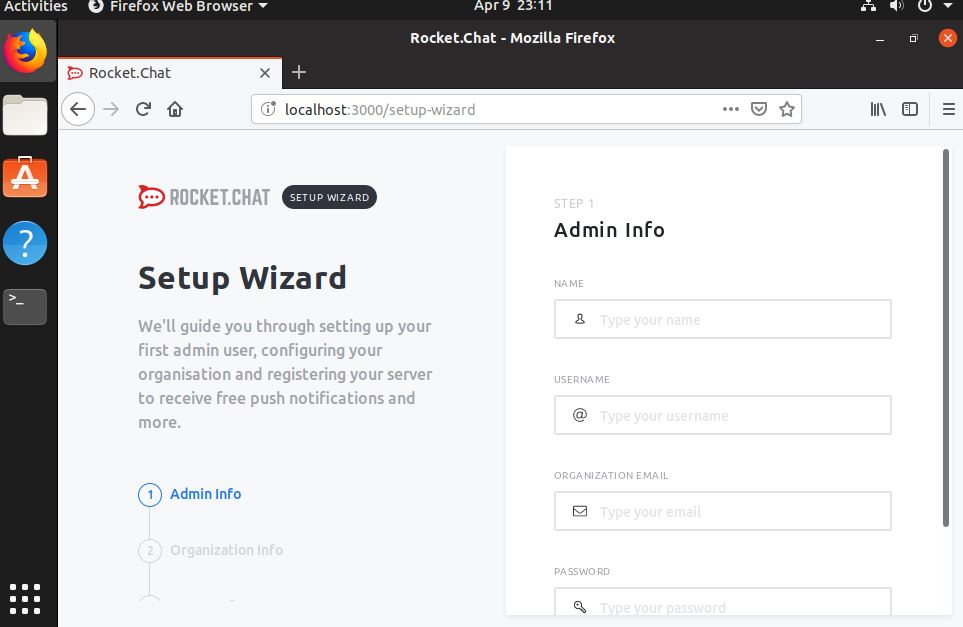
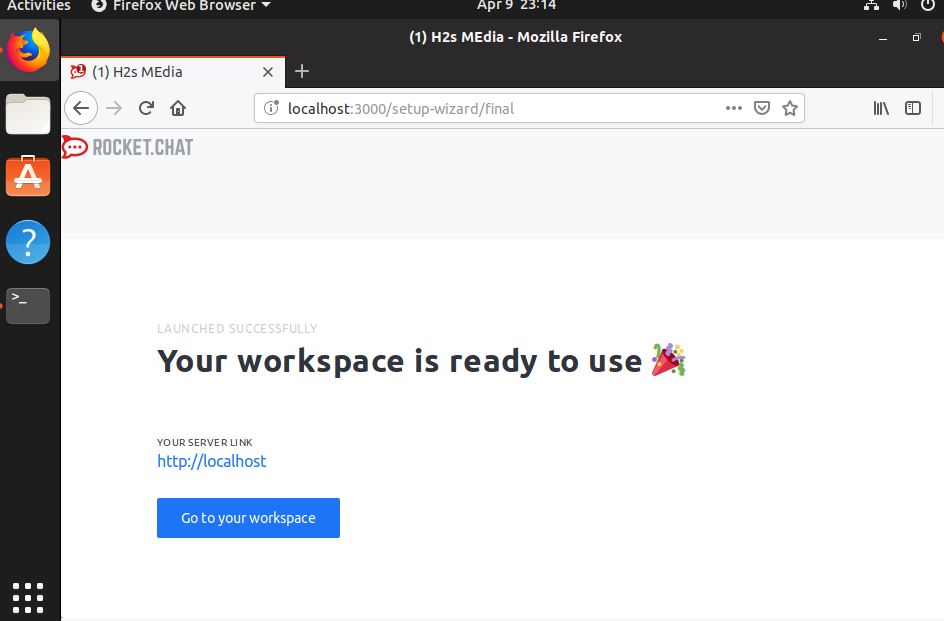
Setup Rocket Chat
After installing the Rocket Chat, go to your browser and access it with the server Ip you have set for it during the installation along with the PORT 3000.
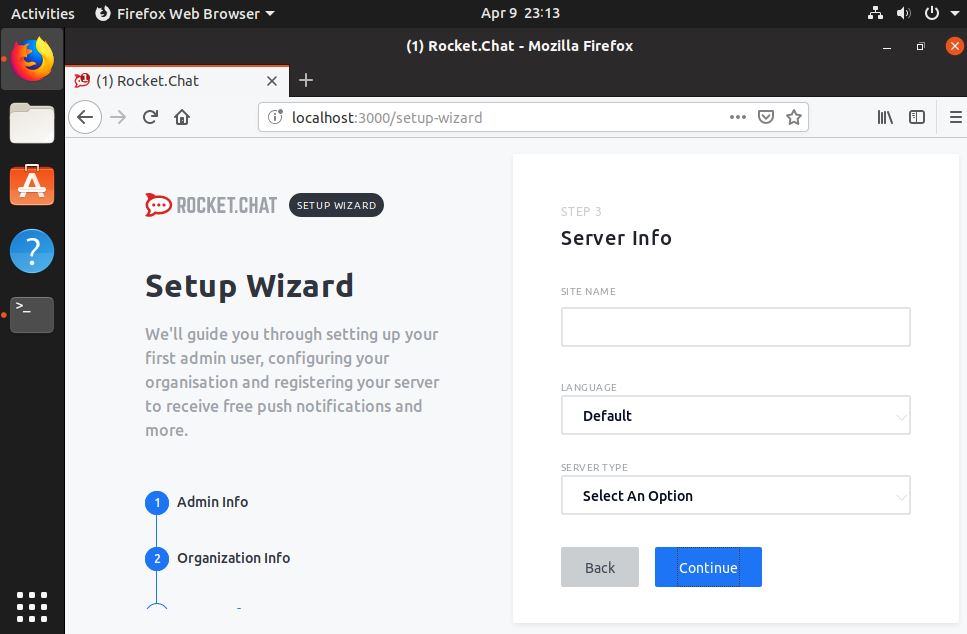
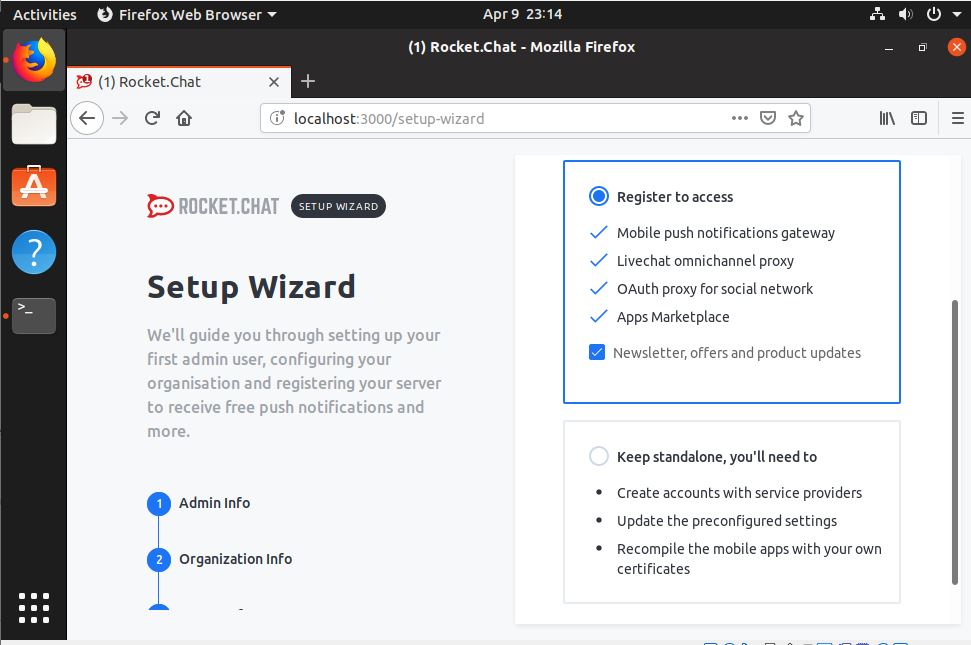
The setup wizard will appear to configure provide info such as Organization details, Admin Username and Password, Server Info and rest of.

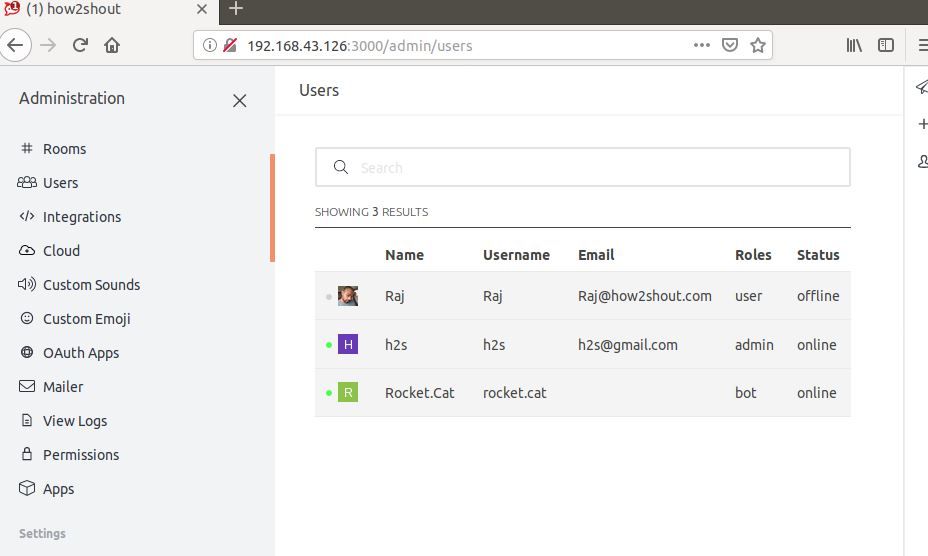
Add users to RocketChat
From the Interface of Rocketchat, click on the three dots given on right corner of the left side panel and select the Administration

Click on the Users option and then Plus icon ‘+’ given on the right side of the screen and add the user for Rocket Chat.
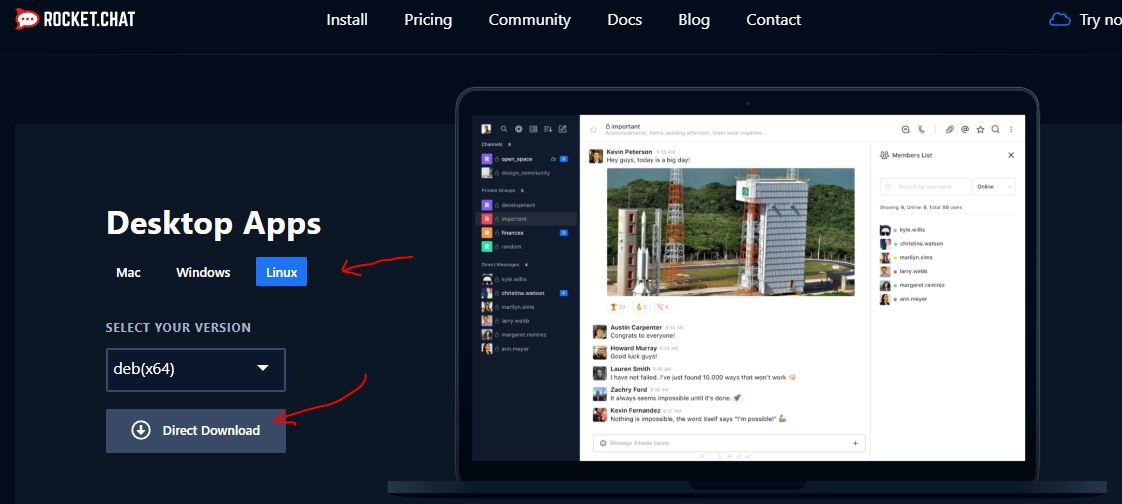
Install Rocket Chat Client on Ubuntu
1. Go to the Rocket chat client download page and download it as per your platform. It is available for Windows, Linux, MacOS, Android and iOS. Here we will install it for Linux (Ubuntu, Debian, Linux Mint, and Elementary OS ).
2. Select the Linux option and then direct download.
3. Either go to your Downloads folder and double click on the downloaded Rocketchat client Debian package and the Ubuntu Package manager will pop-up to install it. Or Just open the command prompt switch to Downloads directory and run the dpkg command.
cd Downloads
sudo dpkg – (name of the Rocketchat Debian package)
In our case it was like:
sudo dpkg -i rocketchat_2.15.1_amd64.deb
So, use your downloaded client package name and hit the enter button to install it.
Then go to ubuntu Application and search for Rocket
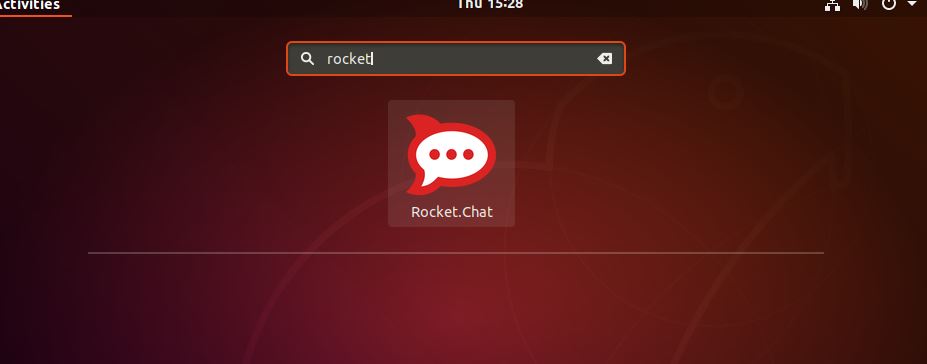
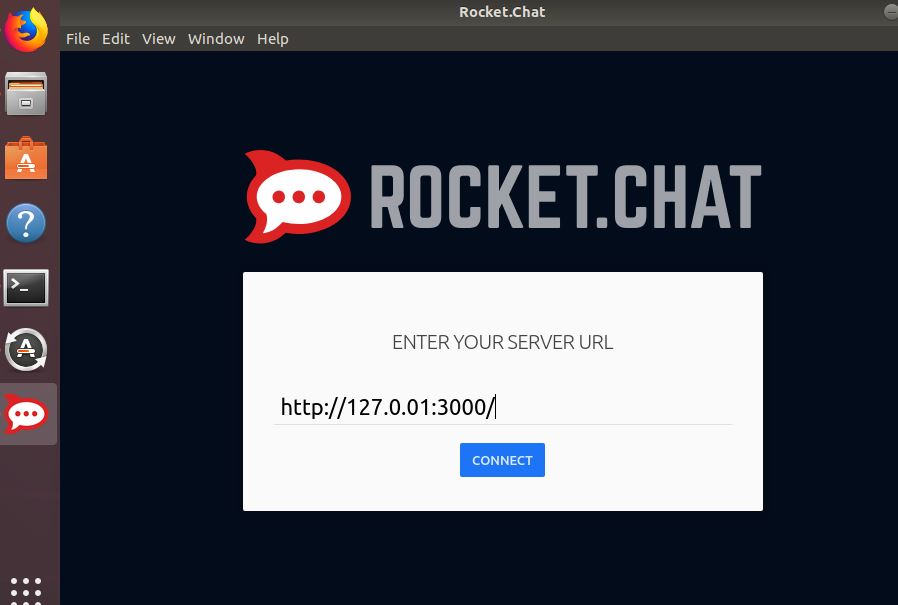
Open it and enter the Rocket Server IP which you have created to connect the Client app and hit the Connect button.
As my Rocket chat server was installed locally and the same system used for the client installation, so that’s why I used the localhost IP address to connect it, however, you must enter the IP address of your Rocket chat server.
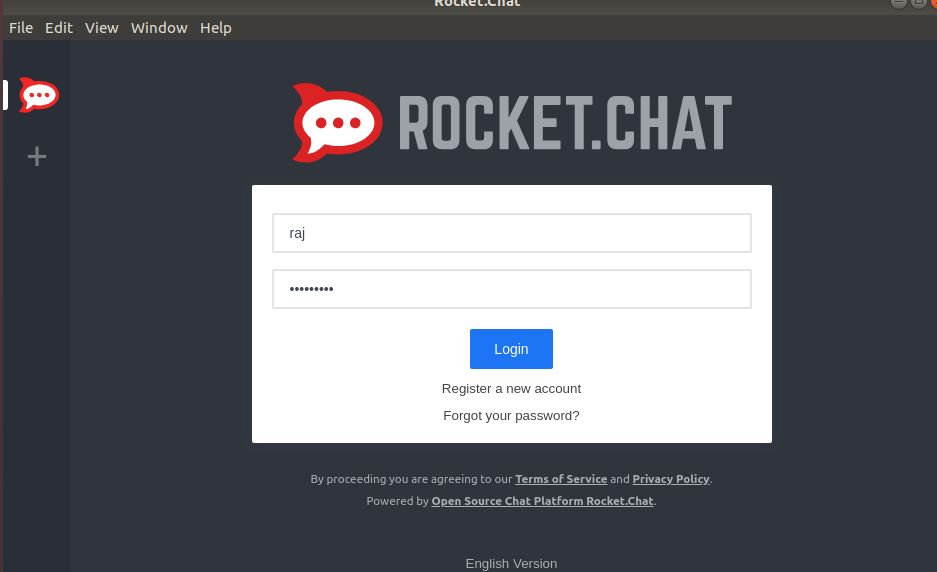
Enter the Username and password of the user account which should be created on the Rocket chat server.
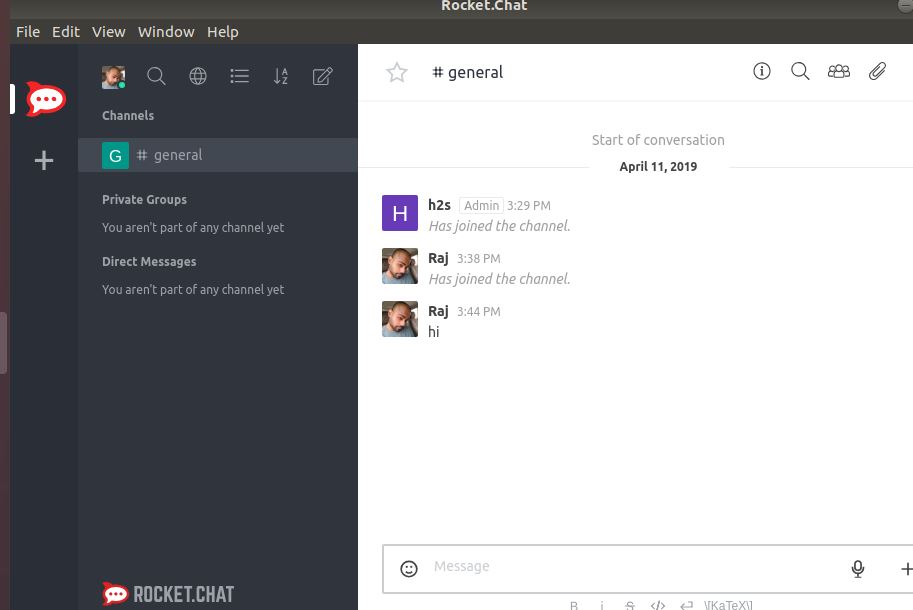
Everything is set, now we can start chatting with our team members.
Other Useful Resources:


Than you very much !