The Cockpit is a project that developed under the open-source license to provide a graphical user interface for Linux servers. It allows users to easily manage and control the server services remotely using a browser such as Systemd journal, checks the load, starts and stops services. Because of its responsive design, the user interface automatically adjusts to different screen sizes, which in turn enables easy access via smartphones.
With this range of functions, the cockpit developed by Red Hat is similar to the well-known Webmin. The easy-to-use and “very lightweight” user interface, Cockpit is also suitable for managing a home server or smaller company networks.
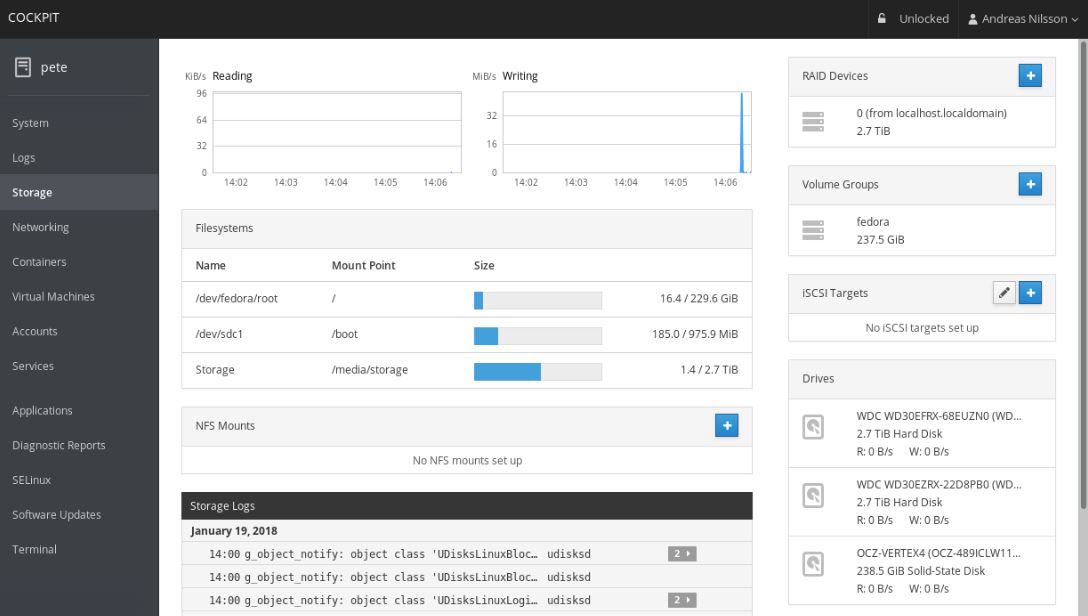
In the Cockpit, the Admin can also use the command line directly on the web interface to access the root or standard user of the server. It is really handy when we want to start the web server, create new user accounts or executing of other root commands. The admin can also manage several Linux systems via single Cockpit Dashboard. To do this, he only needs to add the other servers into the Cockpit, however, for that each server should have Cokpit installed which we are going to show here how.
Install Cockpit on Fedora
The best part of installing Cockpit on Fedora server is that we don’t need to add any extra repository, thus it becomes a way easy to download and enable it on this downstream RedHat Linux OS.
Step 1: Command to install Cockpit on Fedora
sudo dnf install cockpit
Step 2: Enable it at system boot level using this command:
sudo systemctl enable --now cockpit.socket
Step 3: Whitelist or add the Cockpit in Fedora’s firewall:
sudo firewall-cmd --add-service=cockpit
to make it permanent
sudo firewall-cmd --add-service=cockpit --permanent
In this way, we can get the Linux server GUI platform in just one command. Even you can use the above to install it on CentOS 8 Linux.
Other Articles:
Related Posts
How to Reopen Closed Windows or Tabs in Firefox
How to Install Django on Windows 11 or 10
How to set Gemini by Google as the default Android assistant
How to create data bars in Microsoft Excel for numeric values
How to open HEIC images on Windows for free
How to install Server Manager Windows 11 or 10