If multiple users use your computer, it is a neat idea to create multiple user accounts so that each of them can enjoy their own space and feel at home, whenever they log in next time on your computer. Most operating systems that you can find today, are multi-user operating systems and that includes Windows, Linux from Mac OS any others. Talking about Windows, it is very easy to go to the Control Panel and create a new user account and next time the user wants to log in, they can easily do that from the welcome screen on Windows computers. Logging in to your own user account is kind of the same for Linux users, as well.
You can simply log in to your account from the welcome screen of your Linux distribution, enter the password and get started with your new account. But creating a new user account is not the same on Linux computers as it is on Windows computers, and you have to type and execute a few Linux commands before you can eventually create a new user account. So, if you haven’t created a new account on your Linux computer ever, I am here to assist you on how you can create a new user account on your Linux computer and add it to some user group so that they can enjoy the privileges of being in that group.
So without any delay, let’s get started with how you can create a new user account on a Linux computer.
Creating a new user on Linux
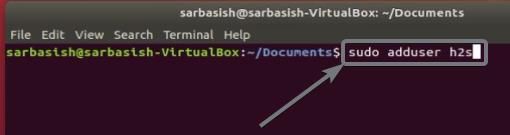
Open a Linux terminal, and type in the following command, followed by hitting the enter key.
adduser 'username'
Replace username with the name of the user, without the quotes. Here I am creating a user with the name h2s. So my command will go as follows.
adduser h2s
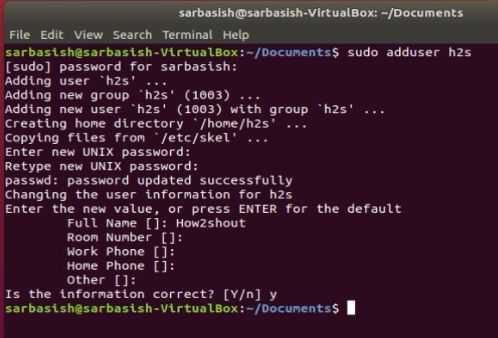
After that, the user will be created, and you will have to enter a password for the new user, followed by the full name, room number, address and other details. Not all the details are mandatory though. The user creation will be successful with just the username and the password. As shown in the screenshot below, the password will not be displayed to you, when you are entering it. Once you are done with entering all the correct details, simply type ‘y’ and hit the enter key.
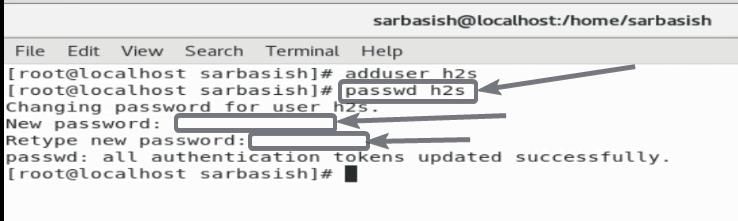
However on CentOS-based distros, after the user is created, the password can be assigned by using the following command.
passwd 'username'
Just replace username with the name of the user, as usual. For me, the command will go as follows.
passwd h2s
Simply enter the new password twice to assign it to the new user. The password will not be displayed here, as well.
To switch to the new user simply type in the following command.
su 'username'
For me, the command will go as follows. Just enter the password for the new user to start using the new user account created by you.
su h2s
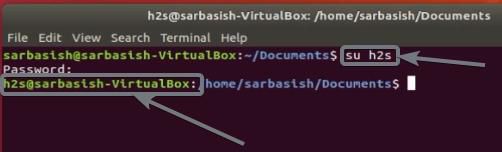
You can now execute commands as the new user on the Terminal now. You will be asked to enter the password for the new user however for security reasons.
You can even log in from the welcome screen on system startup, or by logging out of the current session.
After a user is created, you can even add it to a user group to assign a certain set of privileges to the user, using the following command.
usermod -aG 'user-group' 'username'
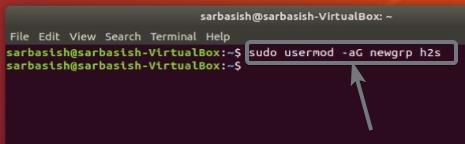
So if I have a user-group ‘newgrp’ and I want to add the user h2s to the group, the respective command is as given here.
usermod -aG newgrp h2s
Depending upon the privileges of the current user, you might have to enter the sudo keyword before the following commands I have mentioned here.
So, that was all about how you can add users to a Linux system. You can find it handy in many situations, and you can even create multiple instances of your own user if you don’t want to mess with your user account if you are trying out something new, which you aren’t sure about. The process is almost the same on most distributions of Linux.
Hope the information was useful for you. Do you have any questions? Feel free to comment on the same below.
Related Posts
How to Reopen Closed Windows or Tabs in Firefox
How to Install Django on Windows 11 or 10
How to set Gemini by Google as the default Android assistant
How to create data bars in Microsoft Excel for numeric values
How to open HEIC images on Windows for free
How to install Server Manager Windows 11 or 10