The integral part of most people working on a computer at an office is all about typing a number of documents for different requirements. If you have a decent typing speed, you are good to go, and typing large documents will never be real hard work for you. But, just in case you are not blessed with a decent typing speed or don’t want to touch the keyboard in the last hour of your work, there is an easy way out to complete the last leg of your Marathon at office effortlessly, without touching your keyboard at all. Yes, let the computer type it for you. Using voice recognition, you can easily dictate what you want to type and get your work done.
It is just as simple as how you call your Google Assistant and ask for the weather, or tell her to send an SMS message to your colleague, by dictating what you want to convey. Using the same technology, it is also possible to type large documents, but just like accomplishing any other simple thing on a computer, you need a platform for it. Windows has its own speech recognition platform, and there are even some third-party ones offering better performance, but you can go for some free ones for doing the same task. It might not be as good as the third-party ones that come with a price tag, but it can help you get your job done.
So here I will discuss, how you can use an app on your Google Chrome browser to dictate what you want to type. Without further ado, let’s get started with the tutorial.
The steps to follow
Step 1: Open the Chrome Web Store and download VoiceNote II on your Chrome web browser.
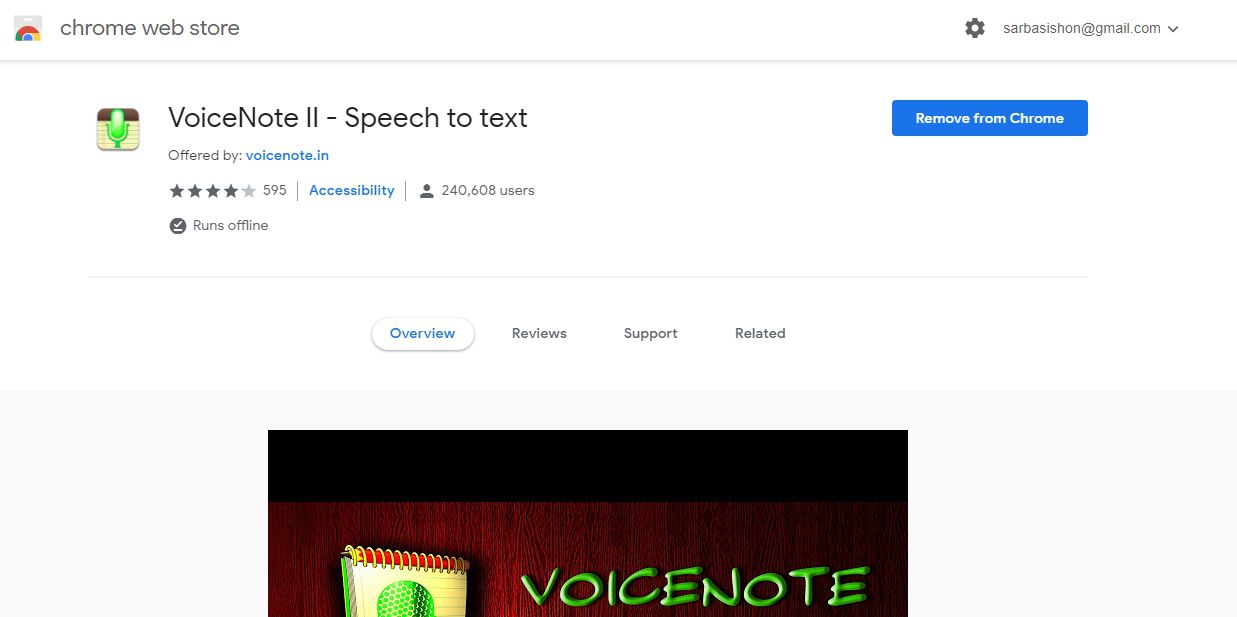
Step 2: Once the download and installation are complete, open the app by clicking on the icon on the top right corner of the screen in line with the address bar.

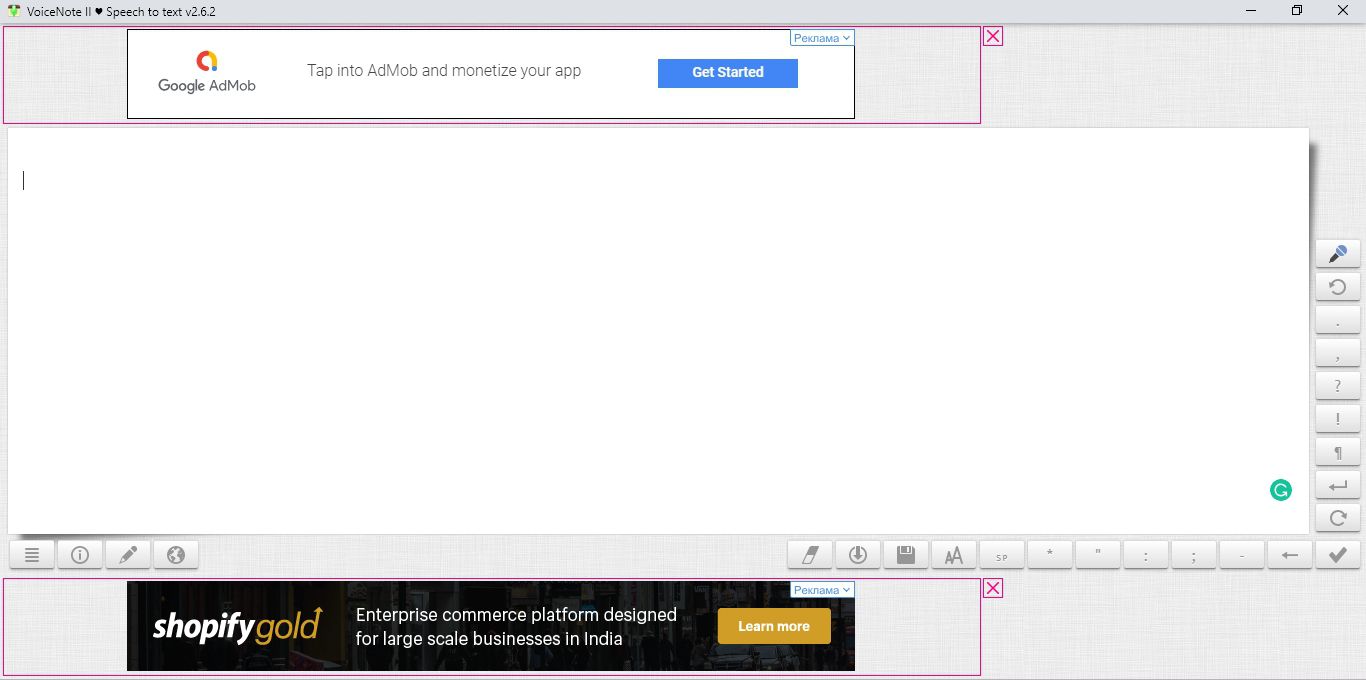
Step 3: You will get the following user interface, which is quite easy and intuitive.
Step 4: On using the app for the first time, you will have to select the language of dictation and writing, along with the accent.
Step 5: Just click on the globe icon, and then on the drop-down menu that says ‘select a language …’. Choose your preferred language, which is English for me. After choosing the language you will have to choose the accent with the next drop-down menu, as well.

Step 6: Now click on the blue and red microphone icon on the right side of the app to start speech recognition. You can click on the same button again to turn off speech recognition. So the button is basically to toggle speech recognition.

Step 7: While using the app for the first time, you will have to allow microphone access to the app by clicking on ‘Allow’.

Step 8: Now start dictating, and the dictated texts will appear on the right side of the white-board. Once you are finished dictating, it will appear in the appropriate area.

Step 9: You can either say the symbols like a comma (,), exclamation mark (!) etc. to type them, or can even use the respective buttons on the right side of the app to put them, while dictating your texts.
Step 10: Not only that, you can even get access to some additional tools, which can help you to toggle capital and small letters, save the text in ‘.txt’ format, erase the dictated text and select the complete text with the tools on the downright pane of the app. There are a number of useful tools, which you can find in handy.

SpeechNotes II is free to use, and it can be used for day to day usages for transcribing a short formal letter or similar other things. This can be handy if some buttons on your keyboard aren’t working or you want to write something really fast but isn’t enough fast in using the keyboard. I am using it for quite some days now and is quite satisfied with its performance. Though there were some errors once in a while, that isn’t going to affect your productivity in any way.
Once you are done writing everything, just copy the text and paste it on your preferred program like Microsoft Word, or anywhere else, apply the necessary formatting, and you are ready to go.
That was it. Hope the tutorial was helpful for you. Did you face any troubles using the app? Feel free to write your views or problems in the comment section down below.
Other Resources to Read:
- How to install Comodo Antivirus for Linux via command line on Ubuntu
- Stop unnecessary notifications and boost your productivity while using your phone with Focusbot
- How to enable/disable incognito mode on YouTube Android/iOS app
- Unified Remote: How to remote control your computer with the help of a smartphone
Related Posts
Bottom-Placed Address Bar: Chrome’s New Option for iOS Users
6 Ways to Save or Download Images from Google Docs to computer
12 Best Free Hidden Google Games To Play in 2023
Google is taking over Neverware’s CloudReady OS
How to create web server on Google chrome browser to serve web pages
How to Block Annoying ads on Android Google Chrome using inbuilt ad blocker