Ubuntu is no doubt a versatile Linux operating system which you can customize as per your style and taste. One of the main benefits of using Ubuntu is the great community support. And that’s the other reason variety of developers developed further Linux operating systems based on the Ubuntu such as Deepin.
The Deepin is an Ubuntu-based Linux distribution, developed by the Chineses developers and has one of the most beautiful desktop environments until now. The graphical effects of the Deepin Linux Desktop environment can compare to the Windows 10 and MacOS. The Deepin Linux is completely modified from interface to the software center. It comes with several apps such as screen recorder, screenshot tools like Windows snipping; drawing tool, music player and more.
Here in the article, we let you know how to install Deepin Desktop environment in Ubuntu or Linux Mint systems.
Note: The below-given steps can be used Ubuntu 17.04, 17/.010 or Ubuntu 18.04 including Linux Mint 19 or any other latest versions.
- Go to Ubuntu or Linux Mint system.
- Open the Command terminal; the keyboard shortcut is CTRL+ALT+T.
- In the Ubuntu Command Terminal, first, we execute the command to adding the repository. Note: The repository to install the Deepin Desktop environment packages is not official. Means it is published by some third party; neither by Ubuntu nor Deepin support it officially. Thus, it is recommended, first test it in Ubuntu on some virtual machine then implement on your working desktop for personal or official use.
-
sudo add-apt-repository ppa:leaeasy/dde
-
- Now trigger a command to update the system.
-
sudo apt-get update
-
- After updating and installing Deepin DE PPA repository, its time to download and install the Deepin Desktop environment. Here is the command
-
sudo apt-get install dde
-
- Press ‘Y’ from to confirm and allow the system to download it.
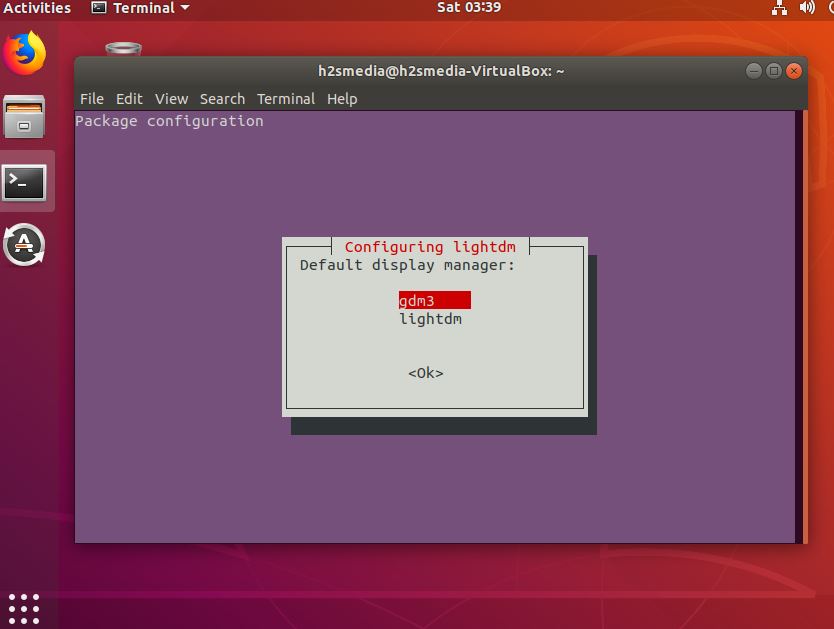
- While installing the Deepin DE, it will ask for you to select the default login or display manager.
- Press the Enter.
- Select the GDM3 and press the Enter button. However, by default, the Deeping uses the LightDM on its own OS to runt the login screen. But here just for precautions, we are choosing Ubuntu’s default GDM3.
- Once Deepin desktop environment installation is done! Install the Deepin file manager.
-
sudo apt-get install dde-file-manager
-
- Furthermore, for a better look and feel you can also installed the Deepin Desktop theme, the command is:
-
sudo apt install deepin-gtk-theme
-
- Now restart your system…
- When the Ubuntu’s login screen appears, click on ‘COG’ or ‘Gear’ icon given the just left side of the Sign-in button.
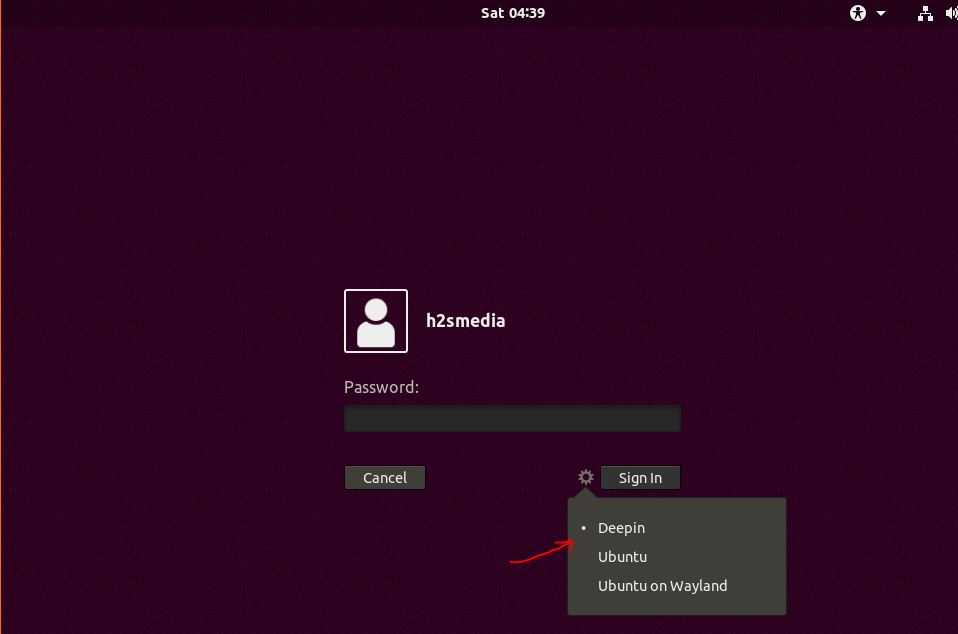
- Select the Deepin option.
- Enter your password and click on the sign in button.
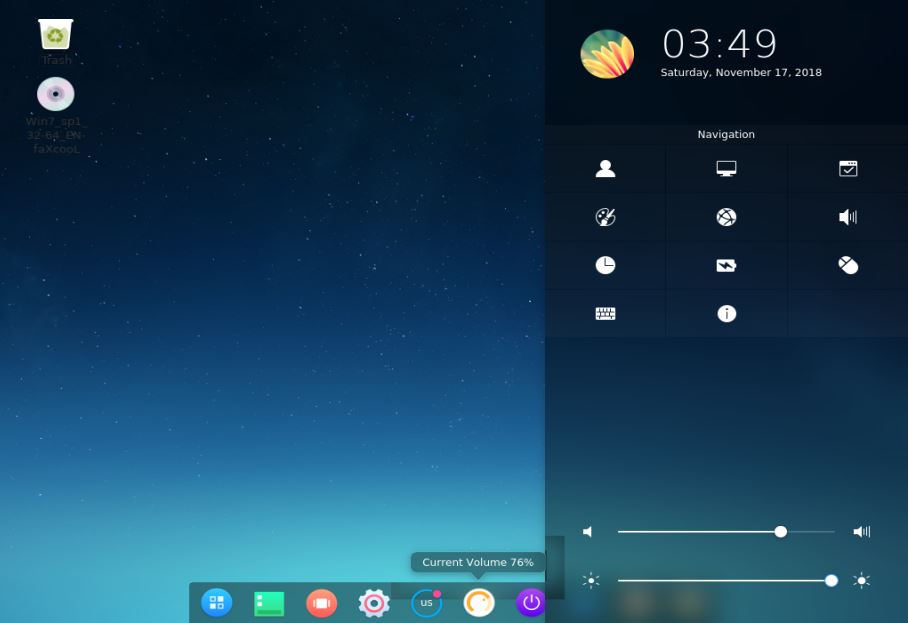
- This time what will appear is Deepin Desktop environment.
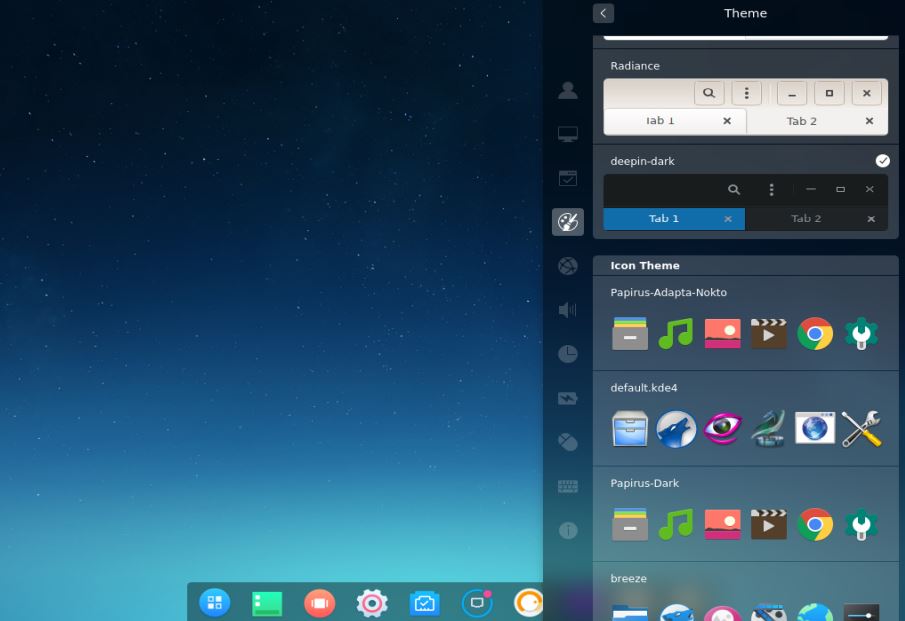
- To change the theme of the installed Deepin DE, click on the Settings icon given in the dock and select Personalize icon then the Theme option and finally select the Deepin Dark theme. You can also change the icon package from here.
Other useful resources:
- How to install Deepin music player on Ubuntu
- 5 Best Linux Desktop Environment For Hidpi Displays
- Tutorial to install the Clementine music player on Ubuntu Linux
Related Posts
15 Best Linux Based OS for Raspberry Pi
Rufus for linux? Not available, Use these best alternatives
How to install Anaconda on WSL Windows 10/11 using Ubuntu Linux App
10 Top Most Beautiful Linux Distros or Operating systems
How to install Adminer on Windows 10 or 11?
How to install Nextcloud server on Windows 10