ElasticSearch on Ubuntu or any other operating system will provide a full-text search engine. It is an open-source multi-user distributed search engine based on Lucene library. ElasticSearch developed in Java under Apache license and available in the community and commercial versions. The commercial version is offered as a cloud service. Whereas, the community version is free and can be downloaded by anyone to install on Windows, Linux, and macOS.
Designed for use in cloud computing, it enables real-time search, stability, reliability, speed, and ease of installation and use. It facilitates us to search for schema-free JSON documents via the HTTP interface. So, Let’s see:
How to get ElasticSearch installed on Ubuntu 19.04, 18.04, 16.04 LTS; Elementary OS, Linux Mint, and Debian.
Step 1: Open Command Terminal
Go to your Linux and open the command terminal. If you are using Ubuntu then simply use keyboard shortcut Ctrl+Alt+T to get Terminal.
Step 2: Install Java for ElasticSearch
The ElasticSearch developed on Java and requires the same to run on any operating system such as Windows, Linux, or macOS. So, the first thing which needs in the direction of Elastic Search installation is Java on Ubuntu, LinuxMint, or other Debian-based systems.
sudo apt-get install default-jdk
Check the current installed Java version:
java -version
Trivia: How to Install Java in Ubuntu / Linux mint using Terminal
Step 3: Install apt-transport-https
To access the Debian repository over the secure HTTPS channel, the APT transport will help us that by allowing repositories access via the HTTP Secure protocol (HTTPS) which also referred to as HTTP over TLS. The command to add it is:
sudo apt-get install apt-transport-https
Step 4: Download and install the Public Signing Key for Elasticsearch packages
Use the below command to download and install the Public Signing Key that will help us to add the official repository to of ElasticSearch on Ubuntu.
wget -qO - https://artifacts.elastic.co/GPG-KEY-elasticsearch | sudo apt-key add -
Step 5: Add Repository for ElasticSearch
While writing this tutorial of ElasticSearch installation on Linux, the latest stable version was 7.1, however, after adding this repo you can update the ElasticSearch to the upcoming stable version.
Note: If you want to install an older repository then just change the 7.x to the version you want. For example, you want to install ElasticSearch version 6 then it would be 6.x.
add-apt-repository "deb https://artifacts.elastic.co/packages/7.x/apt stable main"
or
sudo sh -c 'echo "deb https://artifacts.elastic.co/packages/7.x/apt stable main" > /etc/apt/sources.list.d/elastic-7.x.list'
Step 6: Download and Install ElasticSearch on Ubuntu Linux
After adding the repo for ElasticSearch first update the system, so that it can recognize the added repo by flushing caches.
Here is the update command:
sudo apt-get update
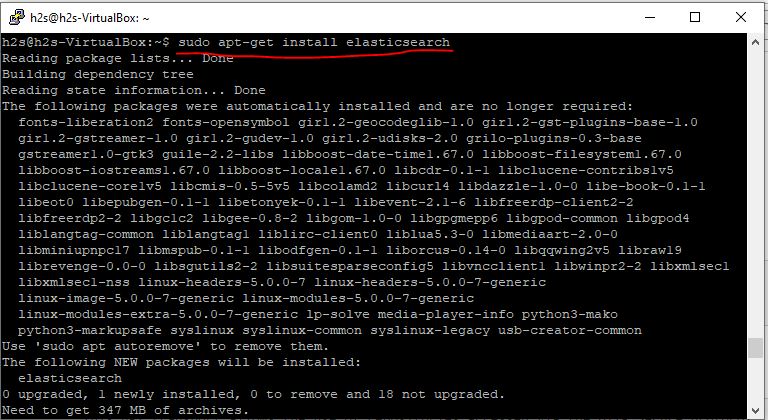
Now, type the ElasticSearch installation command:
sudo apt-get install elasticsearch
Step 7: Configure Elasticsearch to start automatically
After installing, if you don’t want to start the Elasticsearch service manually then simply add its services to systemctl, so that it could start every time automatically with system boots up.
Enable Elasticsearch service
sudo systemctl enable elasticsearch
Start the Elastic service using the below command:
sudo systemctl start elasticsearch
In the future to stop the same service you can use this:
sudo systemctl stop elasticsearch
Step 8: Verify Elasticsearch is running or not
Everything is up and running by now on your system for ElasticSearch, its time to check whether it is working fine or not. So, to test it we use CURL.
If you don’t have curl installed on your system you can use this command to get it:
sudo apt-get install curl
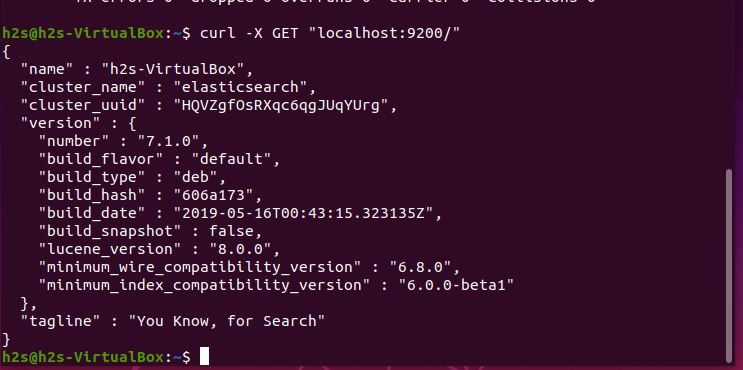
Now test the Elasticsearch by sending an HTTP request with port number 9200
curl -X GET "localhost:9200/"
Output:
h2s@h2s-VirtualBox:~$ curl -X GET "localhost:9200/"
{
"name" : "h2s-VirtualBox",
"cluster_name" : "elasticsearch",
"cluster_uuid" : "HQVZgfOsRXqc6qgJUqYUrg",
"version" : {
"number" : "7.1.0",
"build_flavor" : "default",
"build_type" : "deb",
"build_hash" : "606a173",
"build_date" : "2019-05-16T00:43:15.323135Z",
"build_snapshot" : false,
"lucene_version" : "8.0.0",
"minimum_wire_compatibility_version" : "6.8.0",
"minimum_index_compatibility_version" : "6.0.0-beta1"
},
"tagline" : "You Know, for Search"
}
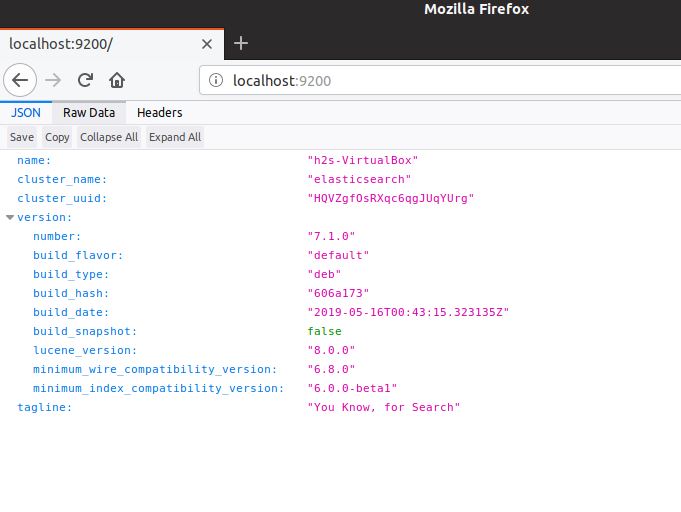
You can also check whether it working or not using the browser. Open the browser and enter the localhost:9200 address. The output will appear like the below screenshot.
Step 9: Configure Elasticsearch via YML file
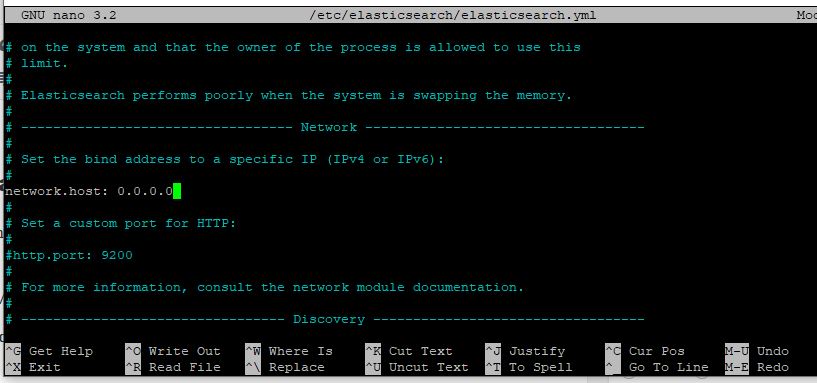
To access the ElasticSearch from any public IP, we have to do some changes to the ElasticSearch configuration file. Open it using the below command:
sudo nano /etc/elasticsearch/elasticsearch.yml
And comment the line network.host and set IP address to 0.0.0.0 and save it using Ctrl+X and then type Y and press Enter button.
After changing restart the ElasticSearch service:
sudo systemctl restart elasticsearch.service
Note: If you are facing problems like Curl: (7) Failed to connect to localhost port 9200: Connection refused after changing or restarting the service wait for 5-10 seconds, times service take some time to get started.
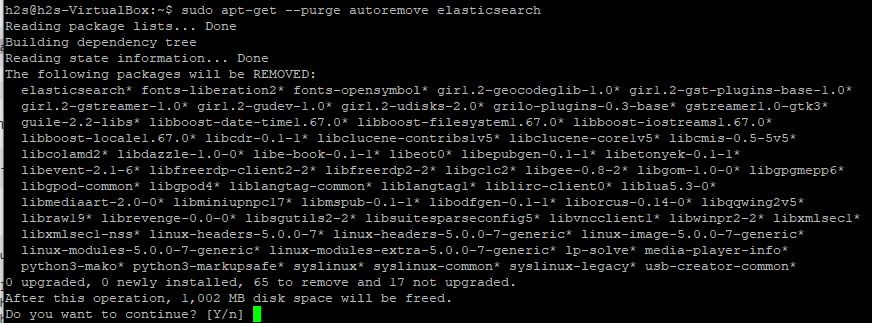
Step 10: Uninstall Elasticsearch on Ubuntu (optional)
In the future, if you want to uninstall ElasticSearch from your Linux (Ubuntu, Debian, or Linux Mint system) then use the below command to do that:
sudo apt-get --purge autoremove elasticsearch
To completely remove it from the system also delete its directory if there is any using the below command:
sudo rm -rf /var/lib/elasticsearch/
sudo rm -rf /etc/elasticsearch
Reinstall Elasticsearch (optional)
In the future, if you again want to reinstall Elasticsearch after removing it then you can use the simple command:
sudo apt-get install elasticsearch because the repo is still on your system. Moreover, you can also install it by directly downloading the Elasticseasrch.DEB file from its official website. Here is the way to install Elastichsearch using DEB file.
Elasticsearch logs
To find out any problem you are facing while configuring ElasticSearch you can see its logs created by the system.
Here is the command to see the logs of Elasticsearch.
sudo journalctl -u elasticsearch
- How to install Node js on Ubuntu 19.04
- Download and install Blender in Ubuntu
- Install Grunt on Windows 10/8/7
Related Posts
How to install Winget package manager in Windows 2022 Server
How to View Listening Ports Using Netstat
How to Install Pygame Zero on Windows 11
Single Command to install Android studio on Windows 11 or 10
How to Install DoXygen in Windows 11 or 10
Google Rolls Out Android 14 Beta 4.1 to Fix Bugs for the Pixel Fold and Tablet