IIS (internet information services manager) on Windows 10/7 Desktop or server is basically a flexible and secure Web server provided by Microsoft on its desktop and server operating systems. Just like Apache and Nginx in Linux Distros on WIndows we have IIS.
Install and configure the webserver (IIS) in Windows 10
Microsoft didn’t integrate only the desktop version of Windows with IIS- Internet Information Services instead with this even Windows 10 Home can be turned in to a web server with the help of this feature.
However, as compared free and open-source server such as Apache, the configuration and the dealing with IIS web server could be a little complex, yet if you are a Windows Desktop or server user, the usage of IIS would be best because of better integration into the system.
The IIS, which also contain an FTP server, is not intended on the client to provide company websites or heavily used web applications. The Windows 10 desktop IIS is mainly for developing or for the demonstration of web applications.
So, if you want to set up and run some application on Windows 10 PC using IIS, for example, WordPress, then here is the step by step guide to install and configure this web server.
Step 1: Enable Internet Information Services -IIS on Windows 10
So, to install the Windows 10 web server feature, we don’t have to download some special packages, it is already in our system and just we need to activate.
Go to Control panel-> Select Program-> Turn Windows features on and off.
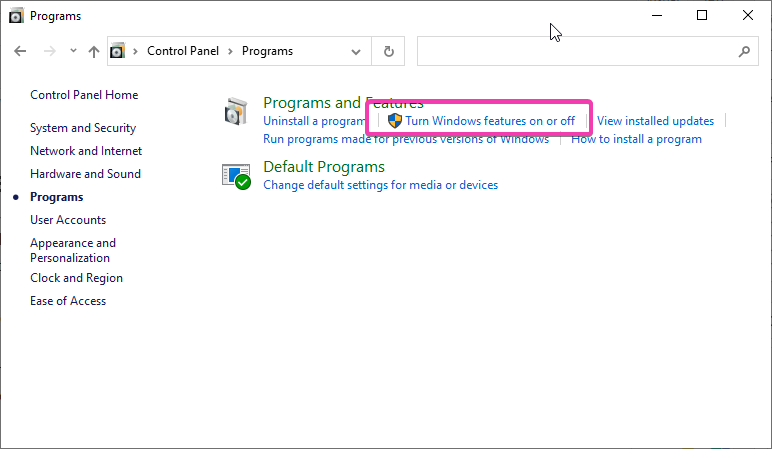
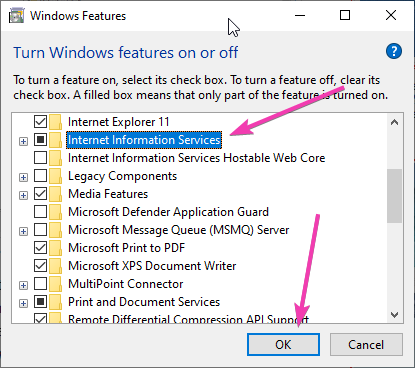
Now, scroll down and select “Internet Information Services” and press OK button to get it installed. Later restart the PC to make changes into effect.
The installation of it is very easy, by default when we select the IIS management console the Web Management Tools and Word Wide services along with HTTP features, performance features, security, system status and diagnostics are automatically going to be install. If you want FTP server as well then click on the + icon given in front of Internet information services and select FTP server option too.
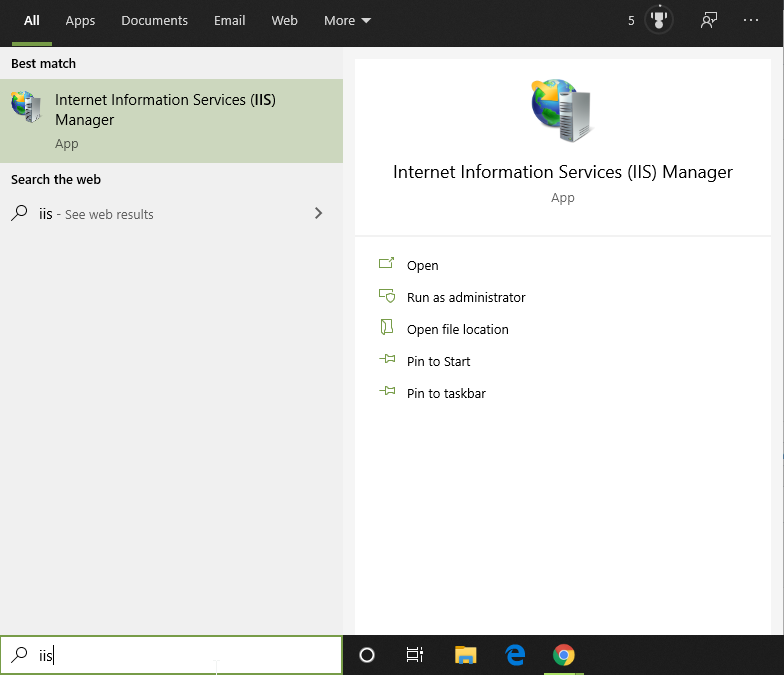
Step 2: Start Internet information service (IIS) Manager
Go to Windows 10 Search box and simply type IIS and you will get installed webserver Manager application, click on it to start.
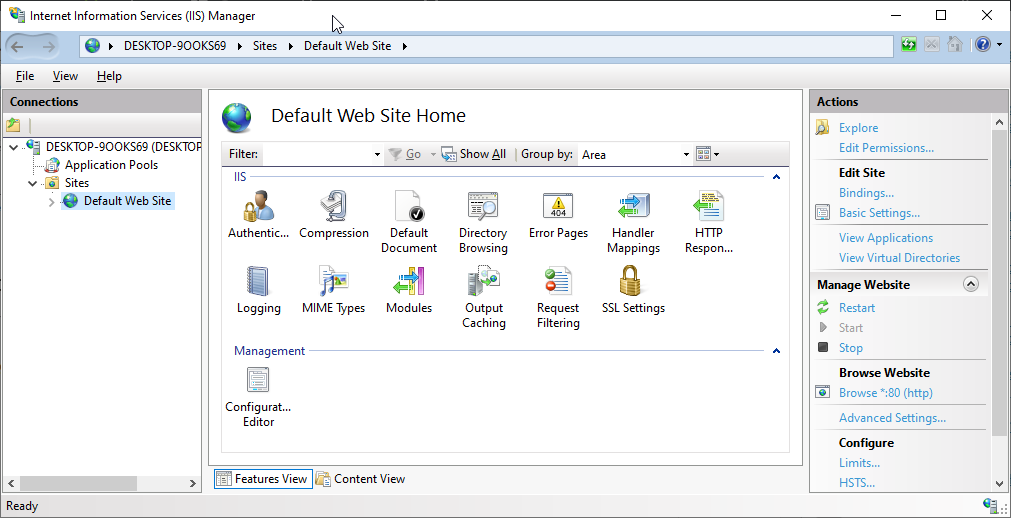
Finally, you will see the IIS manager with so many options to operate and handle different Web server application tasks.
Step 3: Test IIS Webserver
After the installation of IIS, Windows will automatically start the webserver services on default port number 80. Thus, to check whether it is functioning properly or not, open your system browser and type http://localhost to see.
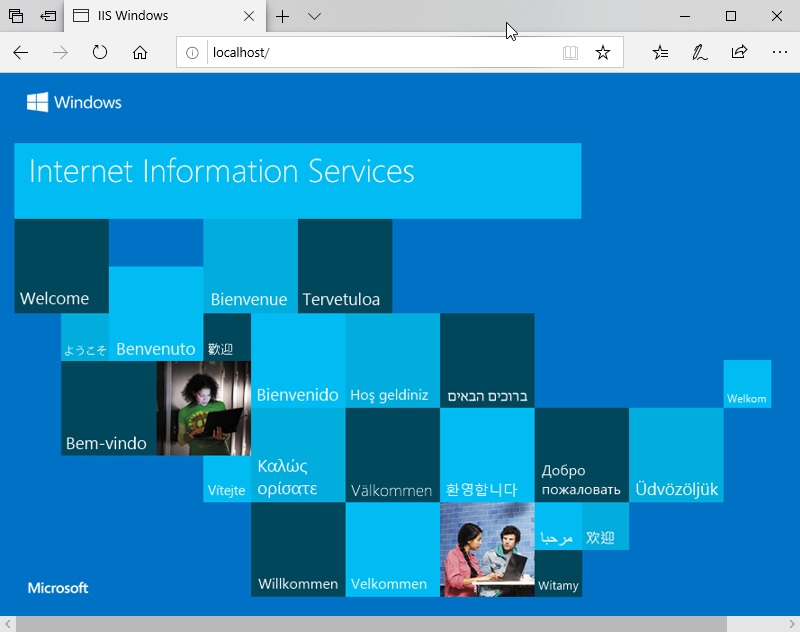
By default, the IIS shows the local HTML page to show everything is working fine. In case not then check whether the HTTP server (localhost) is listening on port 80. Run the following command in command prompt.
netstat -a -p tcp -n
However, for newly installed IIS webserver such problem would not appear.
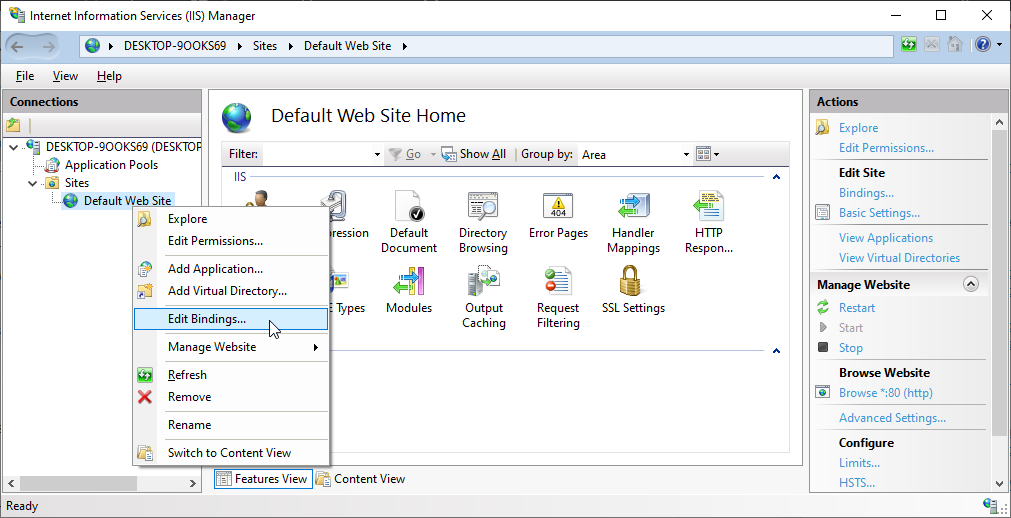
In case, your port 80 is already bound to some other application then you can change the default website or Http listening port on IIS.
Right-click on Default web site option given under the Sites and select Edit Bindings.
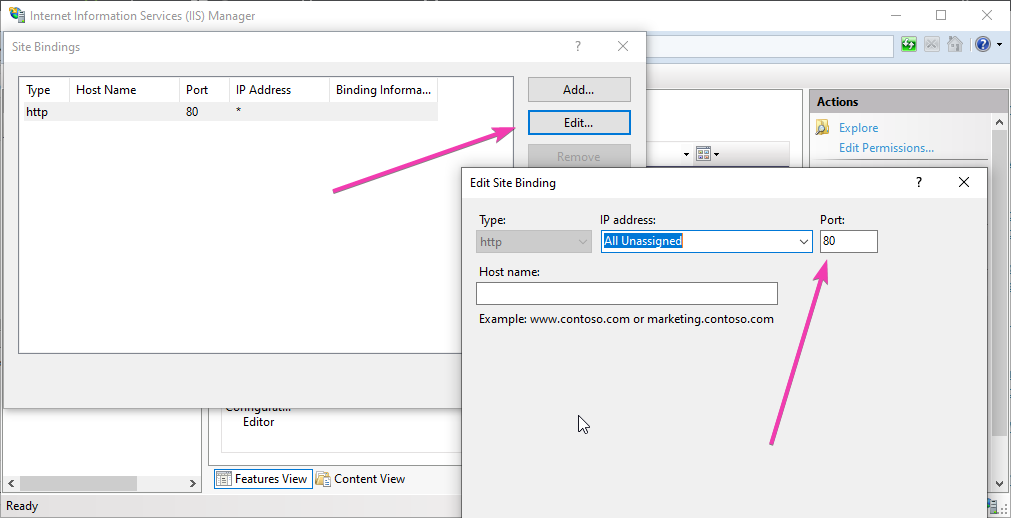
Now Click on Edit button and change the port number to one which you want to use. You can also specify any particular IP-address you want to use that port number.
Step 4: Configure and install WordPress with IIS Manager
So, to give you an idea of how to host an HTML website or web application like WordPress on IIS, we are going to configure it.
However, hosting a website on IIS, the steps will be the same for both WordPress or just a simple HTML one. Yet being a web application WordPress needs PHP support too.
Right-click on the default website and select Explore.
The root directory at %SystemDrive% \inetpub\wwwroot will open. Now simply extract all your WordPress file there. If it asks for permission give it.
Now, Select your newly created website and click on the restart option given in the right-side panel.

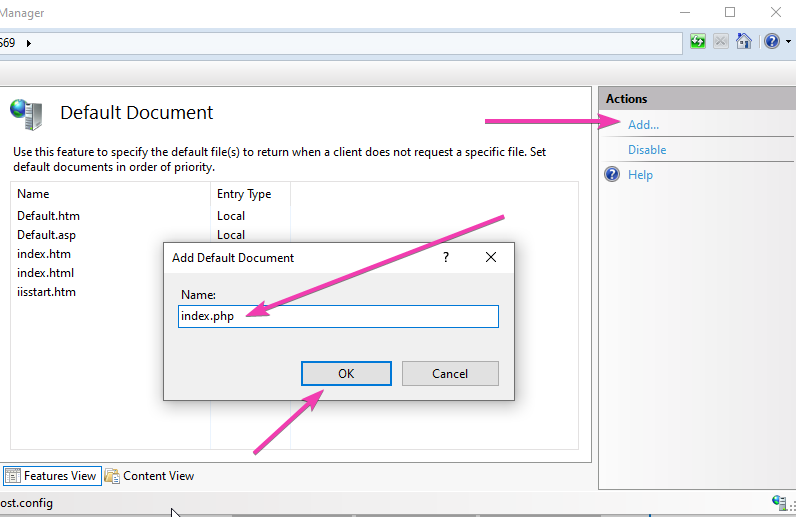
Add index.php to the Default Document.
Select Default website and double click on Default Document icon then Add link given on the right-side panel. Type index.php and save it.
Open the browser and point it to http://localhost, this time it will show the hosted website. However, in case of WordPress, it gives an error because we haven’t yet configured its Wp-config file.
Again right-click on the Default website ->Explore and then rename wp-config-sample.php to wp-config.php.
Now edit the wp-config.php file and change the following things given in red colour… In short, add the database details.
// ** MySQL settings - You can get this info from your web host ** //
/** The name of the database for WordPress */
define( 'DB_NAME', 'database_name_here' );

/** MySQL database username */
define( 'DB_USER', 'username_here' );

/** MySQL database password */
define( 'DB_PASSWORD', 'password_here' );

/** MySQL hostname */
define( 'DB_HOST', 'localhost' );
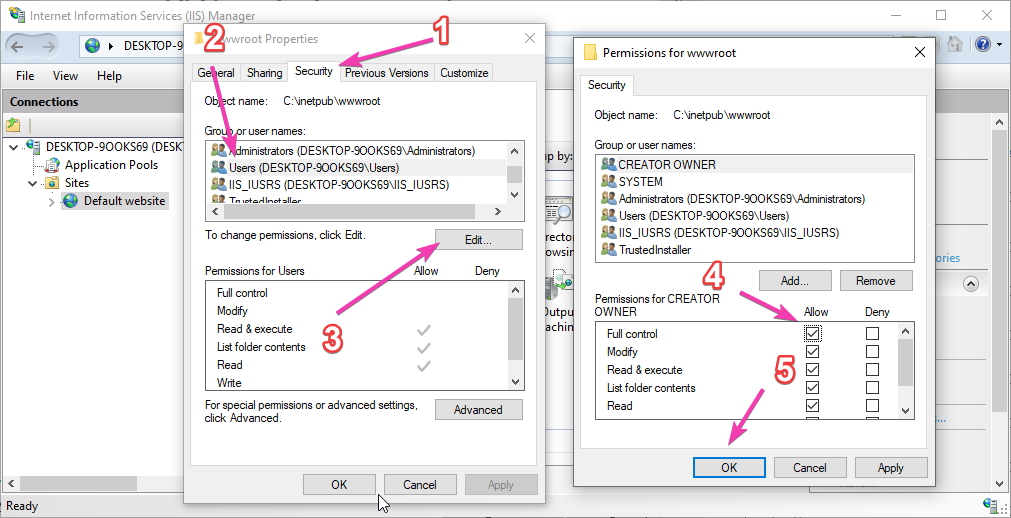
In case, it will say you don’t have permission to write a wp-config file, then simply right click on the Default website in IIS manager and select Edit Permissions.
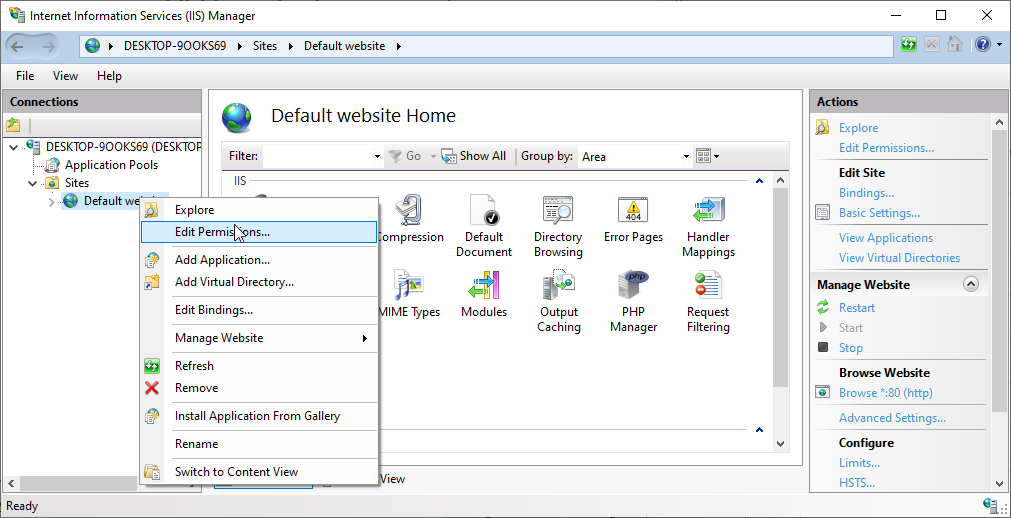
Go to Security Tab and select your Windows system user. Then Edit button-> Give all permissions to it and then press OK button.
Now, type http://localhost/index.php and you would be able to access your WordPress installation.
In the same way, if you have hosted some HTML based website file for development in the root directory of Default website you will get to see that.
How to Disable IIS web server on Windows 10
In case you don’t require IIS Manager and want to disable it. Again open “Turn Windows feature On or OFF” and unselect the option “Internet Information Services“. This will remove the IIS web server from your Windows 10 or Windows 7 PC, laptop or server.
Other Articles:
- How to install Kali Linux with GUI on WSL Windows 10
- How to install Apache web server on CentOS 8 or Stream
- Install Apache Cassandra on Windows 10/8/7 without datastax
- How to install Apache, MySQL, PHP & PhpmyAdmin on Windows 10 WSL


Hey that is really clear. Thanks.
error easily find