If you are a blogger or some website owner and want to start a new niche website or blog without purchasing a new domain then you should think about to create a SubDomain rather purchasing a new top-level domain.
What is Subdomain?
A subdomain is a domain that belongs to a higher level domain in the domain name system hierarchy. For example, mail.example.com and calendar.example.com are two subdomains of example.com, while example.com is a subdomain of top-level domain .com.
Here in this tutorial, we let you know a step by step process to create a SubDomain on your Top level domain from CPanel. The process of creating a subdomain on Bluehost, Godaddy, Hostinger, Hostgator and other hosting services that are providing CPanel hosting management platform will be the same.
Step 1: Login to Cpanel of your Hosting service
In order to create a subdomain, the first thing is to have is Cpanel access to your hosting service. For that simply log in to your hosting account and access the Cpanel, the location to access this option will depend on which host service provider you have.
Step 2: Cpanel SubDomain option
On the Dashboard of the CPanel scroll down to Domains category, there you will see all the options related Domains and amid them, one will be Subdomains. Click on it to get further options related to it.

Step 3: Create a Subdomain
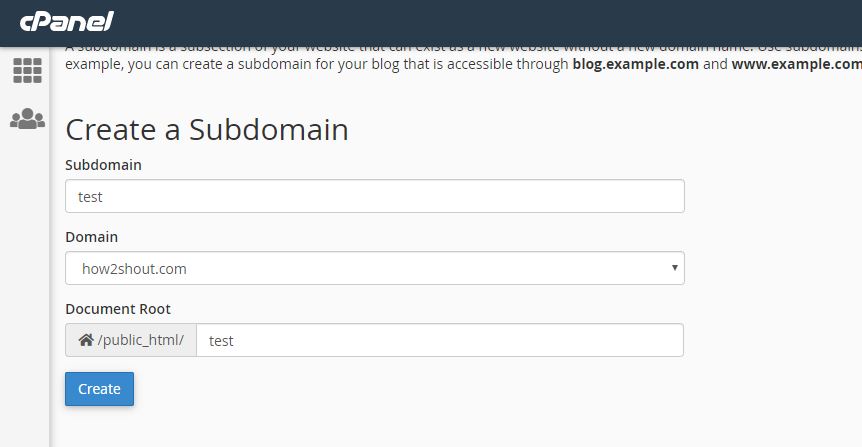
Now, you will see a section which we can use to create Subdomain on main or top-level domain name.
In the Subdomain column, type the name which you want to use for your subdomain. For example, if we want to create test.how2shout.com, then the test would be the Subdomain name.
In the second step, if you have multiple website domains, then click on the drop down box to select which top-level domain you want to use with a subdomain.
The last thing is Document Root, although this will automatically be created as per your Subdomain name, however, if you want to change it then you can.
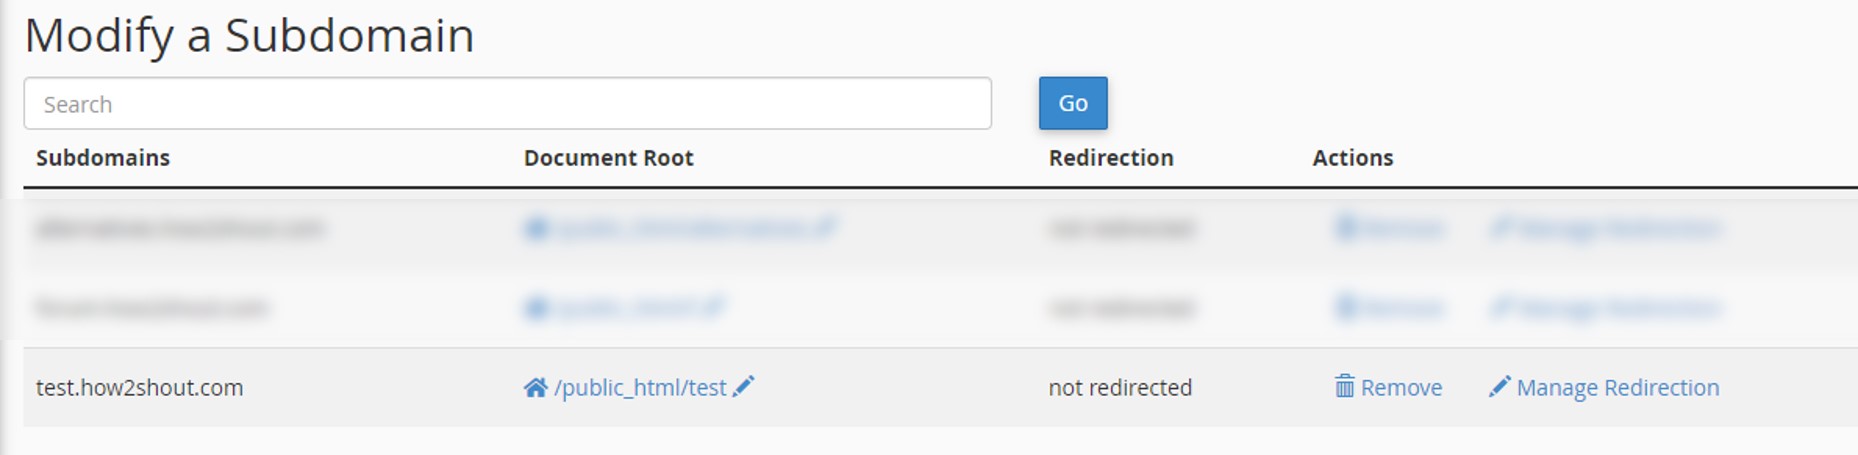
The Subdomain can be accessed in two ways, if you take the example of the created subdomain in the below screenshot, then it will be accessible through test.how2shout.com and www.how2shout.com/test
Note: If you manually changed the Document Root folder name then in URL structure i.e www.example.com/test you have to use change folder name. For example suppose in the below screenshot, if we have changed the document root folder from test to blog then the folder URL structure to access it will be www.how2shout.com/blog while the standard one i.e test.how2shout.com will remain the same.
Click on Create button to finally create the Subdomain on Cpanel.
Redirection of a SubDomain (optional)
Once your Subdomain has been created then you could see it on the same page. To redirect a subdomain to any other address click on the Manage Redirection and simply assign the redirection location.
How to install a WordPress website on Subdomain (optional)
Although this step is not compulsory, however, if you want to install a WordPress website after creating a subdomain then simply again go to your Cpanel Dashboard.
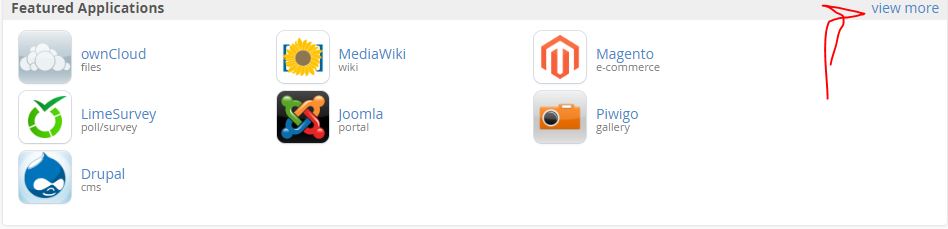
Cpanel Web Applications installer
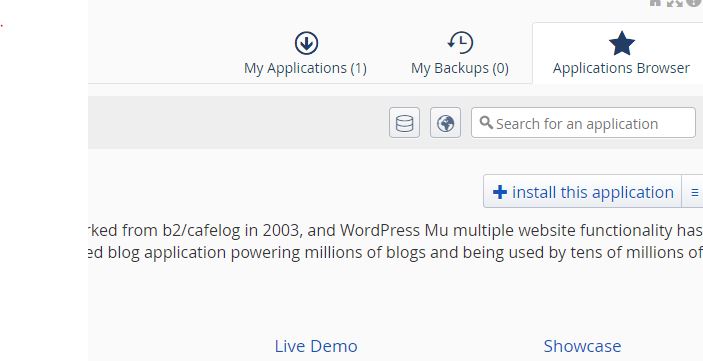
Go-to Software/Web applications category and select the Web installer or Softaculous Apps Installer.
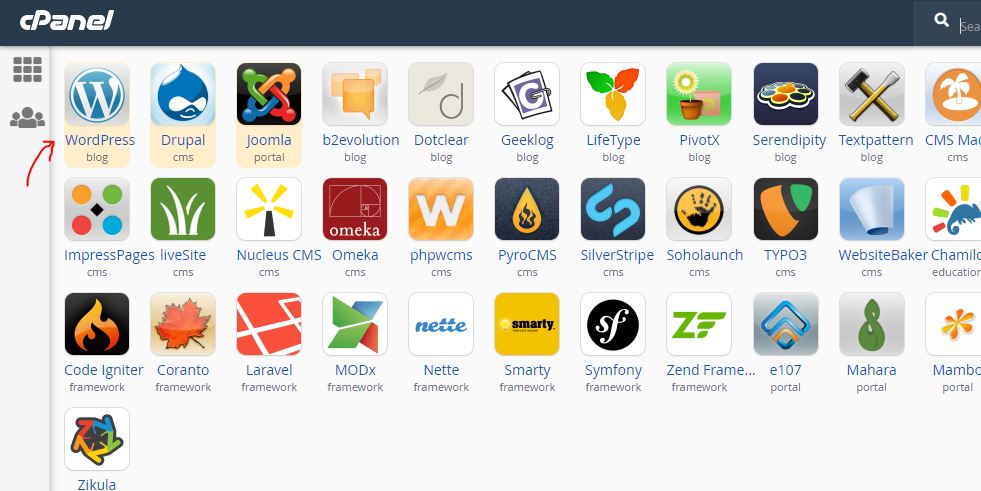
Search for WordPress CMS App in the Cpanel Applications gallery. Click on it when appears.
Install WordPress
Click on the Install this application button.
Select your created Subdomain and scroll down to type a username and password for it. Now at the bottom click on the Install button.

In this way, we can set up another dedicated domain on our top-level domain to start some niche website.
Other Resources:
Related Posts
How to Reopen Closed Windows or Tabs in Firefox
How to Install Django on Windows 11 or 10
How to set Gemini by Google as the default Android assistant
How to create data bars in Microsoft Excel for numeric values
How to open HEIC images on Windows for free
How to install Server Manager Windows 11 or 10