If you have scanned multiple documents into photos or you have a number of notes in image format, and you want all of them in a single place, it is a good idea to save all the images containing the notes as a PDF file. You can later print the PDF to share it with your friends or for other purposes. Once the images are converted to PDF, you can keep it safe, and you will never have to worry about them getting unorganized for any reason. So, this can really be useful to save multiple photos or images into PDF. I will talk about, how to do that, here.
When it comes to saving multiple photos to a single PDF file, you can find a number of programs online that can make the process easier. But, you really don’t need any extra software to convert your existing images to a single PDF file. Chances are, you already have the tools in your hand. You can even find a number of online services that can do the same for you, but I will not recommend you to use them, as you can easily save images as a PDF document on your computer. I will talk about how you can accomplish this task on all platforms. You can be using Windows, Linux or Mac, without going online at all.
So, without any further delay, let’s get started with, how you can save or convert multiple images to a PDF (Using the Photo Print option).
Convert multiple images to a PDF on a Windows 10/7 computer offline
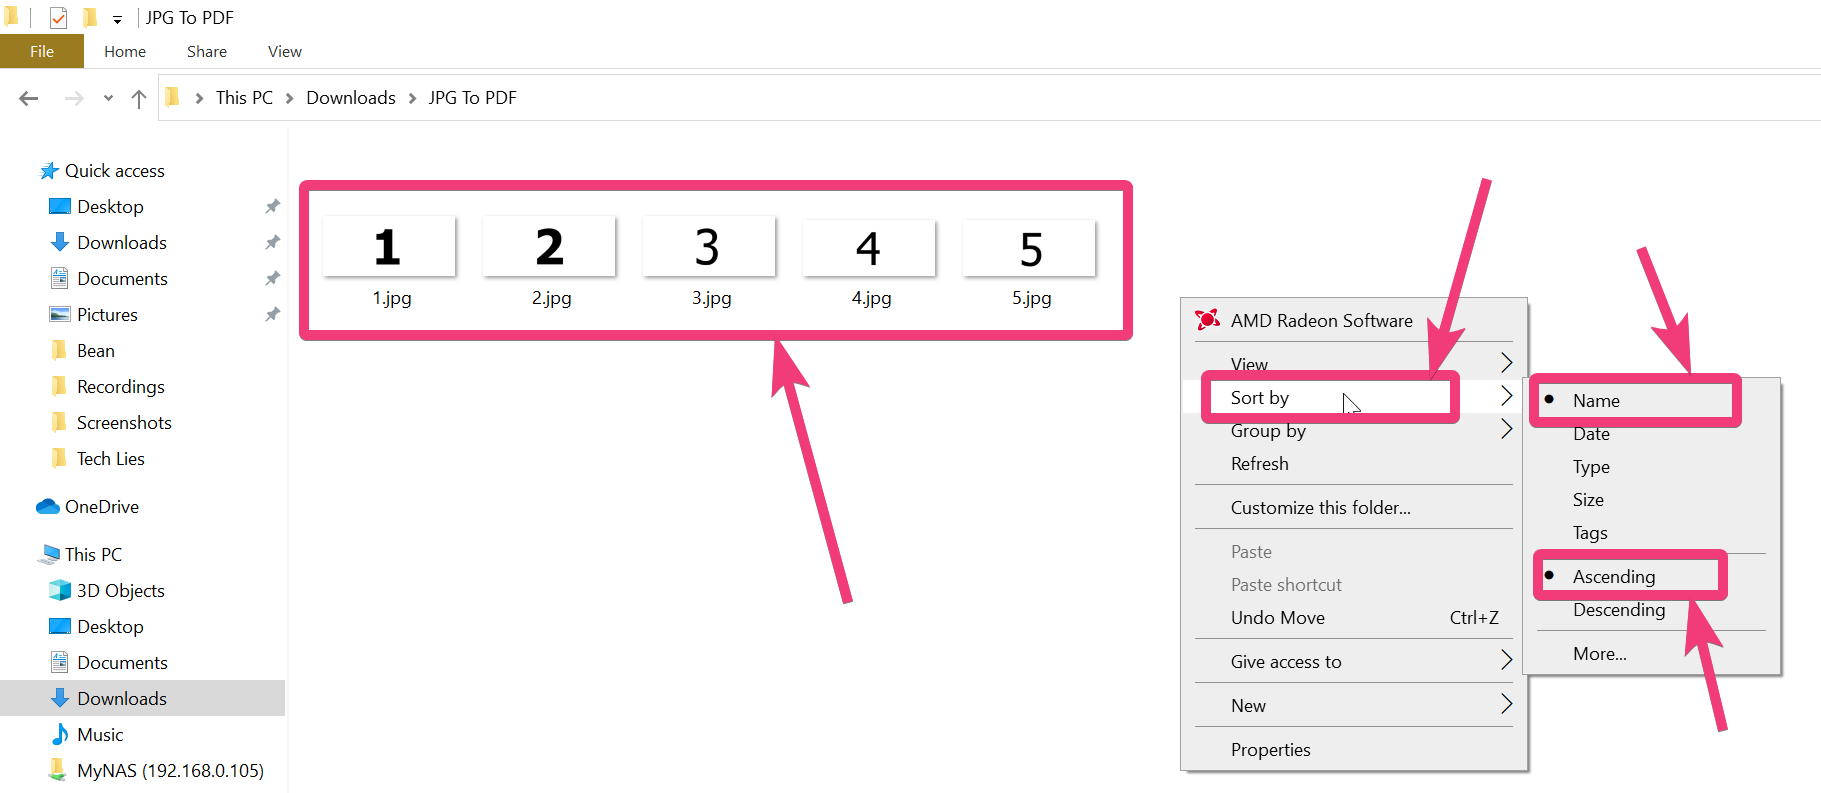
Step 1: Bring all the images in a single folder, and arrange them in a sequence. For example, use the ‘Rename’ option to number the files with 1, 2, 3, and so on that is understandable to you. Just sort by ‘Name’, and then choose ‘Ascending’, as shown below.
Step 2: Now, sort the files by name, as shown in the screenshot below. I have just shown some random images for your understanding.
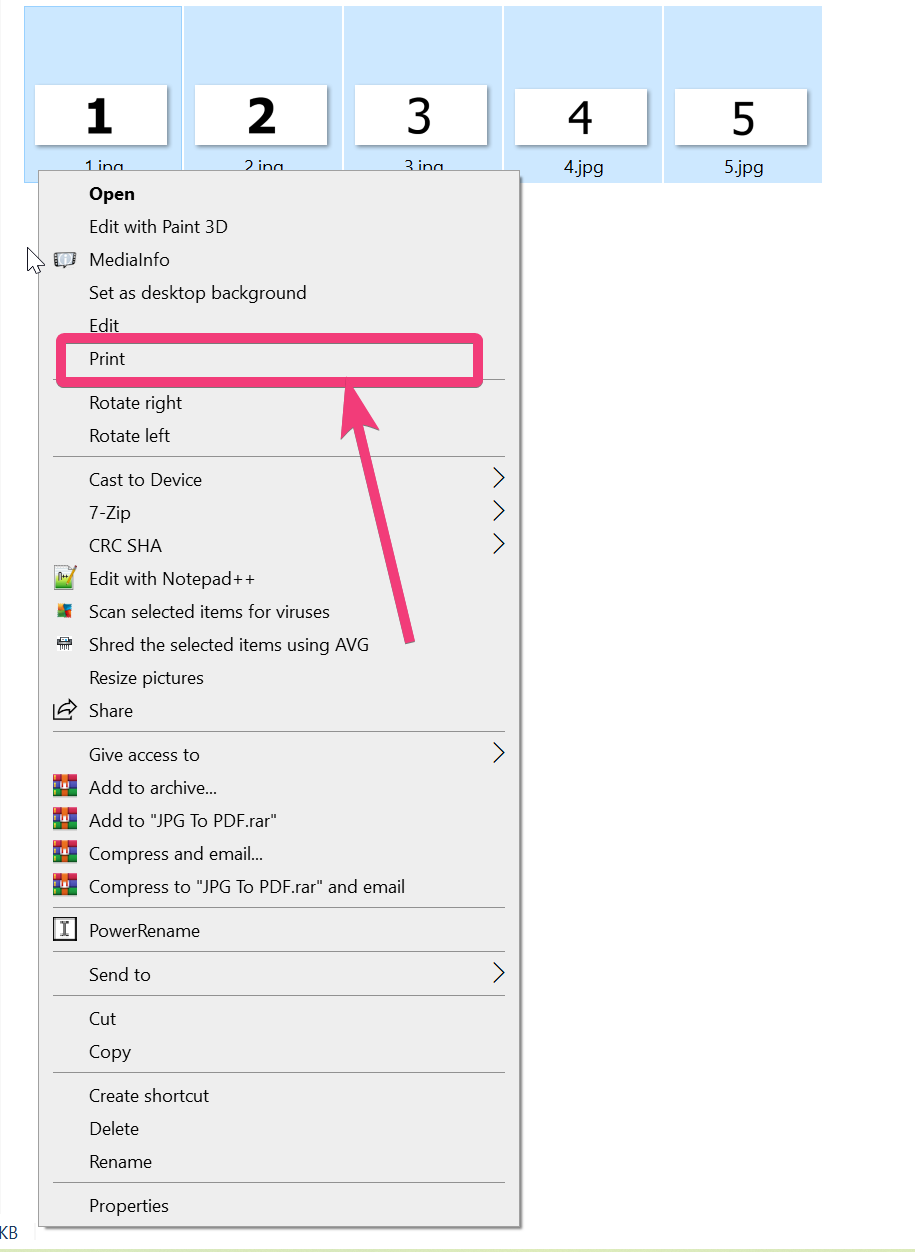
Step 3: Just select all the images that need to be converted to a PDF, right-click on the first image, and click on ‘Print’. Even after selecting all the images, don’t ever right-click on any other file as that will mess things up. Always right-click on the first file with the number ‘1’.
Step 4: Now, ‘Print Pictures’ dialogue will open. On the right side, select ‘Full page photo’, choose a paper size from the drop-down menu, which should be ‘Letter’ by default, and then choose the printer that you want to use. As I will be saving the images as a PDF, I will choose ‘Microsoft Print to PDF’. You can even choose any other PDF printer if you want. Finally, click on ‘Print’.
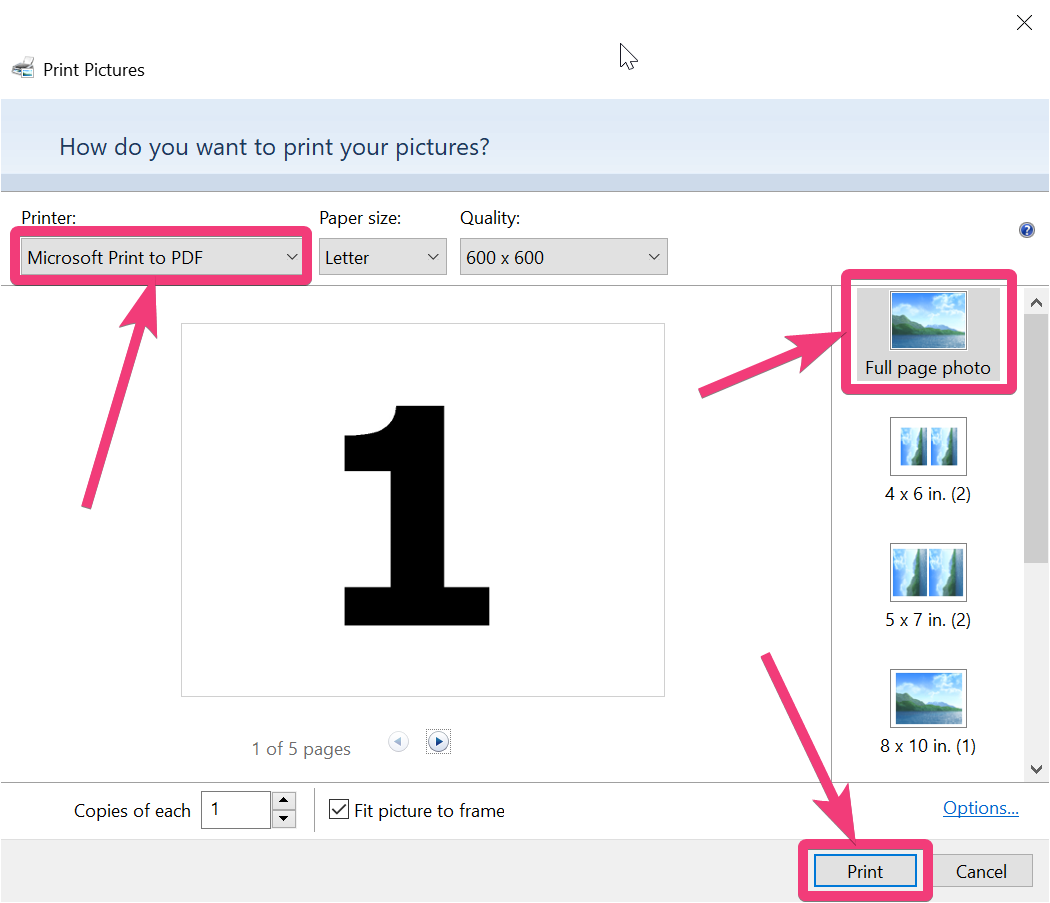
You can use the left and right arrow keys to ensure, the image files are in sequence.
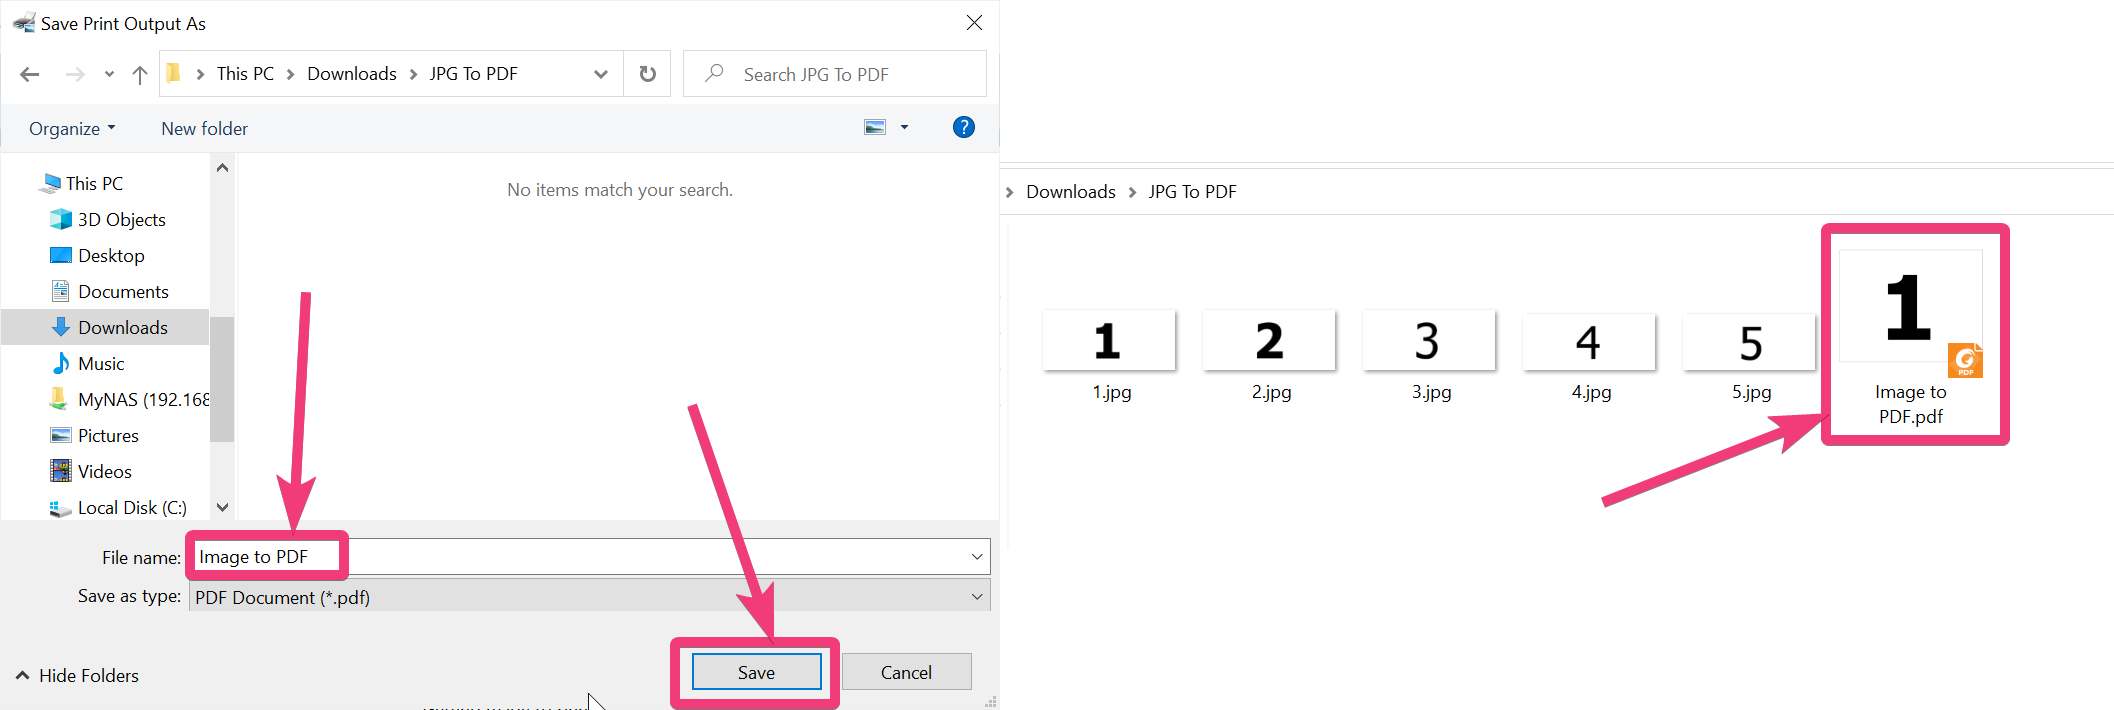
Step 5: You have to choose the location to save the PDF file with the desired name. You can then open the file in your preferred PDF viewer.
Using Office apps (On all platforms)
If you are using Windows, you might already be using Microsoft Office or any other open-source office applications on different other platforms or even Windows. You can also use Google Docs if you want.
Step 1: After you open your favourite office app, or a word processor, Microsoft Word, for example, click on the ‘Insert’ tab, and then click on ‘Pictures’.

Step 2: Now select the images that you want to save as PDF, and click on ‘Insert’.
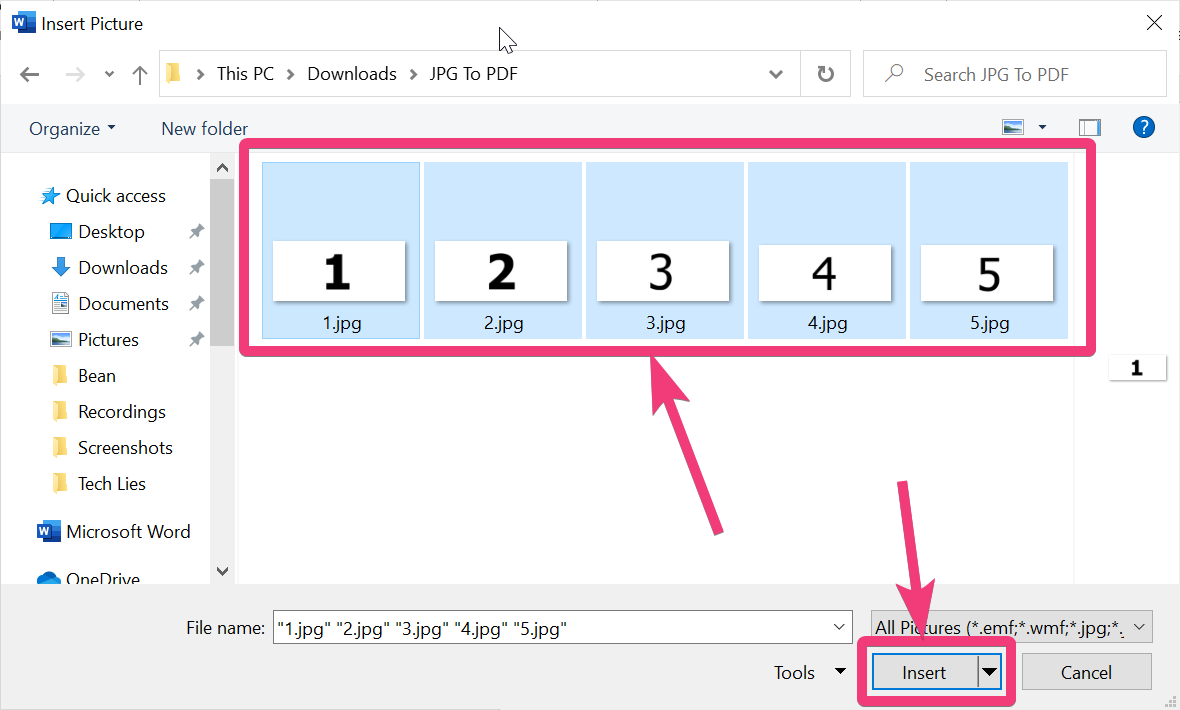
If your files are sorted sequentially, as I have said earlier, all the files will also be placed sequentially within your word processing program.
But, you will have to click on ‘Wrap Text’ and then click on ‘Behind Text’ from the drop-down menu. After the images are displayed to you, you can even scale resize the images in case of documents, as per your visibility requirements. Just resize or scale the individual images, exactly the same way you do for other images on Microsoft Word or any other word processor.

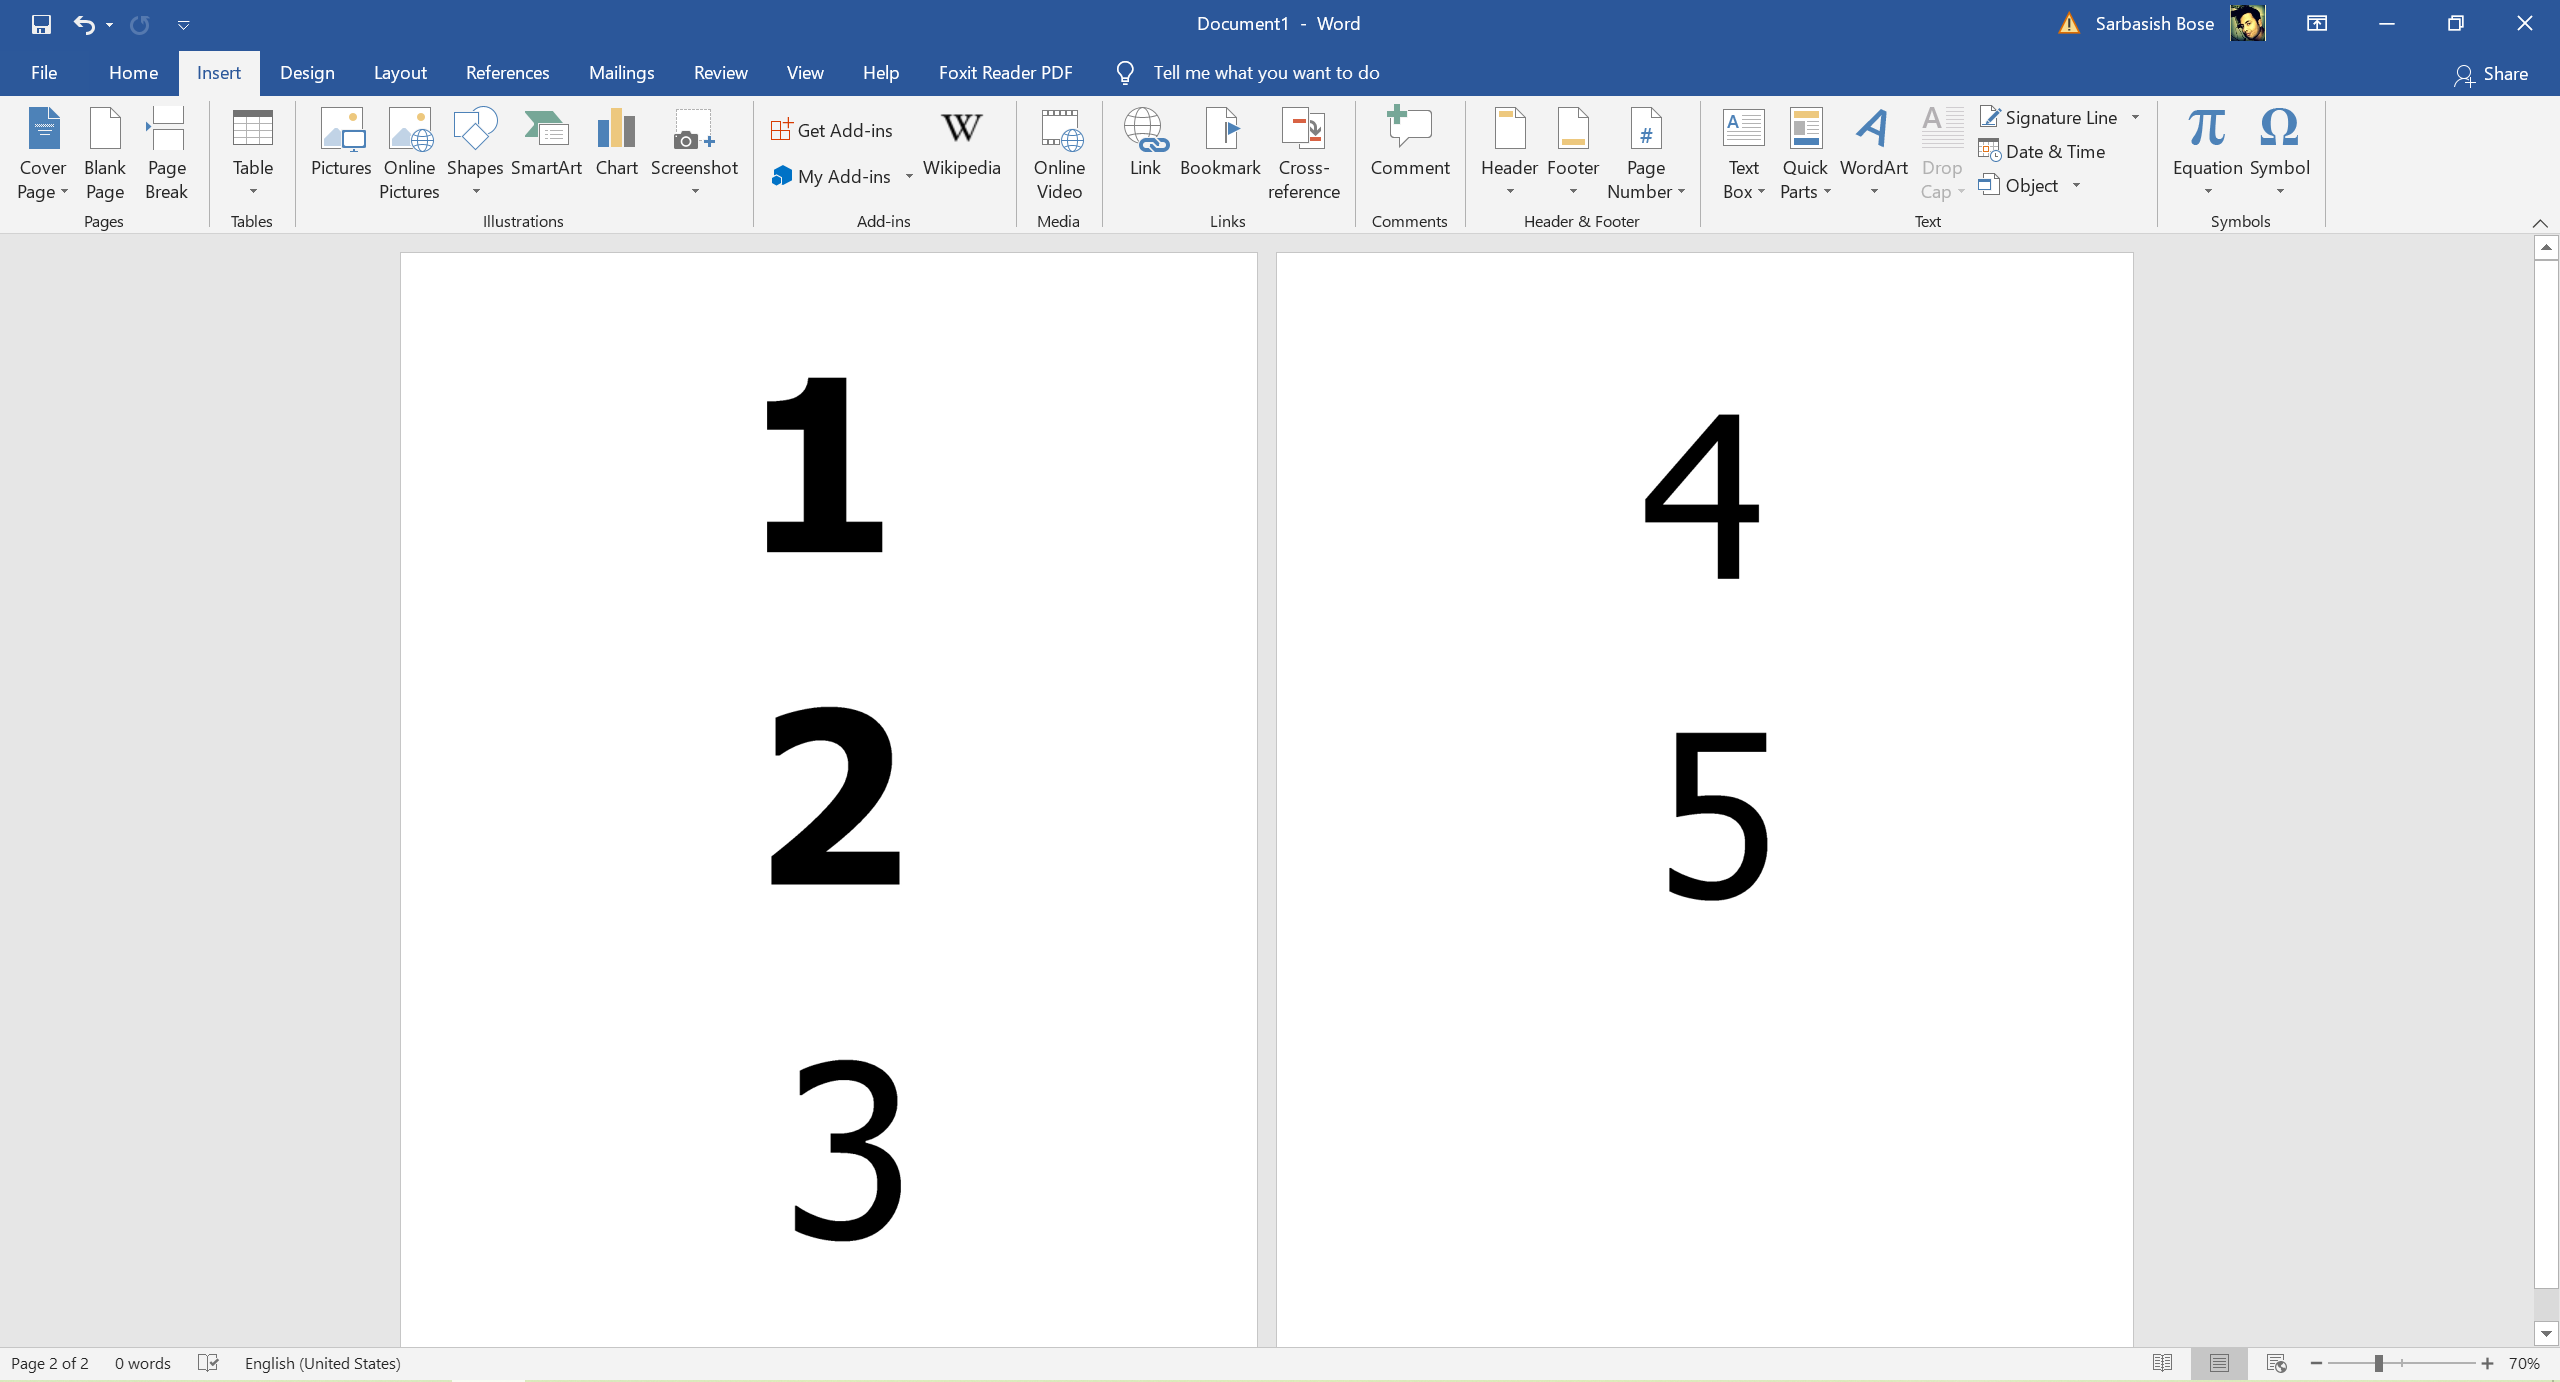
Step 3: You can now see all the images in your word processor, which is Microsoft Word for me. I have zoomed out to 70% for better understanding, in the screenshot below.
Step 4: Now, depending upon the resolution of each image, you can change the orientation and page size under the ‘Layout’ tab.

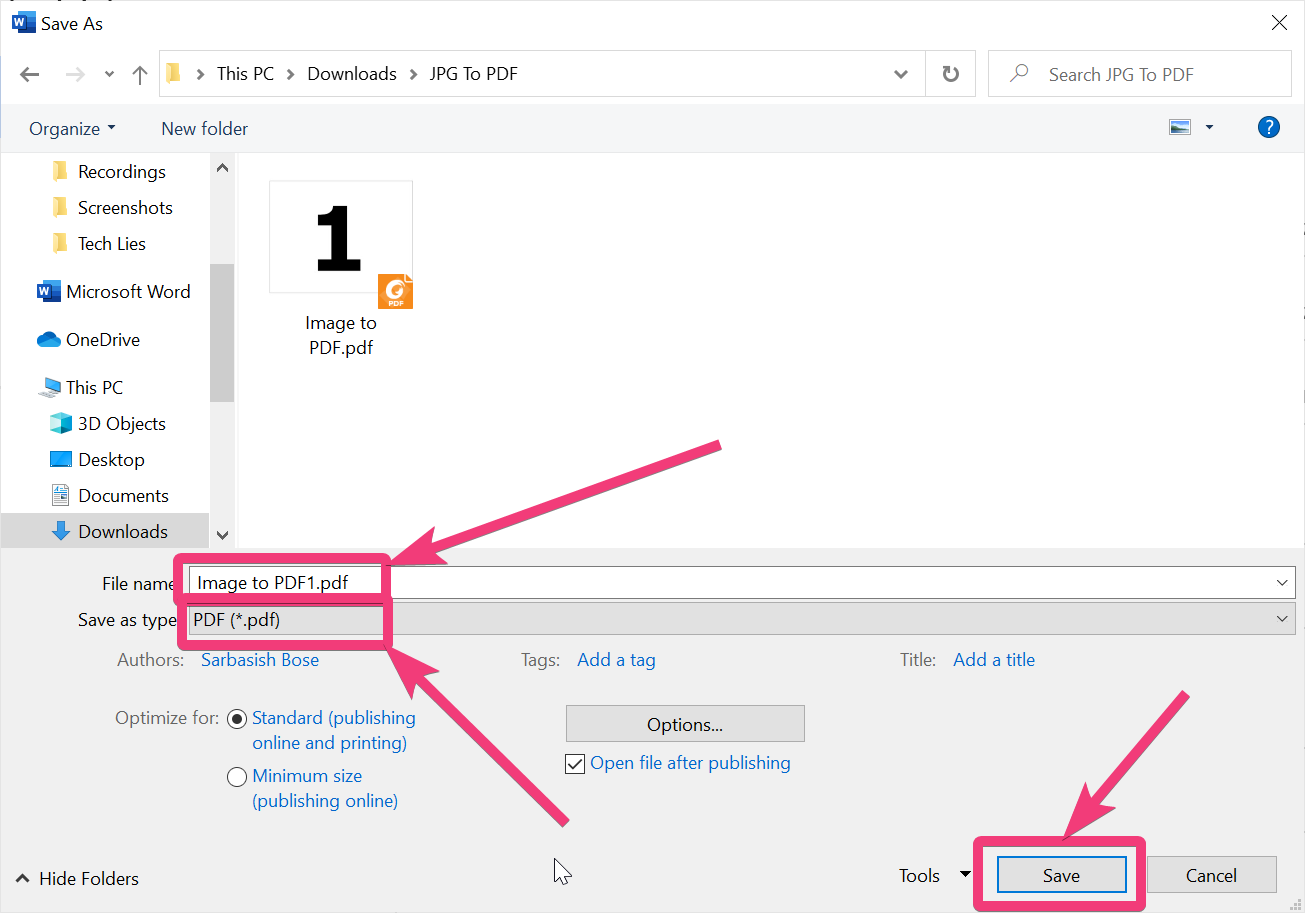
Step 5: After you find, the alignment is alright, and everything is properly visible and readable, you have to save the document as a PDF. Just Choose ‘PDF’ as the output format at the time of saving the document.
Now the PDF document containing all the images will be available to you.
It doesn’t matter which word processor you are using, as the process is almost the same for all word processors that you will come across. After you find, the PDF document looks as per your requirements, you can print the document out and share it with your friends if you want.
The two ways I have mentioned, to convert multiple images to a PDF should work, no matter which platform you are on, and without having an internet connection, as well.
So, that was all about, how you can save multiple images to a PDF file. Do you have any questions? Feel free to comment on the same below.
Related Posts
How to Reopen Closed Windows or Tabs in Firefox
How to Install Django on Windows 11 or 10
How to set Gemini by Google as the default Android assistant
How to create data bars in Microsoft Excel for numeric values
How to open HEIC images on Windows for free
How to install Server Manager Windows 11 or 10