Hexo is a simple and lightweight blog framework that can be installed using Nodejs NPM commands in a few minutes. Nodejs powered Hexo blog uses Markdown, a lightweight markup language with plain text formatting syntax to write posts; which further generated as static files and publish on the blog under the installed Hexo theme. The main attribute of Hexo is its capability to generate Gitbub blog pages; it means after installing the Hexo locally you can push your blog from Hex to Github pages directly which can be accessed using the subdomain of your created under the domain Github.io.
However, here we will only discuss how to install Hexo blog using NodeJS NPM on WIndows 10 for learning, developing and testing purposes… The process of HExo installation will be the same for Ubuntu Linux the only difference will be the process of nod.js installation.
Requirements to install Hexo Blog
- Node.js (at least nodejs 6.9 version)
- Git
Step 1: Install NodeJS+NPM on Windows 10/8/7
NodeJs is available in executable binary form for Windows, visit the official website to get it, for your convenience here is the download page link of NodefJS. Select the NodeJS LTS version for Windows LTS and download it.
Run the downloaded setup and follow the installation wizard, in few seconds NPM and Node both will be on your system.
Step 2: Install Git on Windows 10/7
As mentioned above besides the Nodejs another requirement of Hexo is the Git, thus visit the official download page of Git and download the Windows version of the same. Once you get it to install, the process will be like any other Windows program.
Step 3: Install Hexo blog using NPM
Open Command prompt on your respective Windows OS version and after that run the following given command to instal Hexo on Windows.
npm install -g hexo-cli

Step 4: Clone Hexo blog files
Now, in this step, we will clone the Hexo core files from the Github repository to our local system under a folder called blog. Thus, use type the given command and press the Enter button.
hexo init blog

Step 5: Switch to the blog directory
In the above step, we have cloned the hexo file under a directory called a blog, now use CD command and switch to that particular directory.
cd blog
npm install
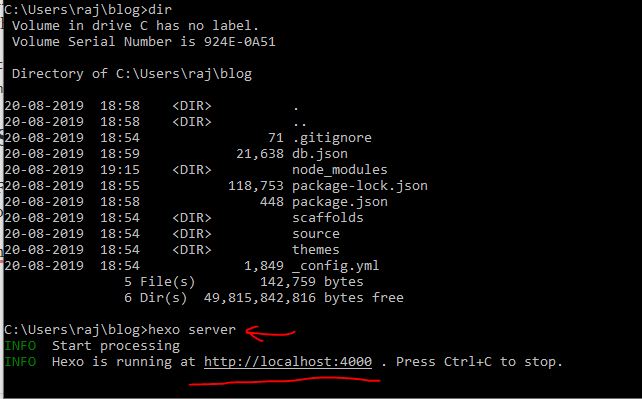
Step 6: Run the Hexo Server
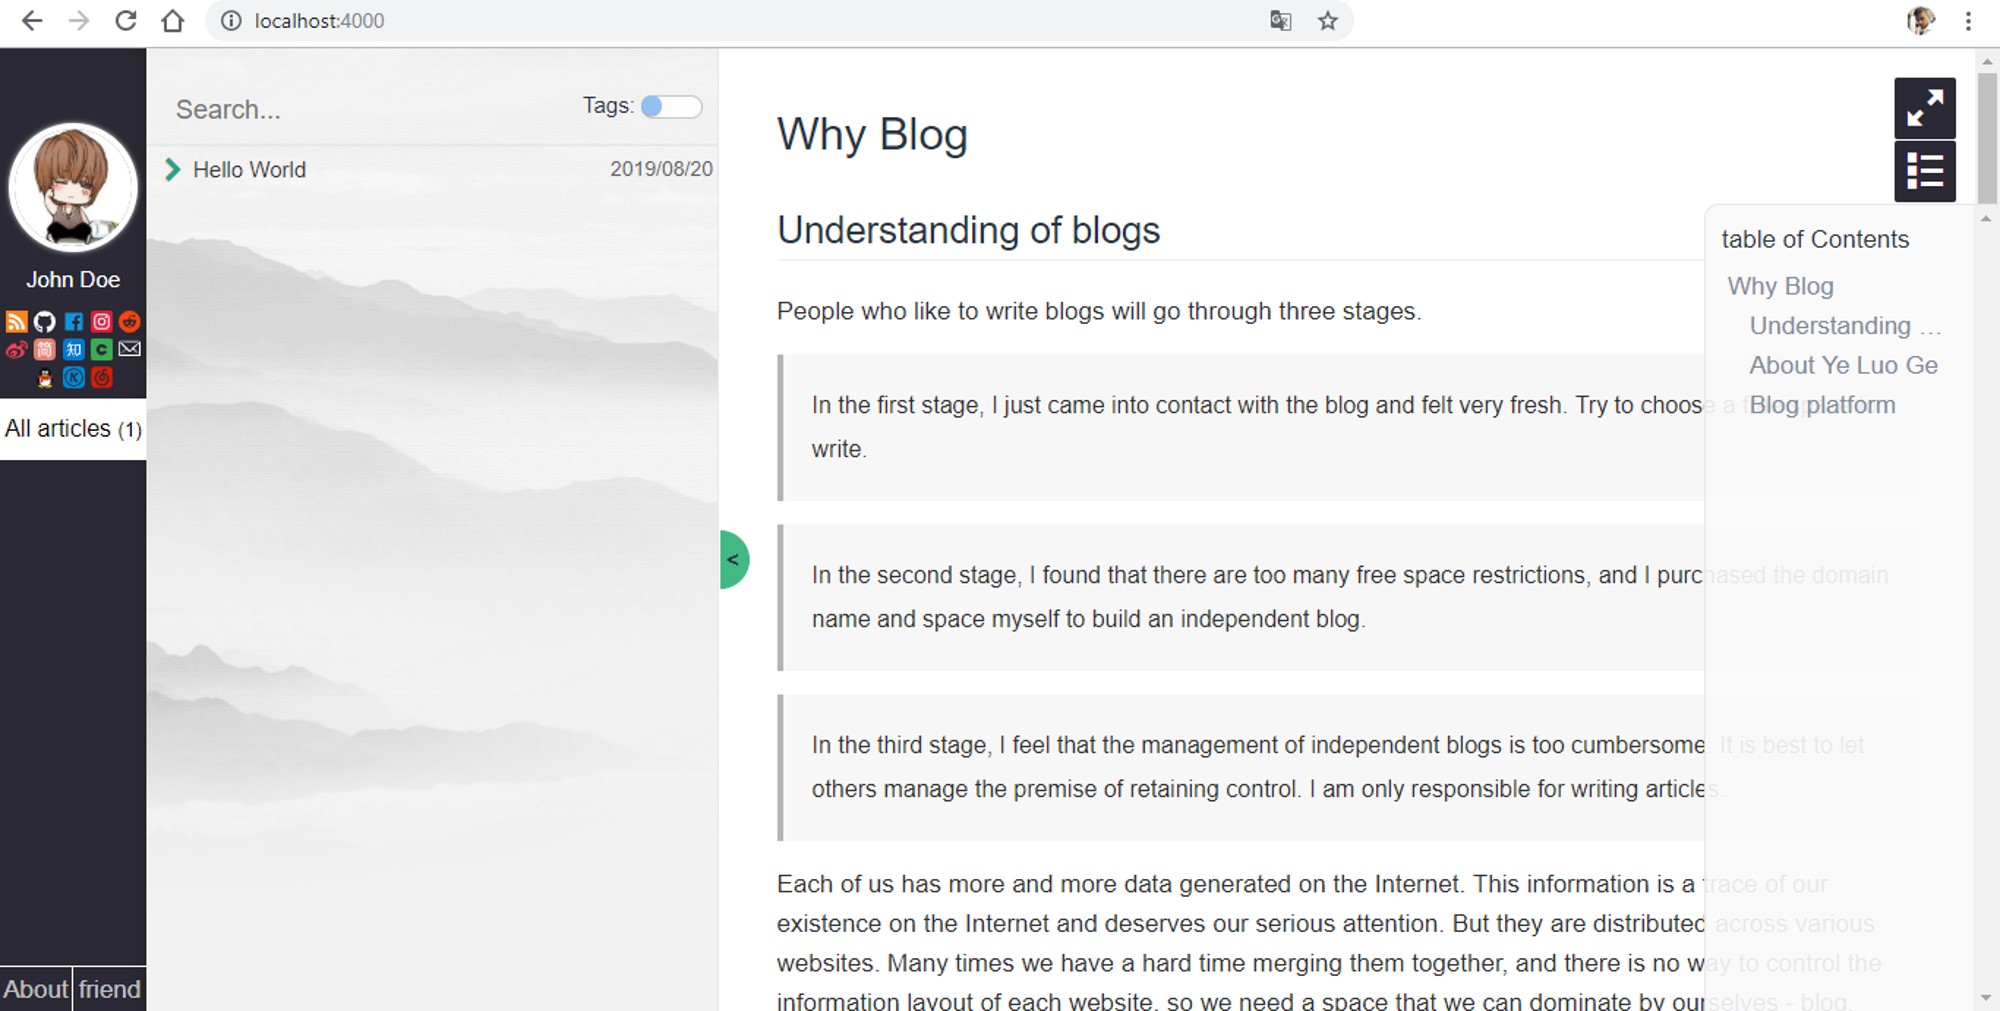
Finally, everything is ready on our Windows operating system and its time to run the hexo server command to view our blog in the browser under the localhost URL with a port 4000.
hexo server
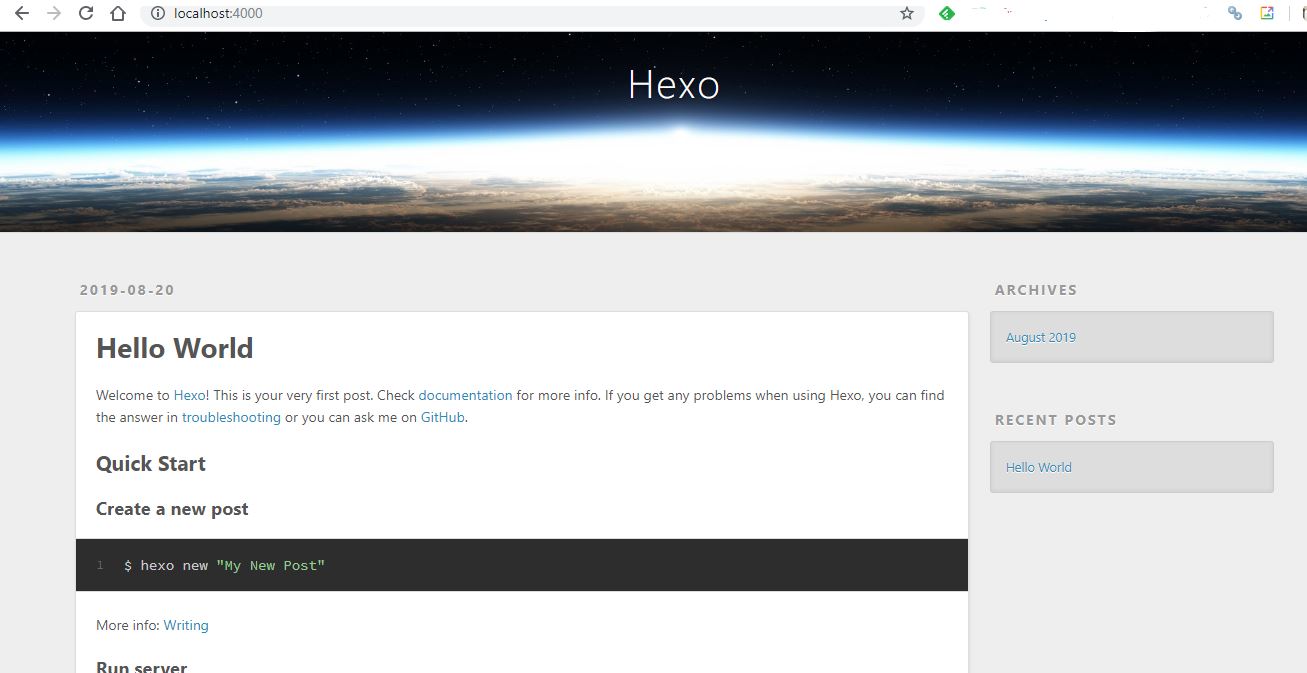
The output will show the URL which we can use to view the front of the blog, however, don’t try to use Ctrl+C keyboard shortcut to copy the displayed URL, it will stop the server. In lieu of that simply type:
http://localhost:4000
Download Hexo theme from Github and install
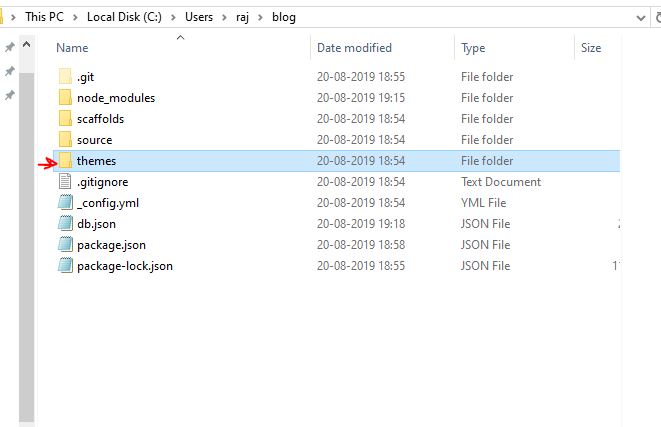
You can configure different aspects of Hexo blog directly by visiting the installation folder. In our case, it was under folder blog.
Here, we want to install some new theme, for that first, we go to hexo installed folder to access the Theme folder.
Simply download the Hexo theme from Github which you want to implement and after that copy it to the Themes folder of the Hexo blog.
Afterwards, Open the _config.yml file, present in main direcotry of hexo and find the line:
theme - landscape
Replace the default theme name landscape with the one you have downloaded, I mean just replace it with the folder name of your new theme present in Hexo themes folder.
We have download a theme called 3-Hexo, thus we modified the code as:
theme - 3-hexo
Now, stop and restart the Hexo server.
When this time you refresh your blog you will see your newly installed theme.
Here is our afresh implemented them which 3-hexo; a 3 column theme.
Other Tutorials to read:
Related Posts
How to install Winget package manager in Windows 2022 Server
How to View Listening Ports Using Netstat
How to Install Pygame Zero on Windows 11
Single Command to install Android studio on Windows 11 or 10
How to Install and Use Github Copilot in JetBrains IntelliJ idea
How to Install DoXygen in Windows 11 or 10