Looking to start building your videos, images, and HTML5 ads using Google Web Designer on Linux such as Ubuntu 22.04, 20.04 or any other version then the steps of this tutorial will help you a lot in setting up Google”s web designing application in a few commands.
The professional-grade software Google Web Designer is for developers interested in web development and designing. It offers tools that allow users to create interactive and visually engaging HTML5 content, including advertisements and other interactive elements for websites, across different devices and screen sizes.
Key features of Google Web Designer include:
- Offers a full design suite and the ability to edit HTML, CSS, and JavaScript directly.
- Visual Design Interface
- Animation Capabilities for adding dynamic content to web pages.
- Multi-device Preview to know how the created content will appear on various devices and screen sizes.
- Offers seamless Integration with Google Products such as Google Drive and Google Ads
- 3D Authoring Tools
- Availability for all major platforms – Windows, macOS and Linux
Start installing Google Web Designer on Ubuntu
The steps given here are performed on Ubuntu but can be used on Debian, Linux Mint, MX Linux, Kali Linux, and other similar Linux platforms.
Step 1: Update and install the required packages
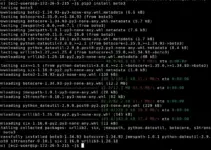
The first thing that needs to be performed before installing some new packages on Linux such as Ubuntu is running of system update command. It will update the already installed packages if some new updates are available along with rebuilding of APT package index cache.
Apart from updating, also install some common packages required to add new repositories.
sudo apt update && sudo apt install curl software-properties-common apt-transport-https ca-certificates -yStep 2: Download Google Web Designer GPG key
The packages we get through a repository of the Linux system are signed with a cryptic key. It informs the system that the packages we are downloading are from genuine sources and are available to us as they were published by the developer. So, before adding the repo of Google Web Designer, import and add its GPG key using the given command:
curl -fSsL https://dl.google.com/linux/linux_signing_key.pub | gpg --dearmor | sudo tee /usr/share/keyrings/google-web-designer.gpg > /dev/null Step 3: Add Repository
Next, add the official repository of Google Web Designer signed by the GPG key we have added in the previous step.
echo "deb [arch=amd64 signed-by=/usr/share/keyrings/google-web-designer.gpg] http://dl.google.com/linux/webdesigner/deb/ stable main" | sudo tee /etc/apt/sources.list.d/google-web-designer.listOnce you have added the repository, don’t forget to run the system update command again. It flushes and rebuilds the APT cache so that it can recognize the packages available to install through the added Repos.
sudo apt updateStep 4: Install Google Web Designer
We have successfully prepared our Ubuntu Linux to directly download the packages for the installation of Google Web Designer using the default system package manager. Now, just run the given command in your terminal.
sudo apt install google-webdesigner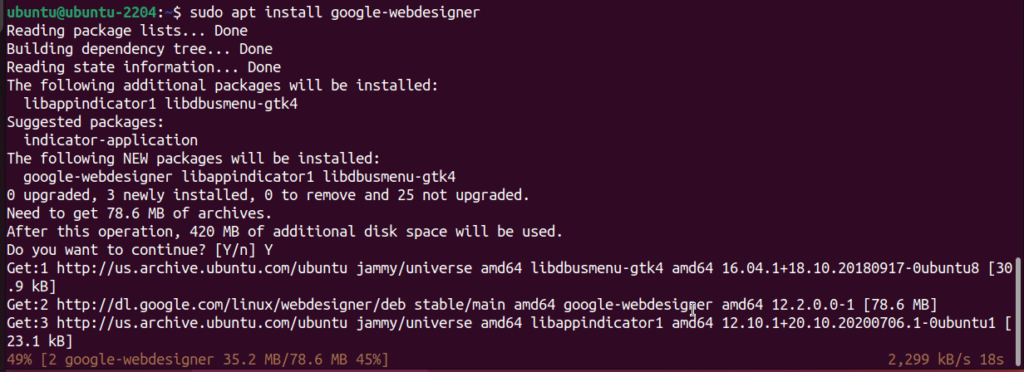
Step 5: Launching Google Web Designer
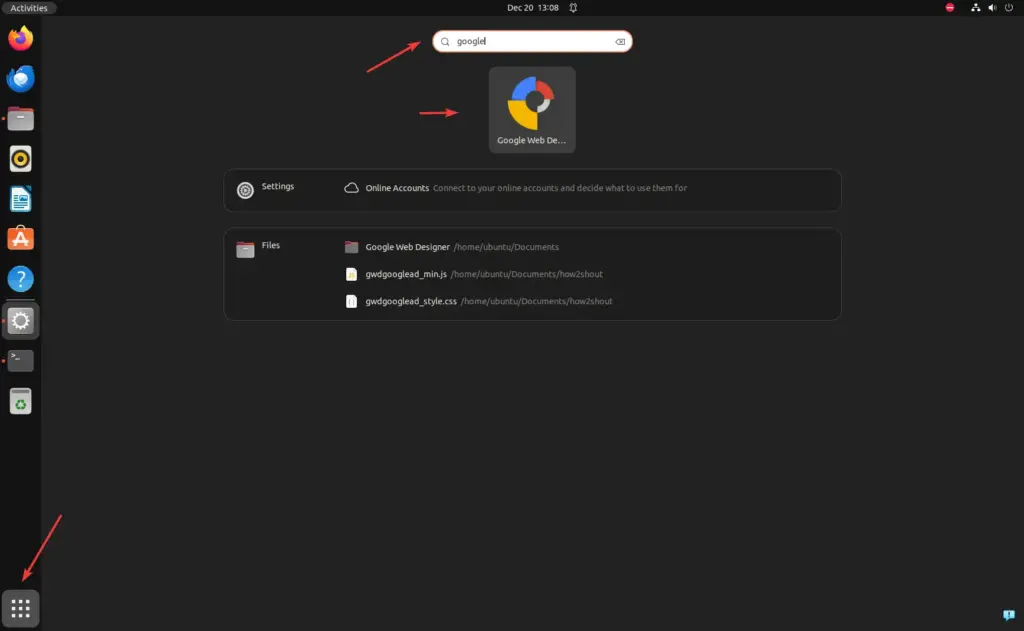
We can either start the Google Web Designer using the Terminal or by navigating to the application area and selecting its icon through the graphical user interface of Ubuntu.
If you prefer Terminal then type:
google-webdesigner &or else
Step 6: Create your web animation
As you open the web ads designing software developed by Google, you will have a video or photo editor-like interface, quite easy to understand.
1. Create a New Project:
- Click on the “File” menu option.
- Select “New” or “New from Template” to choose from the existing templates e.g., Banner, Expandable Ad, Blank.
3. Design Interface:
- After selecting the template you will have the familiar king of interface consisting of different panels, including the timeline, document outline, and properties.
- Design your content using the drawing and text tools.
4. Add Elements:
- Drag and drop elements from the “Components” panel to the stage.
- Common components include images, text, buttons, and more.
5. Animation:
- Google Web Designer supports animation. Use the timeline to add and manage animations.
- Select an element, click on the timeline, and choose “Add Keyframe” to set animation points.
6. 3D Authoring (Optional):
- If you want to create 3D content, use the 3D authoring tools available. You can explore the 3D layer and transformation options.
7. Preview:
- Click “Preview” to see how your content looks and behaves.
8. Publish:
- Once satisfied with your design, click on “File” and select “Publish.”
- Choose the appropriate settings for your project (e.g., HTML5, DoubleClick, etc.).
9. Save Your Project:
- Regularly save your project using “File” -> “Save” or “Save As.“
10. Documentation and Help:
- Explore the available documentation and help resources provided by Google Web Designer.
- Visit its official YouTube Video Tutorials channel for detailed information and tutorials.
11. Exporting Assets:
- If you want to use the assets you created in another project or platform, export them using the “File” -> “Export” option.
In this way, anybody can easily install Google Web Designer on Linux to not only use the visual interface to create web ads but coding as well.
Other Articles: