Ubuntu 19.04 Disco Dingo (Desktop & server) is the latest update of the Ubuntu operating system which named as “Disco Dingo”. It is one of the major updates released by the Canonical overhauled with Linux Kernel 5. Right now, Ubuntu 19.04 is in beta stage, however, the stable one would be available to download in April 2019.
Before delving into the process of Ubuntu 19.04 downloading and installation, here are some of its new features:
New features in Ubuntu 19.04
- Linux Kernel 5.0
- Support for AMD Radeon RX Vega M graphics processor and Qualcomm Snapdragon 845
- Raspberry Pi 3B and the 3B+ support
- Lots of USB 3.2 and Type-C improvements
- Intel Cannonlake graphics
- Power-savings improvements
- P-State driver support for Skylake X servers
- POWER memory protection keys support
- KVM support for AMD Secure Encrypted Virtualization
- Enablement of Shared Memory Communications remote and direct (SMC-R/D)
- Open for Business (OFB)
- Zcrypt on IBM Z
- Refreshed tools with upstream releases such as glibc 2.29, OpenJDK 11, boost 1.67, rustc 1.31, and updated GCC 8.3, python 3.7.2 as default, ruby 2.5.3, php 7.2.15, perl 5.28.1, and golang 1.10.4.
- And lots of other major and minor improvements and fixation.
To know more about the novel Ubuntu 19.04 release, visit the Ubuntu ReleaseNotes page.
Trivia: The Process of downloading & installation on VirtualBox of the Ubuntu 19.04 beta will be the same for the upcoming Ubuntu 19 stable versions.
Download and install Ubuntu 19.04 “Disco Dingo” on VirtualBox
- First of all, we need to visit the Ubuntu releases page.
- Here is the link (http://releases.ubuntu.com/19.04/) to download the Ubuntu 19.04 ISO images for desktop and server.
- Once you on the Ubuntu distribution download page you will find two Ubuntu 19.04 ISO images to download one is Desktop image and other Server install image. Select the one which you want to try.
- If you have a computer running on AMD64 or EM64T architecture (e.g., Athlon64, Opteron, EM64T Xeon, Core 2). Then Simply select the Image “64-bit PC (AMD64) desktop image or server install image“.
- As you select the image it will pop-up and start and downloading on your system. However, other options such as torrent download also available on the same page.

Installation of the Ubuntu 19.04 ISO image on VirtualBox.
Step 1: Open VirtualBox
If you don’t have the VirtualBox installed on your system then go to the website Virtualbox.org and download it.
Run the Virtual box and click on the NEW button given on the menu.
Create Virtual Machine window will pop-up, where we have to enter the name of the operating system then select the type of OS: Linux and Version: Ubuntu (64-bit).
Now click on the NEXT button to move forward.

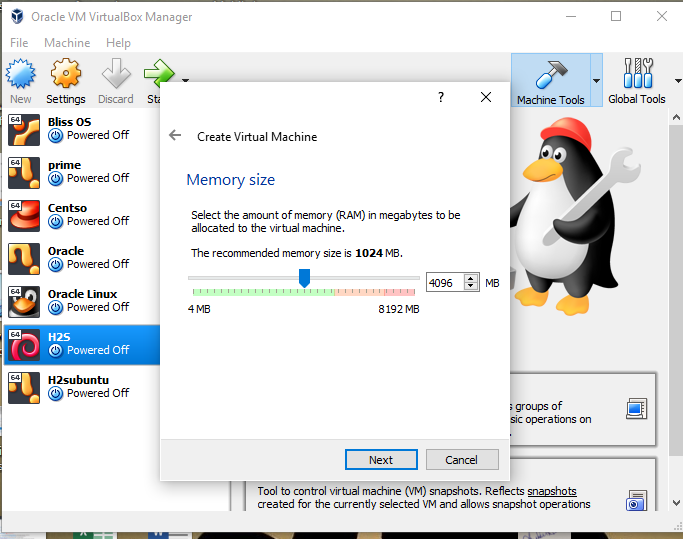
Step 2: Assign RAM to Ubuntu 19.04 Virtual machine
At this step, we will assign Virtual memory or RAM to our Ubuntu 19.04 operating system. We are assigning 4GB for optimal operations and to execute all the tasks smoothly on the OS. You can assign less or more as per the availability on your physical operating system. Once you assigned the memory, click on NEXT button.
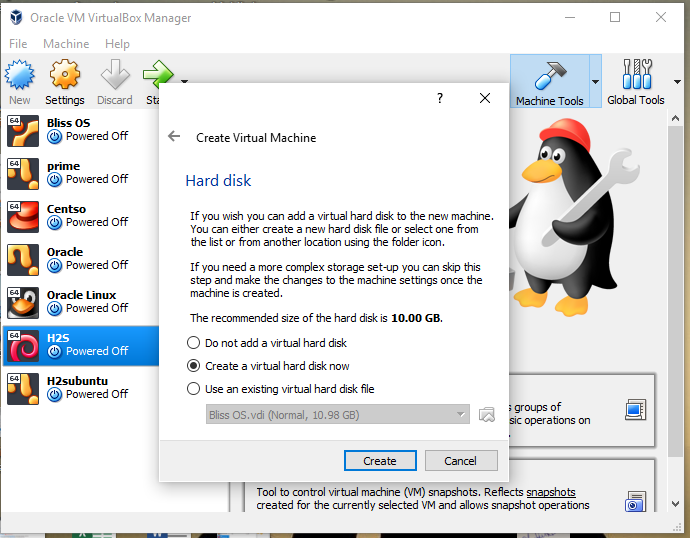
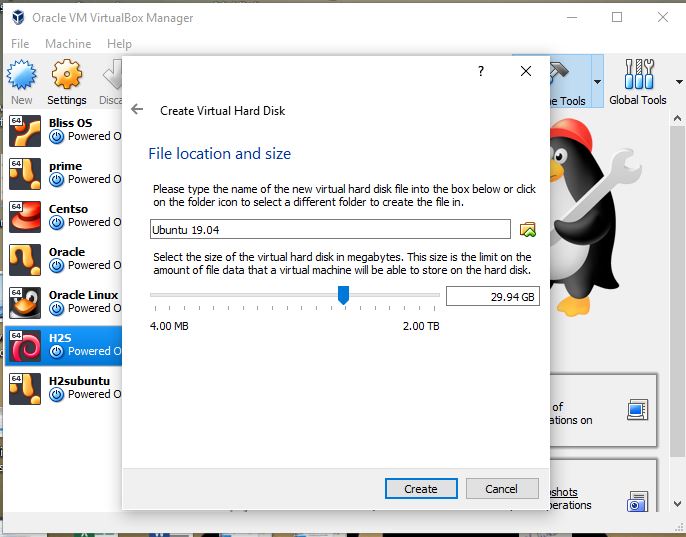
Step 3: Create Virtual Hard disk
To install Ubuntu 19.04 on VirtualBox, we need some storage space for that, add a virtual hard disk.
Select “Create a Virtual Hard disk Now” option and click on the Next button.
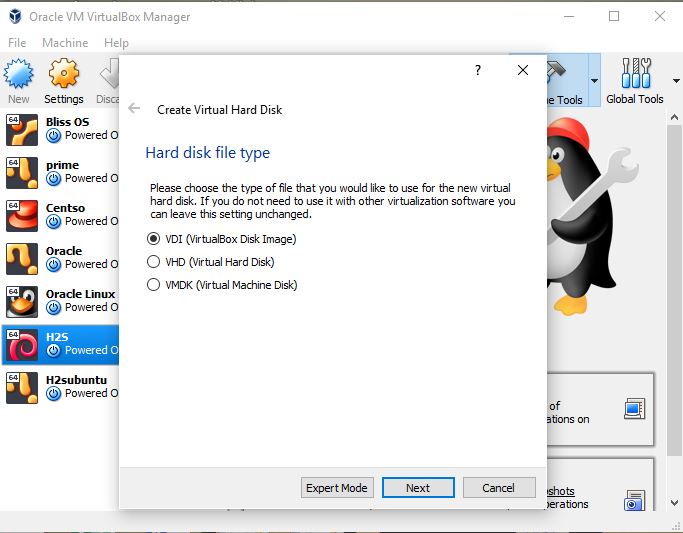
Choose any of the hard disk file types, if you don’t have any idea about this, leave this option as default and simply click Next button to move further.
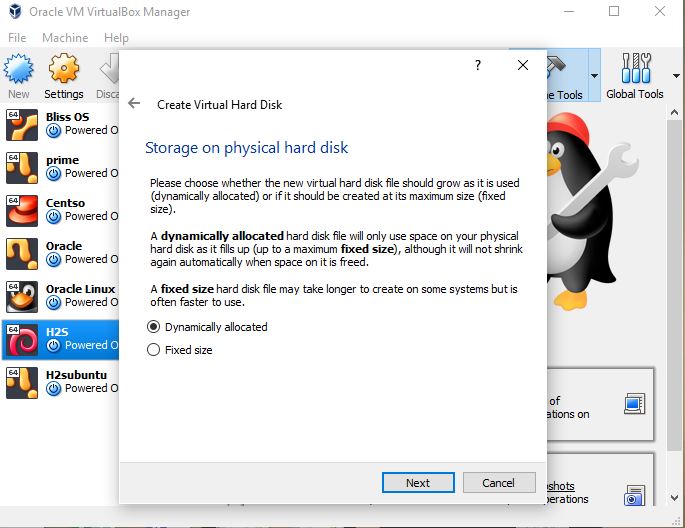
Select the “Dynamically allocated” hard disk which will only use the space on the physical drive by the virtual hard drive as it grows up.
Assign the amount of storage you would like to give your Ubuntu 19.04 operating system. The recommended one is 10GB at least for proper functions. However, we are assigning 30 GB because we have to test and install some software on Ubuntu.
Click on Create button.
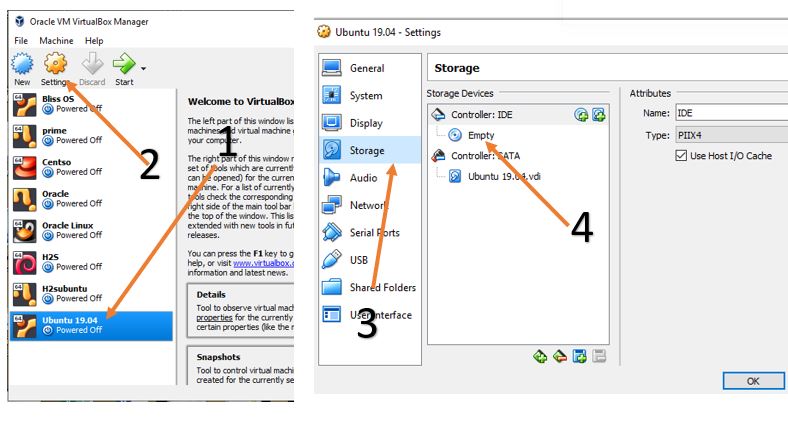
Step 4: Add Ubuntu 19.04 ISO file to VirtualBox
After following all above-given steps we have successfully created an Ubuntu 19 Virtual machine. Now the next step is to assign the ISO file of Ubuntu 19.04 beta version downloaded at the beginning of this article. For this:
- Select the Ubuntu 19 created VM from the left panel of the VirtualBox.
- Click on the Settings button given on the Menu.
- Under settings select the Storage option.
- Click on Empty CD icon available under Storage Devices section (on right side panel).
Now from the Attributes section click on the CD icon and select “Choose Virtual Optical Disk File“.
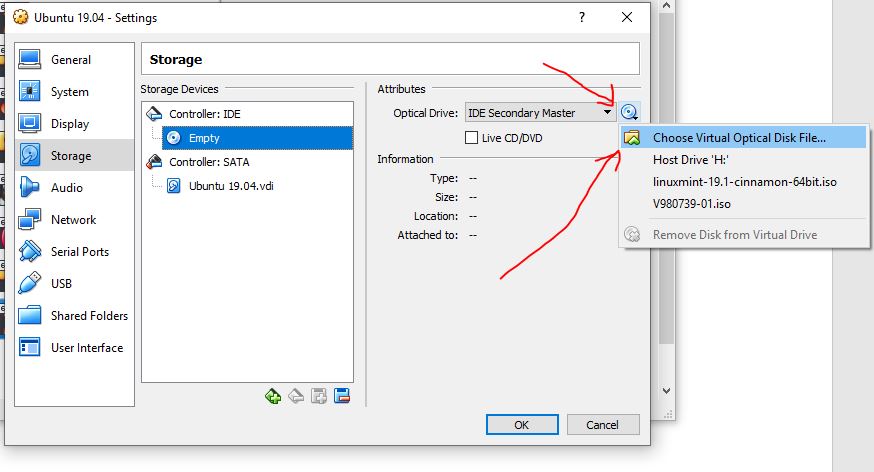
This will open the file explorer from where select the downloaded Ubuntu 19.04 ISO file. And finally, click on the OK button to close the VirtualBox Settings.
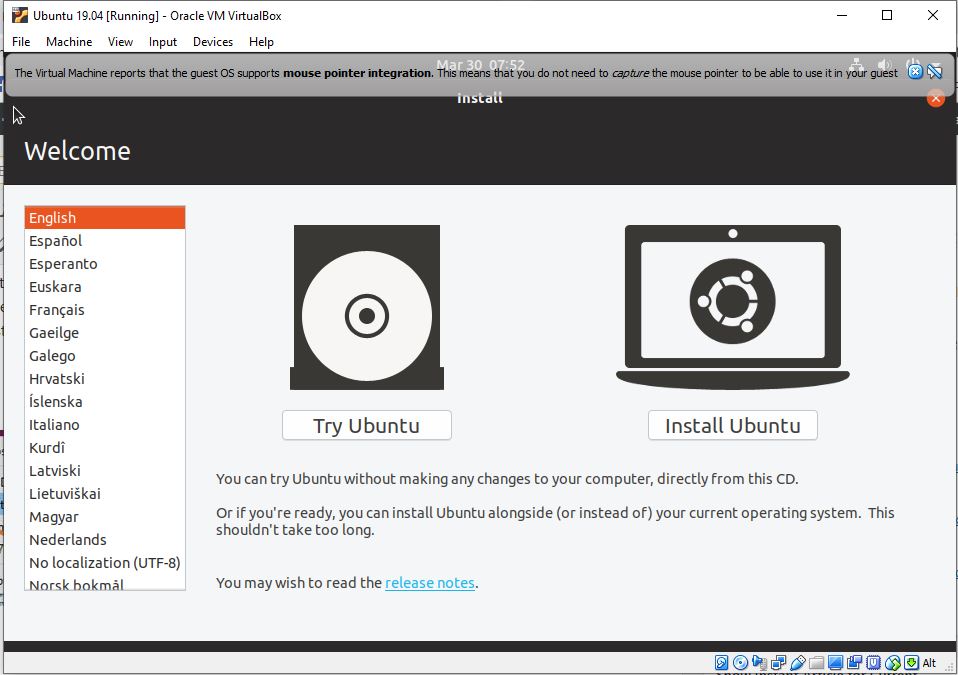
Step 4: Install Ubuntu 19.04
To begin the installation of the OS, just again select the freshly created Ubuntu VM from the left side of the VirtualBox panel and click on the Start arrow icon given on the Menu of Vbox.
This will start the guided process of the Ubuntu 19 installation, follow the step by step installation wizard.
Once it installed, right click on the CD icon given in the bottom menu of the VirtualBox and click on the Ubuntu 19.04 attached ISO file.
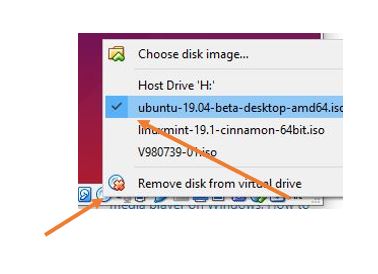
This will pop-up a force unmount notification on the screen, click the force unmount button.

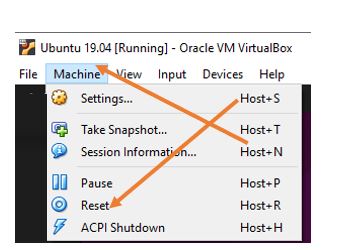
Now go to the top menu->Machine and Select Reset (Host+R). This will restart the virtual machine and you will your newly installed Ubuntu.
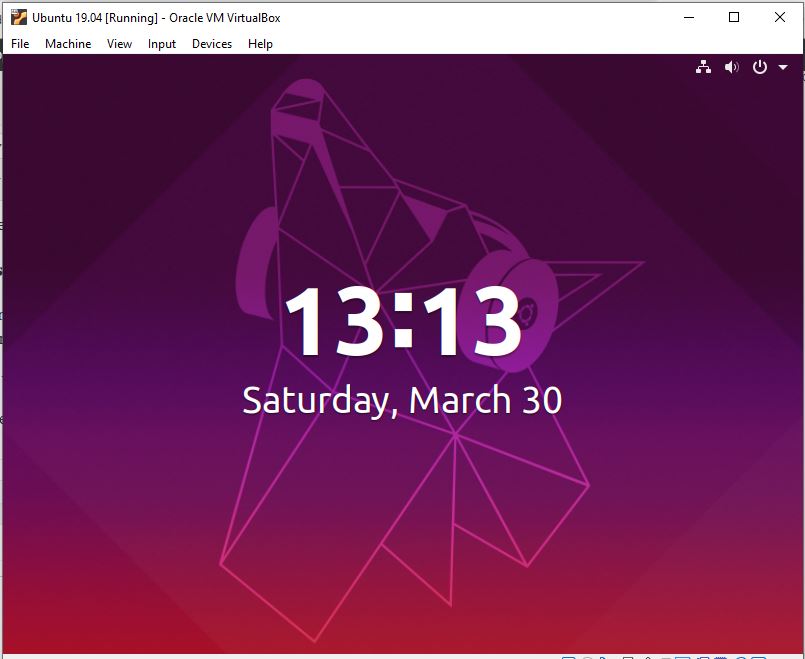
Step 5: Login
Press the space bar.
Enter the password which you have created while installing the Ubuntu 19 and click on Unlock.
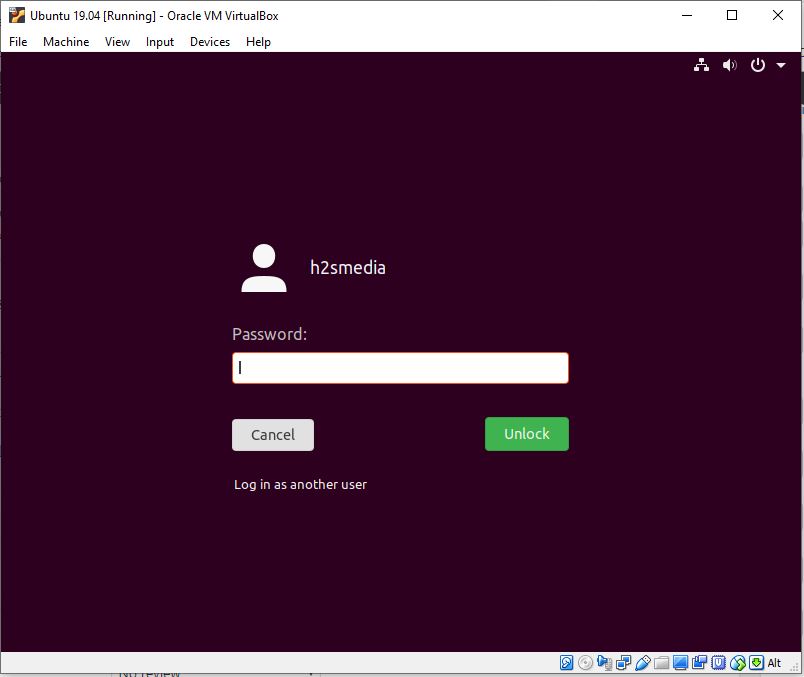
Here is the newly launched Ubuntu 19 with new icon style and features. Start exploring it.

Other Useful Resources:


I followed the instructions explicitly, however after “Now from the Attributes section click on the CD icon and select “Choose Virtual Optical Disk File“.”, I was told that an error had been detected and that it was taking up 84% of memory and that there wasn´t sufficient memory. Tried several times, no joy.
So I removed the new machine (Ubuntu 19) from Virtual Box, started again, and at the “create virtual machine stage” instead of 4GB I took it to the edge of the green bar (about 2½ GB). Then things worked as described, no error detected.
Hi there! This is my first comment here so I just wanted to give a quick shout out and say I really enjoy reading through your
posts. Can you recommend any other blogs/websites/forums
that deal with the same topics? Thanks a ton!
Everything above works fine until but after selecting the ISO file, nothing shows up in VirtualBox. If I try to start to start Ubuntu I get the message:
Failed to open a session for the virtual machine Ubuntu 19.04.
Call to WHvSetupPartition failed: ERROR_SUCCESS (Last=0xc000000d/87) (VERR_NEM_VM_CREATE_FAILED).
Result Code: E_FAIL (0x80004005)
Component: ConsoleWrap
Interface: IConsole {872da645-4a9b-1727-bee2-5585105b9eed}