Webmin is an open source and free to use web service management platform. It has a web-based interface for system administration for Unix based operating systems. Any browser can be used to set up and manage the server services setup user accounts, Apache, DNS, file sharing and much more using the Webmin front end. To know more about Webmin you see our article: What is Webmin?
In this article, we will see how to install Webmin on Centos 7 and Centos 6 including the RedHat and Fedora 28 and 29 and 28.
Install Webmin: Centos, Redhat, Fedora
For this Webmin tutorial, we are using the Centos but the steps and process will be the same for other Linux operating systems those use or support the RPM packages. In addition, you can use the below-given command to install Webmin on systems running Mandriva, SuSE, TurboLinux, Caldera OpenLinux. If you are on Ubuntu then you can see this article: Install Webmin on Ubuntu server.
Step 1: Login as root
Go to your Linux operating system and open the command terminal. Login as root.
For that the command will be:
su
and enter the root password.
Step 2: Webmin YUM repository file
To install the Webmin on Centos, Redhat or Fedora via Yum, first of all, we need to create a /etc/yum.repos.d/webmin.repo file. Run the below command to create this file.
vim /etc/yum.repos.d/webmin.repo
Step 3: Add the Webmin Yum repo code
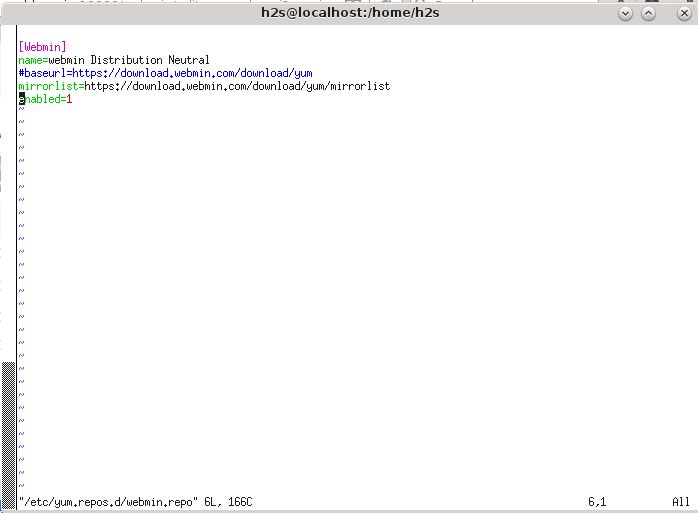
Add the below-given code to the above-created file. You can also see the below screenshot:
[Webmin]
name=Webmin Distribution Neutral
#baseurl=https://download.webmin.com/download/yum
mirrorlist=https://download.webmin.com/download/yum/mirrorlist
enabled=1
After adding the code press ESC and then type : x and press Enter key. It will save the code into the Webmin.repo file.
Step 4: Update the System
After adding the Webmin repo you need to run the update command.
For Centos and Redhat
yum install update
For Fedora
dnf install update
Step 5: Install my GPG key
After updating the system, add the GPG key with which packages of the Webmin has been signed. Run below command one by one:
Import the Key
wget http://www.webmin.com/jcameron-key.asc
Install the key
rpm --import jcameron-key.asc

Step 6: Install Webmin on Centos
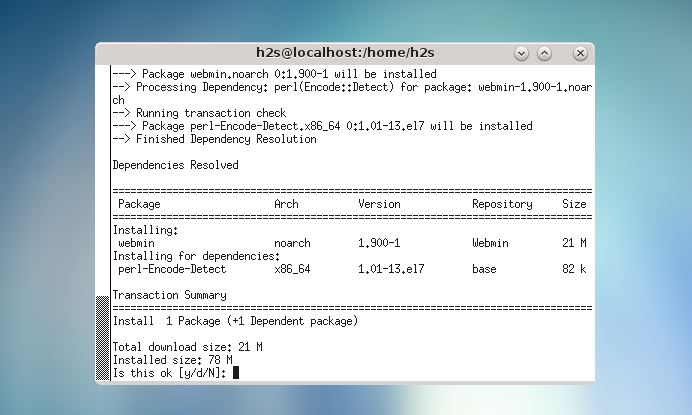
Once you performed all the above steps, its time to install the Webmin using the YUM on Centos.
yum install webmin
Step 7: Setup Webmin on Centos
Now its time to set up the Webmin. Open the browser and enter the IP address of server following by Webmin port number 10000, so it will be like IPaddress:10000. For example, in our case, it is 192.168.43.255:10000. If you are using the local browser of the same machine where you have installed the Webmin them simply use type localhost:10000 or 127.0.0.1:10000 in the browser.
Step 8: Login Webmin
To login Webmin, you need to use the root user of your machine where the installation has done. In the username type the root and in password its password.

Step 9: SSL Webmin
While accessing the Webmin, if you get SSL error then simply click on the https link showing on the screen and add the exception. However, in the next step, we will show how to disable the SSL error for Webmin on Centos.

Step 10: Disable SSL Webmin on Centos
Once you get the Webmin Dashboard click on the Webmin option given on the left panel and select the Webmin configuration.
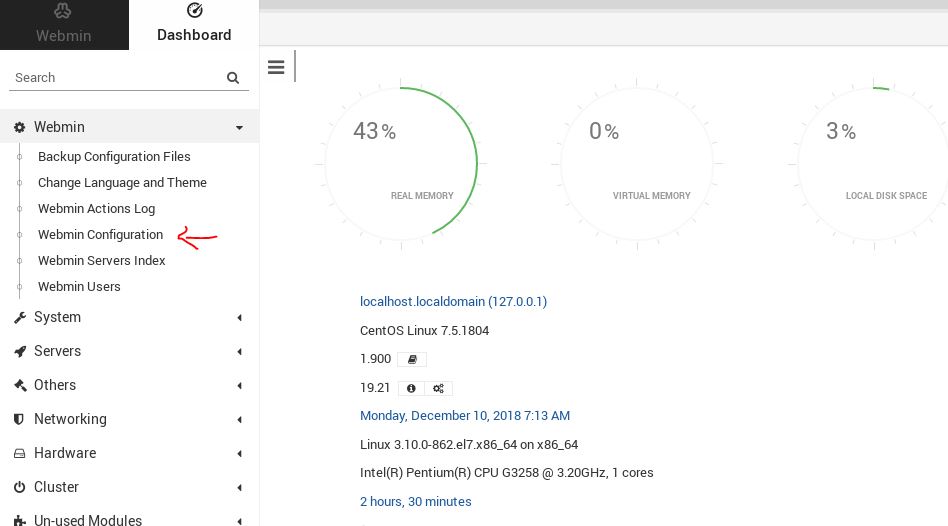
Select the SSL encryption option…
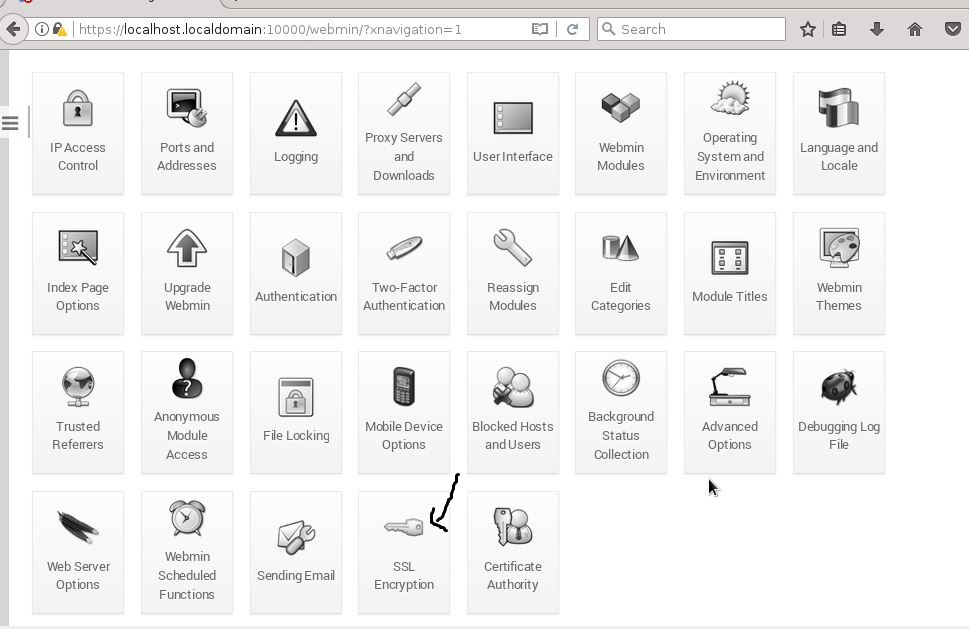
Under the SSL support. Select the NO option given for Enable SSL? and then click on the Save button.

Step 9: How to update Webmin Centos
To update the Webmin on Centos go to the Webmin configuration and select the Upgrade Webmin option and check for update. If there are some updates available then you will get them.

Other Resources to see:
Related Posts
10 Best Webmin Alternative tools for Ubuntu or Linux Servers
How to restart Webmin on Ubuntu, Centos or any other Linux
Webmin on Centos: How to install and setup it on Centos, RedHat & Fedora
How to install Webmin on Ubuntu 18.04 /16.04 LTS server
What is Webmin tool and usage on Linux
10 Best open source web hosting control panel (Cpanel) 2022