In this tutorial, we are installing a simple alternative to WHM’s Cpanel i.e. aaPanel on Ubuntu 22.04 or 20.04 Linux server to manage web servers, PHP, and MySQL databases using web UI to host websites easily and efficiently.
Server Administration can be a challenging task, especially when everything needs to be done through the command line. To make Admins perform complex tasks in a few clicks, there are various free, open-source, and paid platforms available. For example, popular WHM’s cPanel, however, is completely a paid solution. So, if you are looking for some Control Panel but with the free plan then aaPanel for Linux can be an option to look for. It is not only free but offers a user-friendly web hosting control panel that simplifies server management tasks. So, that newcomers and even experienced ones can handle web servers with ease.
Go through the steps required to install aaPanel on Ubuntu Linux, the process is quite simple, you just need to have a basic understanding of Linux commands.
What is aaPanel?
aaPanel is an open-source web hosting control panel that supports multiple web server technologies such as Apache, Nginx, and OpenLiteSpeed (through app), making it versatile for a wide range of web hosting needs. The key reason to use it is the web interface aaPanel offers that allows users to perform various server-related tasks, such as setting up websites quickly, managing databases, configuring PHP, and more, without the need for extensive command-line knowledge.
Prerequisites
What do we need to perform the installation of aaPanel on Ubuntu, here is the list that must be in place before following this tutorial:
- Ubuntu Server 20.04 or 22.04: We need a clean minimal Ubuntu server without any prior installed hosting control panel.
- Root or Sudo Access: The user or Admin who is planning to install the packages must have root access or sudo privileges on the Ubuntu server.
- A Domain Name: It is not a must to have a domain but later if you are planning to host some website using aaPanel, you should have a domain name configured and pointed to your server’s IP address.
Step-by-Step Installation of aaPanel on Ubuntu
Follow these steps to install aaPanel on your Ubuntu server:
Step 1: Update your Ubuntu 22.04 or 20.04 Server
This is not something you would not have done already but still before planning to install some new package it is recommended to run the system update command once. It will ensure our system not only has up-to-date packages but also information about the new ones through the system repositories.
So, in your command terminal, execute the given command:
sudo apt update && sudo apt upgrade -yInstall Wget:
sudo apt install wgetStep 2: Download and Execute the Installation Script
aaPanel provides a convenient installation script that will automate the whole installation process unlike installing each service manually. This not only saves time but is user-friendly, especially for new users. So, in your command terminal just execute the given command:
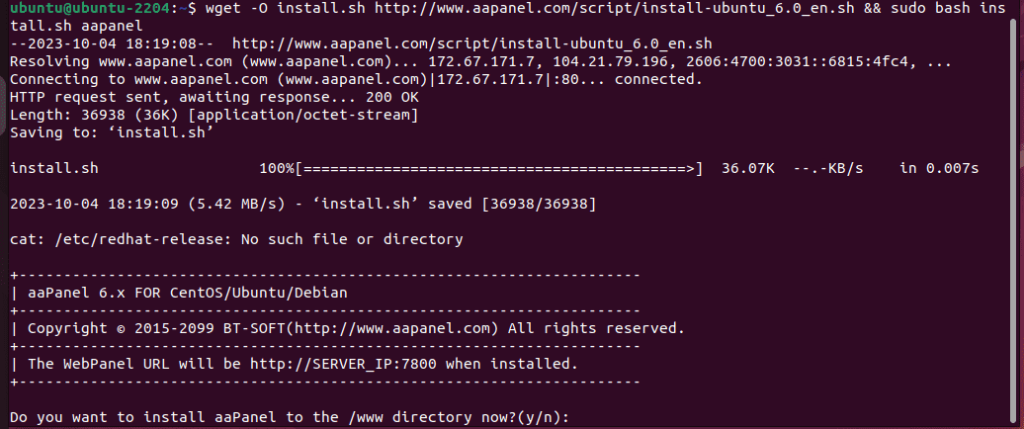
wget -O install.sh http://www.aapanel.com/script/install-ubuntu_6.0_en.sh && sudo bash install.sh aapanelNote: you can check out the script for other Linux systems from the official website.
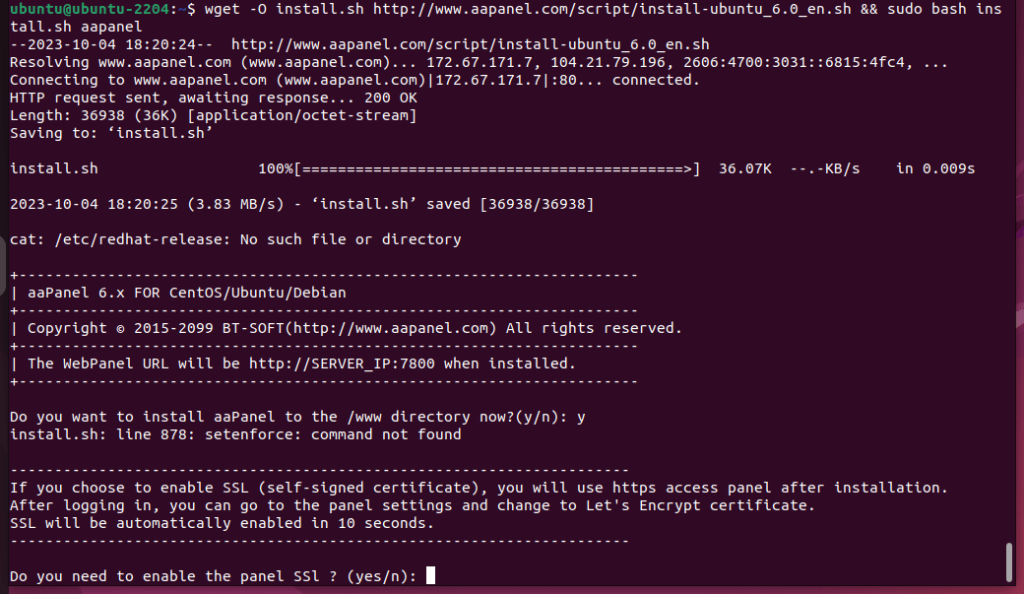
As you run the script, it will ask for your permission to install aaPanel in the web directory /www, press the Y key, and then Enter to continue the process.
If you are not using SSL already or some WAF service like CloudFlare and want to enable SSL in aaPanel then again type “Y” and hit the Enter key.
Step 3: Access aaPanel Web Interface
After the installation is completed, on the terminal screen you will see the IP Addresses that can be used to access the Dashboard of aaPanel. Just open your local browser that can access the server IP address and enter that along with port number “:7800“. For example, if your server’s IP address is “10.0.2.15,” you would enter “http://10.0.2.15:7800” in your browser’s address bar.
Also, the default Admin username and password for aaPanel login will be there on the terminal.

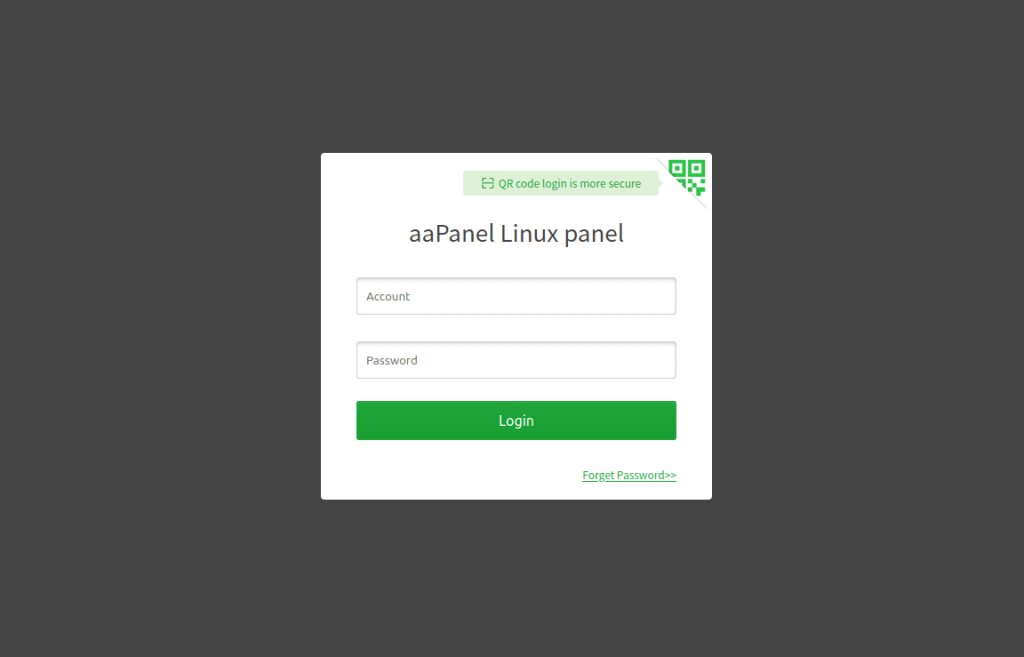
Step 4: Log In to aaPanel
You will be prompted to log in to aaPanel using the username and password you got upon the completion of the installation script. Once logged in, you can start using aaPanel to manage your web server and hosting services.
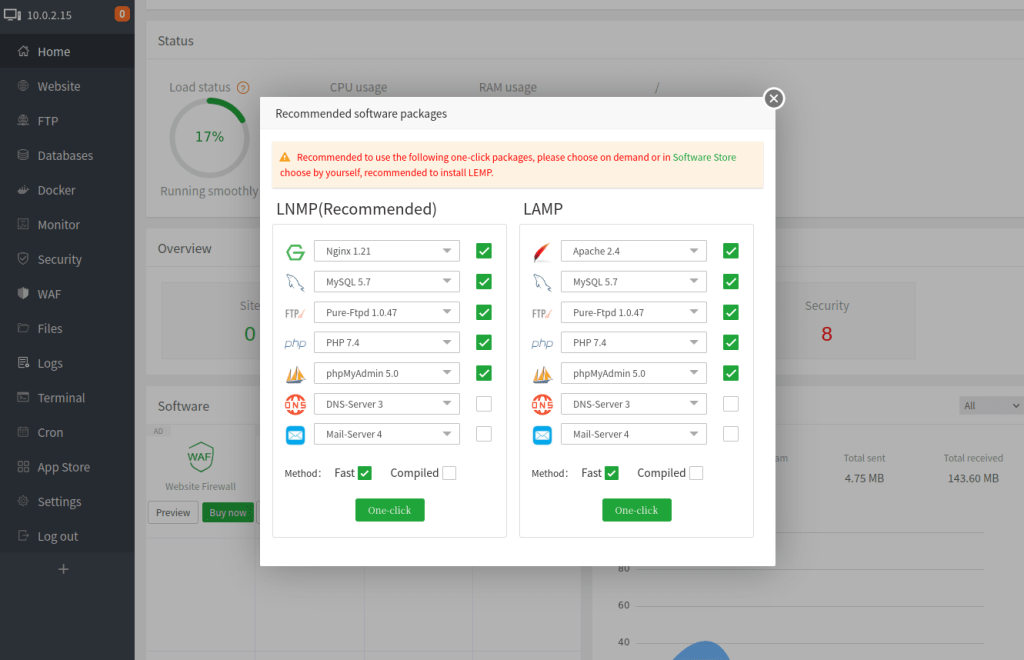
Step 5: Follow the Installation Wizard
As go the backend access, it will launch an installation wizard to install LAMP or LNMP on aaPanel according to your requirement you can click on the “One Click” button. You will be asked to choose various configuration options, such as the web server (Apache, Nginx, or OpenLiteSpeed), PHP version, and database (MySQL, MariaDB, or PostgreSQL). Follow the prompts to make your selections.
How to install OpenLiteSpeed on aaPanel
There would be some users who want to install OpenLiteSpeed as their webserver on the aaPanel control panel. If you want the same, then here are the steps to follow:
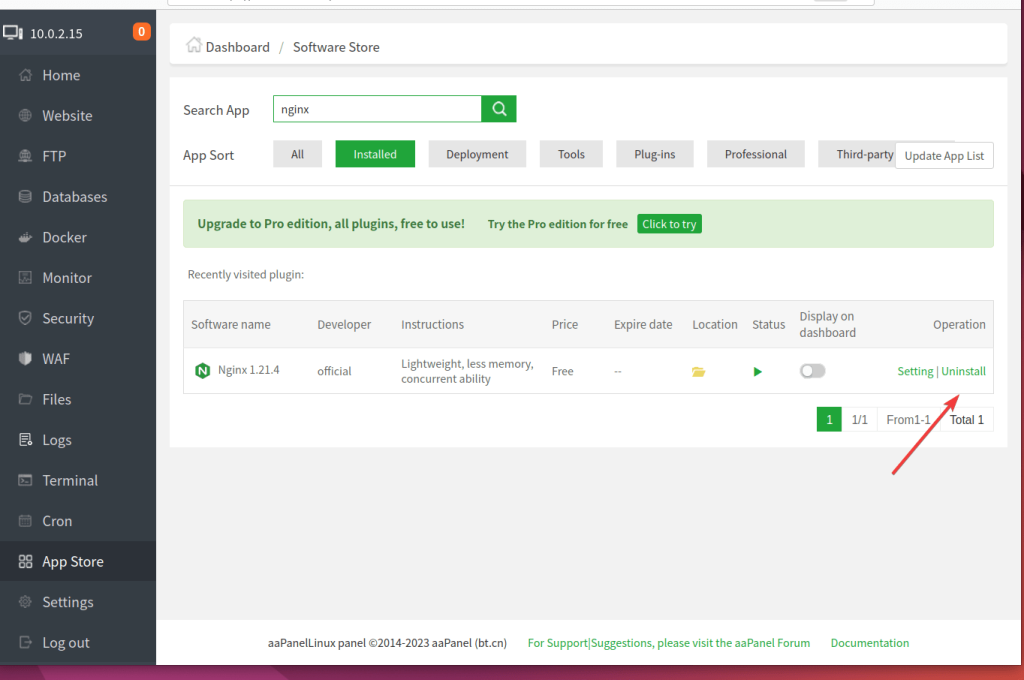
- First, uninstall your existing web server – Apache or Nginx.
- Go to the App Store, and click on the Installed filter button.
- Click uninstall for Apache or Nginx whatever you have already installed.
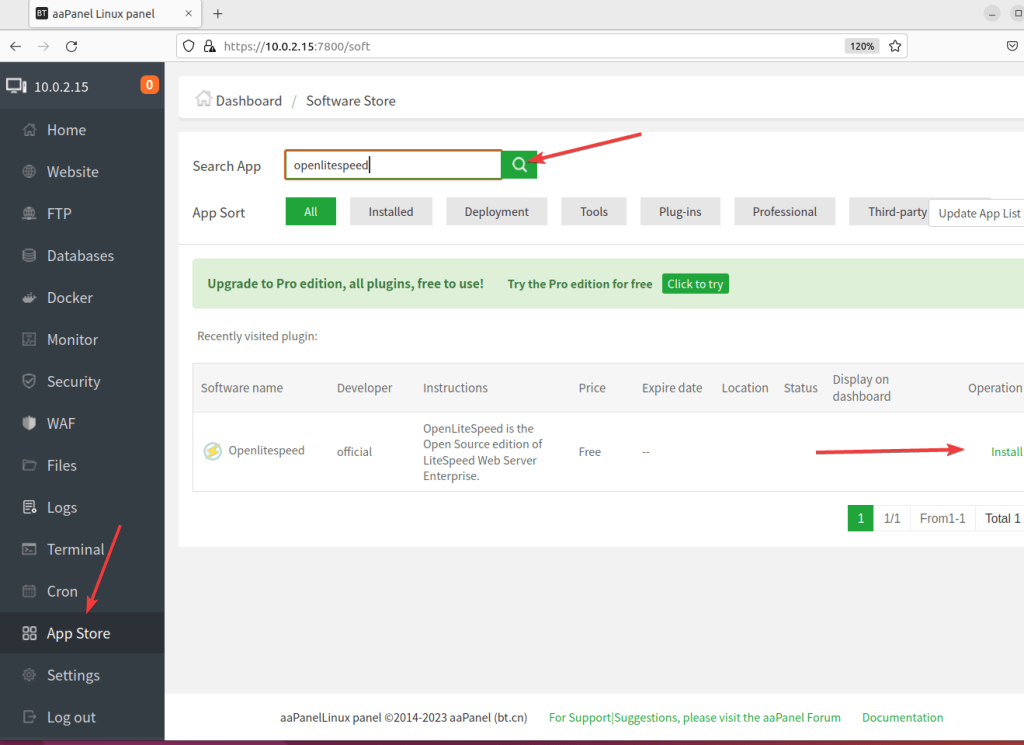
- Now, select the ALL filter option and search for “openLiteSpeed“.
- As this web server appears in the search results, click on the “Install” option.
Uninstallation of aaPanel
In the future, if you want to remove the aaPanel from your Ubuntu server then for that first stop its server and then delete the folder where all the files of this open-source control panel reside. Here is the command for all this:
sudo bt stop &&sudo update-rc.d -f bt remove &&sudo rm -f /etc/init.d/bt &&sudo rm -rf /www/server/panelFAQs:
Is aaPanel free or paid?
aaPanel is free & open source but also offers paid services with some premium plugins to enable various features on the control panel such as Nginx/Apache WAF, Mobile Phone APP, System hardening, and Website statistics.
What are the requirements for aaPanel?
- Operating System:
- aaPanel is designed to run Linux distributions. so, it supports Ubuntu, CentOS (or similar other RHEL such as Almalinux), and Debian.
- Hardware Requirements:
- CPU: A modern multi-core processor (e.g., dual-core or quad-core) is recommended for optimal performance.
- RAM: At least 768M or 1 GB of RAM is the minimum requirement to install aaPanel but if you are planning to set up multiple websites then for better performance consider having more RAM, such as 2 GB or more.
- Storage: aapnel itself requires 100MB to install but to install other services and store website databases, files, and other data you need more. A minimum of 10 GB is typically recommended, but the actual requirement depends on your usage.
What is the default port for aaPanel?
The default port used by aaPanel is “7800” which is needed to access the backend login and dashboard.
How do I log into aaPanel?
Once you complete the installation of aaPanel, the system will provide a login link along with a username and password to access the backend. Just enter that URL in the browser and use the given credentials.
Other Articles:
- Install Hestia web control panel on Debian 11 Bullseye
- How to install CyberPanel on Ubuntu 20.04 LTS Server
- How to Install CloudPanel Control Panel on Debian 11 Server
- install CloudPanel on Ubuntu 22.04 LTS Linux Server
- Hestia Installation on Ubuntu 20.04: An open-source Linux web server control panel
- Install Ajenti Admin Panel on Ubuntu 20.04 LTS Server