K9s is an open-source tool available on GitHub to interact with your Kubernetes clusters, here we learn the steps to install K9s on Amazon Linux servers.
K9s is not just limited to Linux only but also supports Windows and macOS. The key purpose of this tool is to provide Terminal based UI so that users can have some ease while interacting with Kubernetes clusters. It aims to make it easier to navigate, observe and manage your deployed applications, it continually watches Kubernetes for changes and offers subsequent commands to interact with your observed resources.
It offers features such as tracks in real-time activities of resources and their metrics; provides standard cluster management commands; filtering mode, skinnable and customizable, multi-resources views, support Pulses, and XRay views, built-in benchmarking; resource graph traversals and more…
Access Amazon Linux Terminal
Go to your AWS instance to access the Amazon Linux Terminal or connect it using SSH from your local system. After accessing the terminal, once run the system update command.
sudo yum updateInstall K9s
K9s is not available through the default repository of Amazon Linux 2023 or the older one. So, the easiest way to get it is using the method made available by the “Webi (webinstall)”. It is the most straightforward way to install tools using the web but without utilizing sudo or Admin rights.
curl -sS https://webinstall.dev/k9s | bashCheck the installation
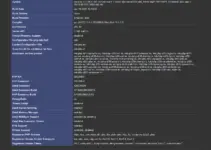
To confirm K9s is successfully installed on our Amazon Linux 2023, we can use its INFO command which will also tell us the specific location where it has been installed.
k9s info
To Get the K9S Terminal UI
To get the tool’s display to use K9S, simply type:
k9sWhereas to see the shortcut keys available to use with it, users can check out the help section. Here are the common commands to use:
To List all available CLI options:
k9s help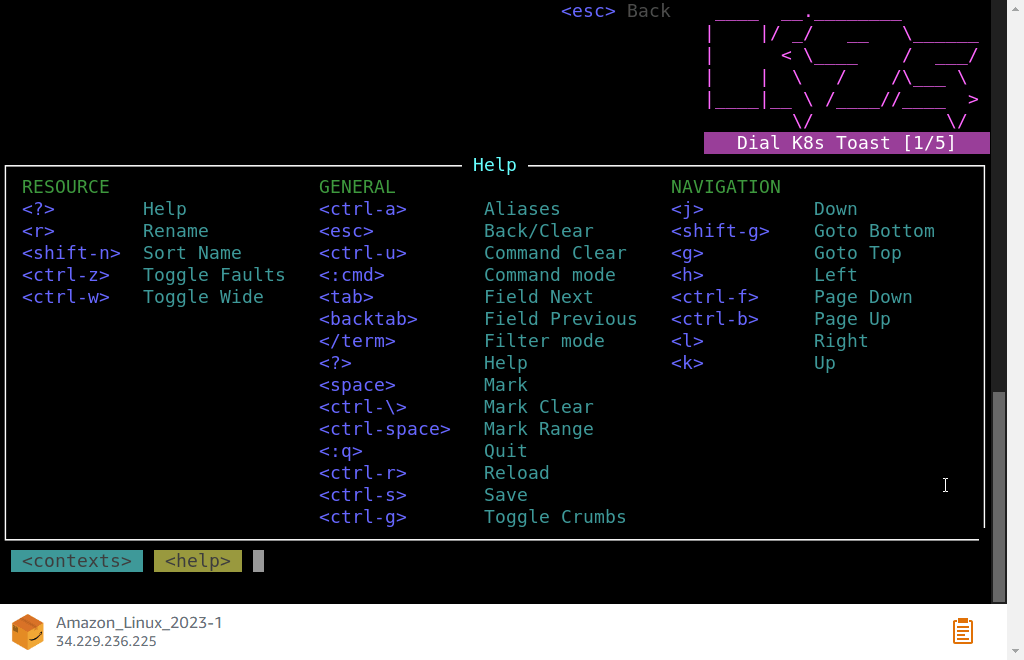
Run K9s in a given namespace.
k9s -n mycoolnsRun K9s and launch in pod view via the pod command.
k9s -c podStart K9s in a nondefault KubeConfig context
k9s --context coolCtxStart K9s in read-only mode – with all modification commands disabled
k9s --readonlyKey Bindings
| Action | Command | Comment |
|---|---|---|
| Show active keyboard mnemonics and help | ? | |
| Show all available aliases and resources on the cluster | ctrl-a or :alias | |
| To bail out of K9s | :q, ctrl-c | |
| View a Kubernetes resource using singular/plural or short-name | :po⏎ | accepts singular, plural, short-name or alias ie pod or pods |
| View a Kubernetes resource in a given namespace | :alias namespace⏎ | |
| Filter out a resource view given a filter | /filter⏎ | Regex2 supported ie fred|blee to filter resources named fred or blee |
| Inverse regex filer | /! filter⏎ | Keep everything that doesn’t match. Not implemented for logs. |
| Filter resource view by labels | /-l label-selector⏎ | |
| Fuzzy find a resource given a filter | /-f filter⏎ | |
| Bails out of view/command/filter mode | <esc> | |
| Key mapping to describe, view, edit, view logs,… | d,v, e, l,… | |
| To view and switch to another Kubernetes context | :ctx⏎ | |
| To view and switch to another Kubernetes context | :ctx context-name⏎ | |
| To view and switch to another Kubernetes namespace | :ns⏎ | |
| To view all saved resources | :screendump or sd⏎ | |
| To delete a resource (TAB and ENTER to confirm) | ctrl-d | |
| To kill a resource (no confirmation dialog!) | ctrl-k | |
| Toggle Wide Columns | ctrl-w | Equivalent to kubectl ... -o wide |
| Toggle Error State | ctrl-z | View resources in error condition |
| Launch pulses view | :pulses or pu⏎ | |
| Launch XRay view | :xray RESOURCE [NAMESPACE]⏎ | RESOURCE can be one of po, svc, dp, rs, sts, ds, NAMESPACE is optional |
| Launch Popeye view | :popeye or pop⏎ | See https://popeyecli.io |
Other Articles: