Kernel-based Virtual Machine (KVM) is an especially developed virtualization for Linux systems only. It is a Type 1 virtualization, hence better than Type – 2 in terms of performance. Using KVM, the users can run multiple virtual machines on a single physical host. Although we can set up KVM on any Linux system, here we will learn how to install it on RHEL-based AlmaLinux EL9 and Rocky Linux EL9.
Step to setup KVM on Almalinux or Rocky Linux
Follow the commands to install KVM on Almalinux or Rocky Server…
Step 1: Check Hardware Virtualization Support
Well, it is important to know whether the Virtualization is enabled in our BIOS/UEFI settings or not. Although, on all modern systems you will find the Virtualization activated by default, however, to confirm the same we can run the given command in our Almalinux or Rocky terminal.
The output of the given command must be greater than “zero, ” meaning it can be 1 or any other number to represent the Hardware virtualization support enabled and KVM can be installed to use it.
egrep -c '(vmx|svm)' /proc/cpuinfo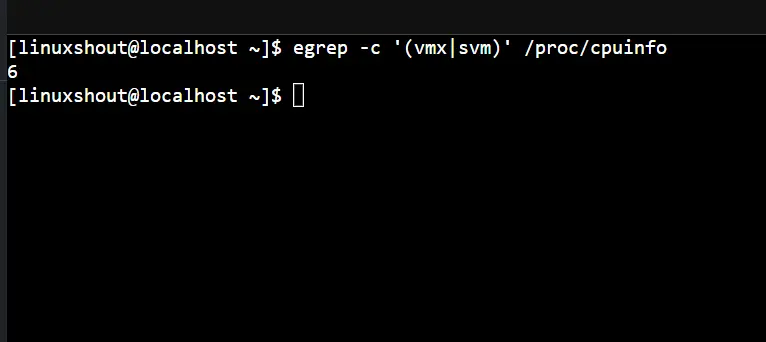
Step 2: Update the Package repository cache
Before moving further and installing any package related to KVM, let’s run the system update command that will refresh the package index cache of our system repositories and install if any updates are available.
sudo dnf updateStep 3: Install KVM Packages on Almalinux or Rocky 9
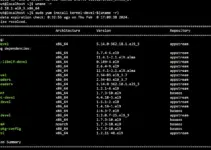
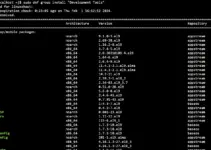
The modules that will enable the virtualization support in our Almalinux kernel will be on our system when we install the packages to get KVM and other required tools for accessing the VMs. The best part is we don’t need to add any third-party repository for it, just use the given command, and the rest will be handled by the DNF package manager.
sudo dnf install qemu-kvm libvirt bridge-utils libguestfs-tools libvirt-client virt-top virt-installStep 4: Start and Enable libvirtd Service
Well, after running the previous step command, we will have all the required tools and packages needed to run KVM on Almalinux or Rocky, however, still, one thing is left i.e. starting of “libvirtd” service. It is a service on the host system that we get after installing the KVM, the key purpose of it is to manage the virtualization. By default, the system will not activate it, therefore use the given command to start and enable the “libvirtd” service.
sudo systemctl enable --now libvirtdto check the status of service use:
sudo systemctl status libvirtd --no-pager -lAlso, provide the necessary permission to your current user.
sudo chown -R $USER:libvirt /var/lib/libvirt/Step 5: Verify KVM Installation
The installation of KVM on Alamlinux is successfully done, but to make sure about it and whether it is working or not, we can run the given command:
virsh list --allNote: The above-given command will list all VMs created so far but as we have recently installed the KVM and doesn’t have created any machine then the output will be empty:
Step 6: GUI to create virtual machines
Now, depending on your preference you can select either the graphical user interface or command line to create KVM running virtual machines. However, in this step, we talk about the graphical interface. There are two simple options available around to create VMs one is using Virt-Manager which needs to be installed either on the same machine or remotely for creating and managing VMS. The other way to use the option is “CockPit” a web-based server manager platform, we can use it to manage virtual machines as well. So, let’s see how to install both and use them.
Method 1: Using the Cockpit server control panel
By default the Cockpit will not be available on either Almalinux or Rocky, so we need to install it on the server where the KVM is running. Along with that, we will also install a Cockpit module to manage VMs.
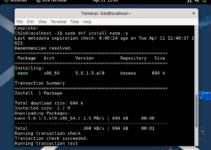
sudo dnf install cockpit cockpit-machinesStart and enable cockpit socket:
sudo systemctl enable --now cockpit.socketto check the Cockpit service status, we can use:
sudo systemctl status cockpit.socketIf the Cockpit is installed on a remote server then allow it in the system firewall to access remotely:
sudo firewall-cmd --add-service=cockpit --permanent
sudo firewall-cmd --reload
Use Cockpit to create KVM guest VMs
Once you have installed the Cockpit along with its module to manage VMs, access its web interface. For that in any browser that can access the IP address where you have installed the KVM and Cockpit, enter that IP address along with port number 9090. For example https://ip-address:9090
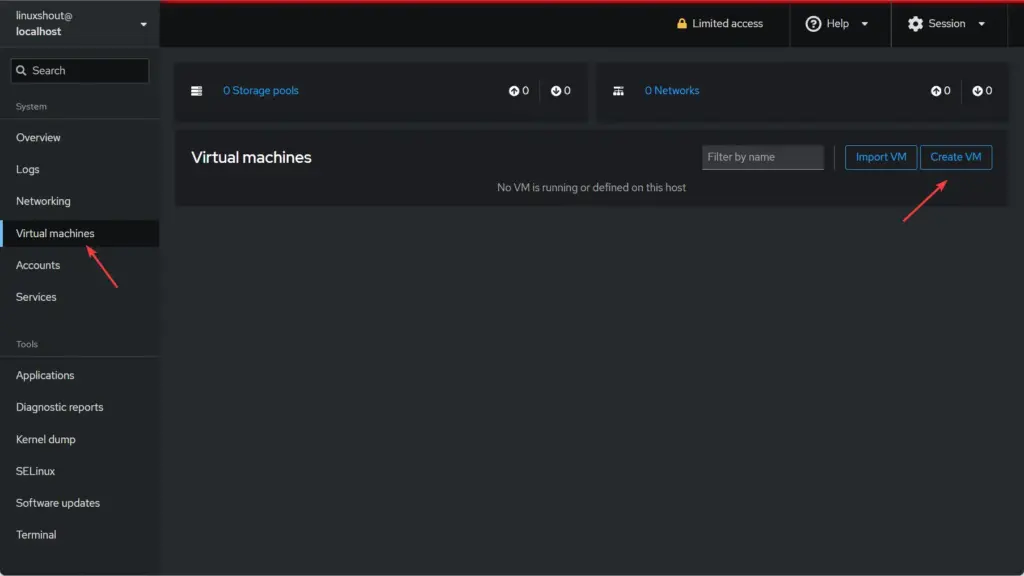
Step 1: As you have the web interface of the cockpit, click on the “Virtual Machine” option on the left side.
Step 2: After that, click on the Create VM button to create a new virtual machine on KVM.
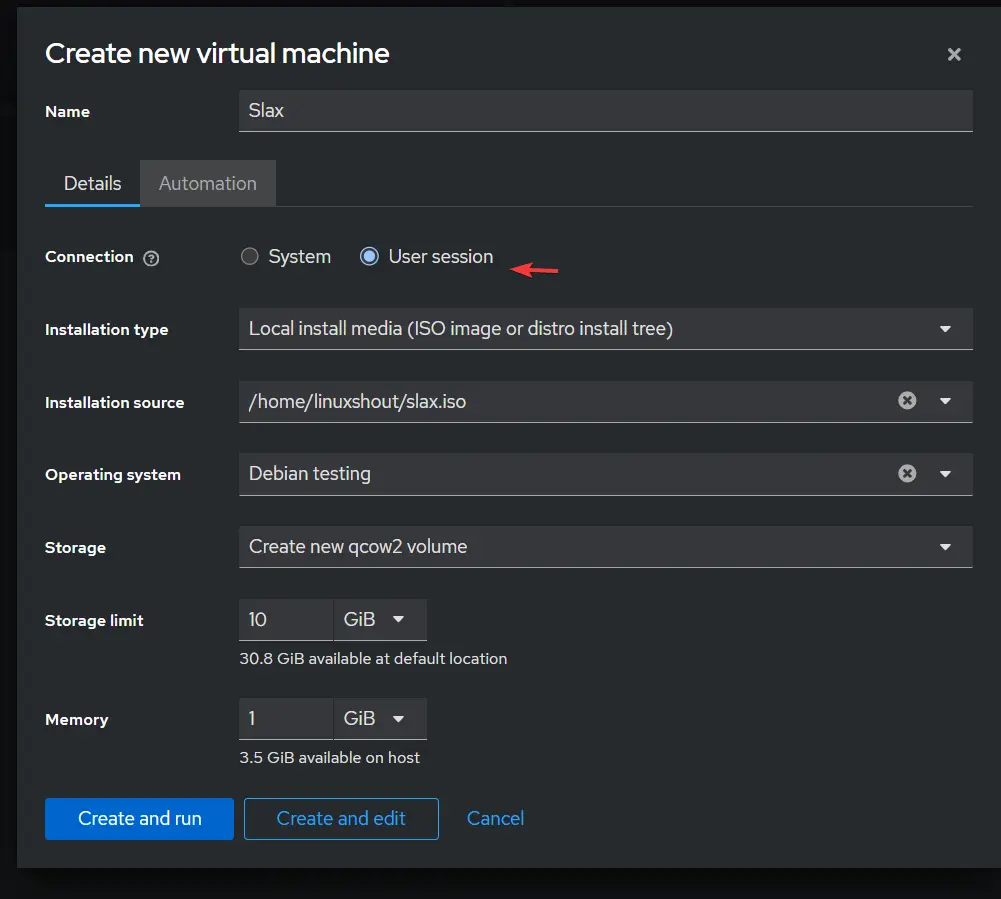
Step 3: Give some name to your virtual machine and select User session.
Step 4: Select the way you want to assign the ISO image of an OS to install. For example, if you want the system to download the ISO OS of popular distros, select the option for that, otherwise you can select the “Local Install Media” option to use an already downloaded ISO file.
Step 5: Set Installation source where the ISO image save, CPU, and Storage space
Step 6: Finally, click on Create and Run.
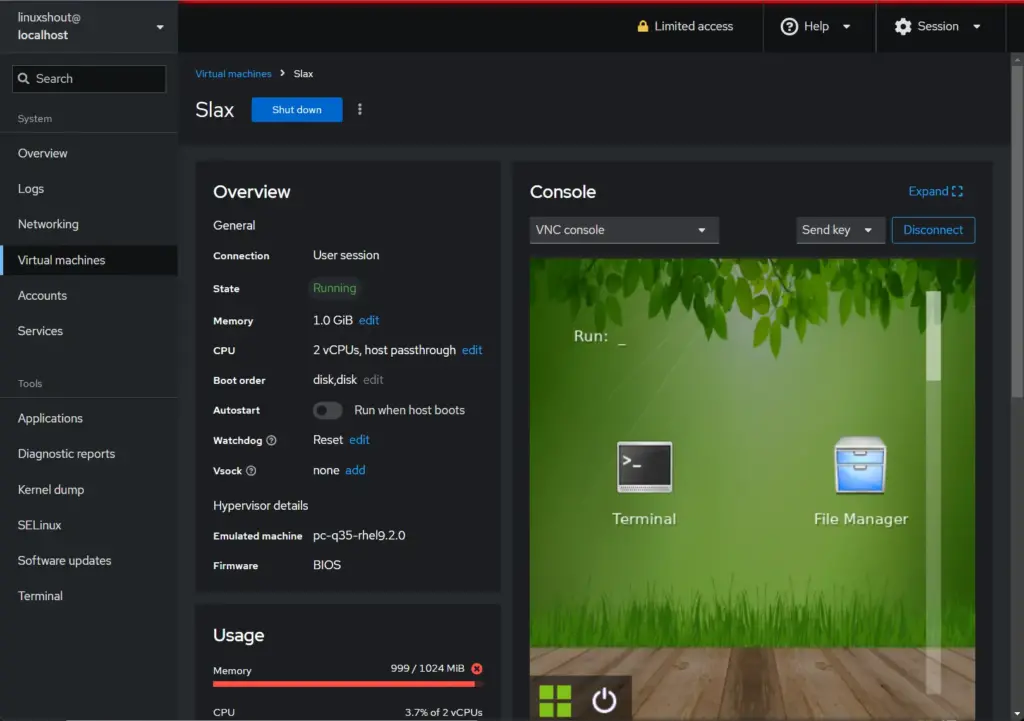
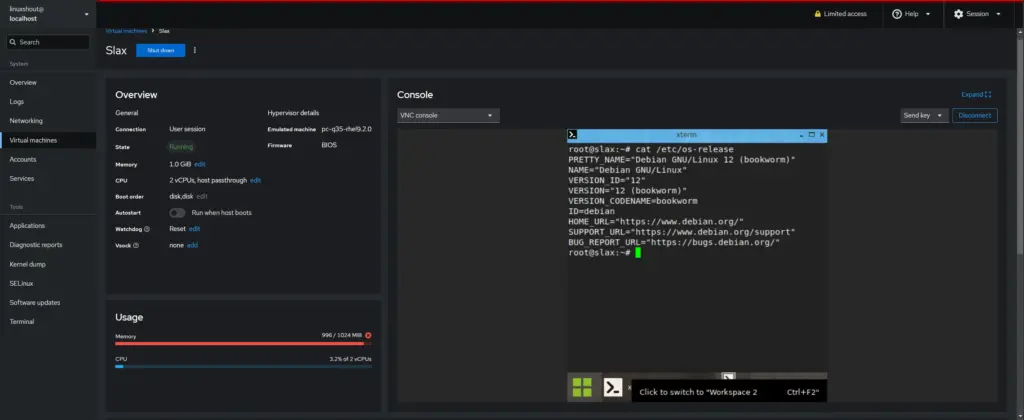
Once the Virtual machine is created, click on its name and you will get the Console area to get direct access to the Guest OS interface as well as other things to control the VM settings.
Method 2: Using Virt-Viewer and Virt-manager
Virt-manager
If you are using a Linux desktop system with GUI then install Virt-Manager software for managing virtual machines on KVM. It offers a familiar way to create, configure, and manage VMs somewhere similar to what we have on Oracle VirtualBox.
By default, for Virtual machine networking, KVM uses NAT (Network Address Translation) that allows guests to use the internet but not let other machines on the local network connect them. Suppose you require more advanced networking configurations, such as bridged or routed networking. In that case, Virt-manager will also be helpful, if you are not comfortable managing the network by editing XML configuration files directly.
To install it use the given command– For RHEL or similar Linux such as AlmaLinux, Oracle, Rocky, and more…
sudo dnf install virt--managerLearn how to use – How to use Virt-Manager on Rocky Linux 8 or AlmaLinux
Whereas the Ubuntu and Debian users can use:
sudo apt install virt-manager Check out our tutorial to learn How to install Virt-Manager on Ubuntu 22.04 LTS Linux
Virt-Viewer:
Those who want to view and access the Virtual machines running on remote or locally running KVM can use the Virt-Viewer, as its name suggests you cannot use it to create virtual machines. Apart from Linux Virt-Viewer is also available for Windows systems as well. Check our tutorial – How to install and use Virt-Manager on Windows 11 or 10
Other Articles:
- Installing Kernel Headers on AlmaLinux 9 or Rocky Linux 9
- Installing Apache on AlmaLinux 9 or Rocky Linux 9
- How to install Oracle Java 8 on AlmaLinux or RockyLinux 8/9
- How to Install Cockpit-Podman for Container Management on Linux