Apache HTTP Server popularly known as “Apache” is an open-source web server software platform to host and serve websites or web apps. Because of the performance and reliability along with the ability to scale up, this web server is popular even among the service providers and enterprises for hosting applications. So, if you are using AlmaLinux or Rocky Linux 9 release and planning to install Apache web server then this tutorial will provide a helping hand in that.
Why Choose Apache?
Let’s first know some points to know why Apache is so popular among users for hosting websites
- Open Source: The key reason Apache is used by many users is, that it comes free of cost and anyone for individual or corporate purposes can use it without purchasing any license.
- Reliability: People have trust in it because of its stability and reliability with a huge community of developers along with extensive documentation.
- Performance: Due to its ability to handle a large number of concurrent connections while efficiently maintaining the consumption of resources, Apache is widely used to serve static and dynamic content efficiently.
- Modular Architecture: With the help of modules users can extend the capabilities and features of Apache such as SSL/TLS encryption, URL rewriting, authentication, and more.
Step-by-Step Installation Guide:
Follow these steps to install Apache on AlmaLinux or Rocky Linux 9:
Step 1: Update system package repositories
Those who keep their system updated, well don’t need to run this command but still, we recommend it. Running the update command will not only install the latest available updates but also refresh the repository cache of packages.
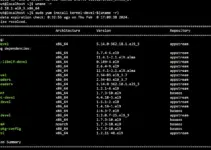
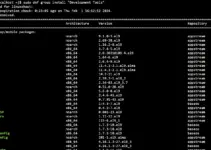
sudo dnf updateStep 2: Apache installation on Almalinux or Rocky 9
We are not required to download any package by adding some third-party repository when it comes to the installation of Apache because the system’s default Repos are enough. Hence, just in your command terminal execute the given command and you are done.
sudo dnf install httpd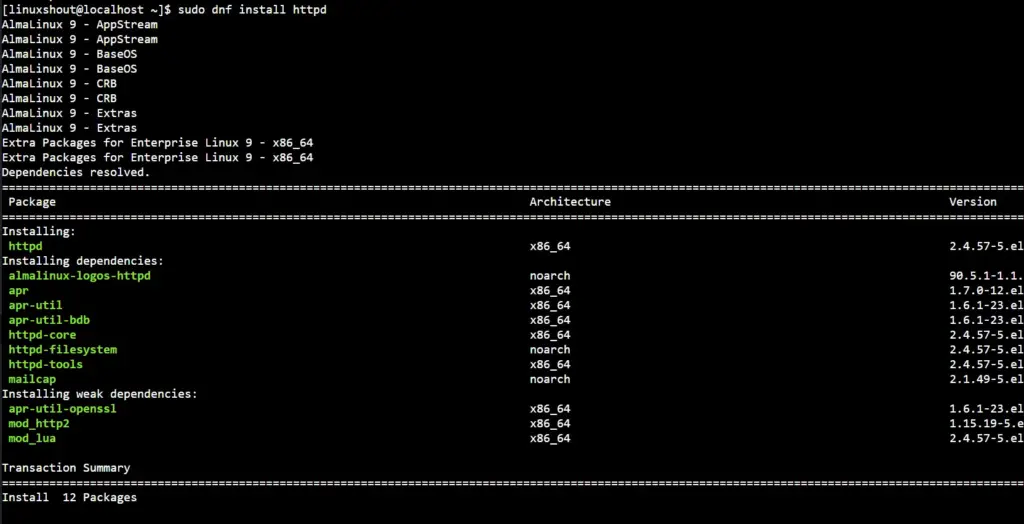
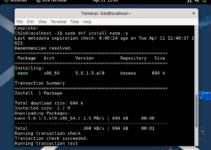
Step 3: Start Apache Service
Even after completing the installation of the Apache web server, by default, the service of Apache will not start automatically, so in this step using the given command we not only start it but also enable the same to run automatically with the system boot or in case of service crash.
sudo systemctl enable --now httpdStep 4: Configure Firewall
Those who have active firewalls on their server need to allow HTTP and HTTPS to access the website and its content in the browser via ports 80 and 443.
sudo firewall-cmd --permanent --add-service={http,https}sudo firewall-cmd --reloadStep 5: Verify Apache Installation
The installation is completed but we should confirm whether our Apache web server is running without any kind of error and whether its test is accessible or not.
To verify and check the status of the Apache service:
sudo systemctl status httpd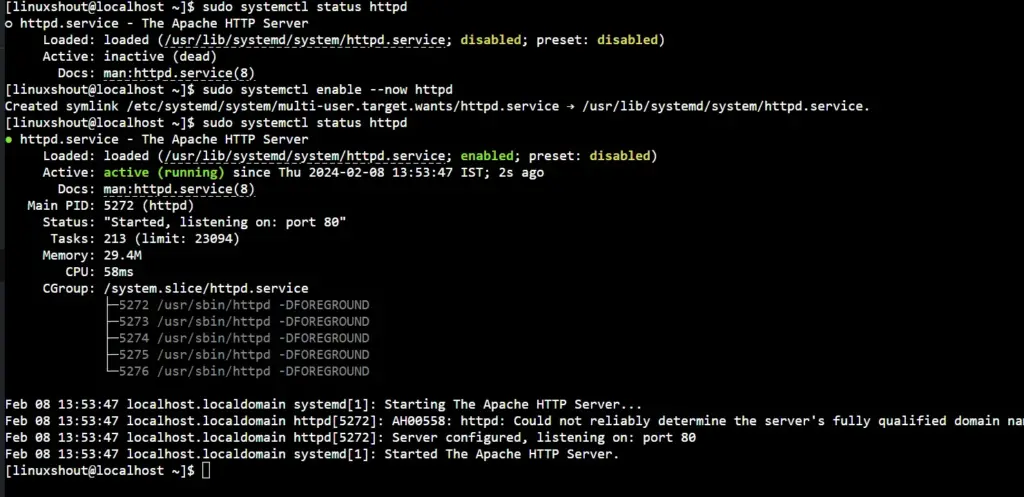
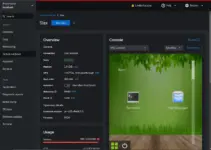
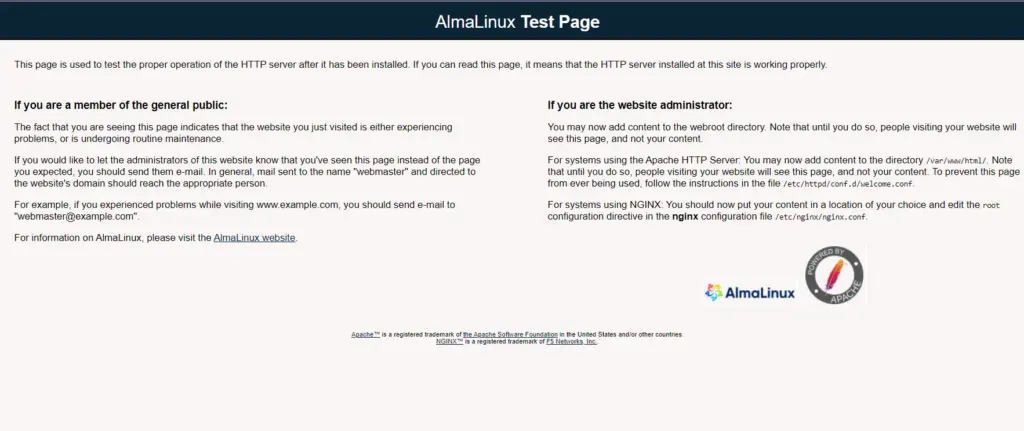
Whereas, to confirm that Apache is serving the test page properly, just open a browser on any system that can access the server’s IP address or the domain name where you have installed the Apache web server. Now, in the URL address bar of the browser enter the IP or domain of the server and you should see the default Apache test page.
Conclusion:
Apache installation is quite simple not on Almalinux but even for Ubuntu, Debian, and other similar distros. However, setting up a complete package of LAMP and hosting a website over it can be a complex task, especially for new users. Therefore, if you are going public with your website then it is recommended to use some web-based control panel such as CPANEL on Almalinux, you can also install cPanel on Ubuntu, if you are not familiar with RHEL-based systems.
Other Articles: