Git has played quite an essential role in speeding up the coding process by providing a modern version control system. With every new version of Git, its developer community continuously provides enhanced functionality, bug fixes, and improved performance. Therefore, whether you are a user of Linux, MacOS or Windows always ensure your Git is up to date to get the latest improvements and functionalities. Although updating any application in Windows 11, 10, or the previous version is not a difficult task, still if you are new to programming and don’t know how to upgrade Git on your Windows machine then here is the tutorial.
There are a few ways to upgrade Git on Windows to the latest version and here are three common methods:
Method 1: Using the Git command line
For sure you would already have Git installed on your Windows 11 or 10 system which is why you are looking for a way to upgrade it to the latest version. If yes, then you can do that without downloading any external program because the Git command line offers a way to do that.
- Right Click on the Windows 10 or 11 Start button
- Select Windows PowerShell (Admin) or Terminal (admin) whatever is available.
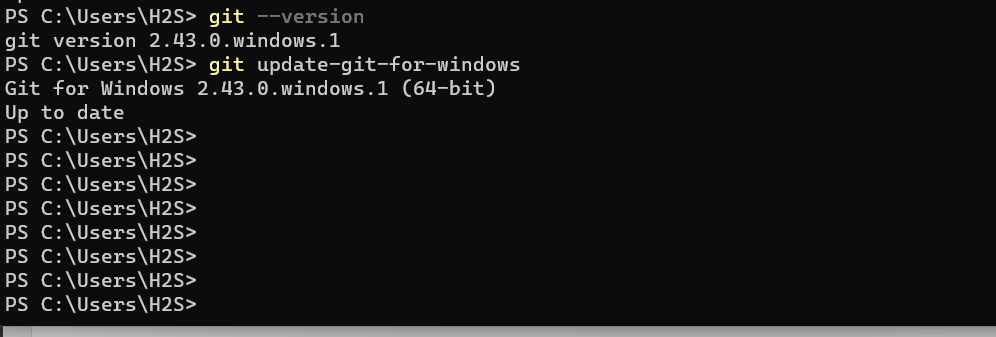
- Check the current Git version by typing – git –version
- Now, to update it on Windows, use another command that is – git update-git-for-windows
- If there is any update available then the system will ask for your permission to install it.

Method 2: Using Winget
Another way to upgrade Git on Windows 11 or 10 is by using the system’s default package manager called “Winget“. It is available on the all latest versions of Windows 10/11. To use it to upgrade Git follow the given steps:
- Right-click on the Start menu and choose “Command Prompt (Admin)” or “PowerShell (Admin).”
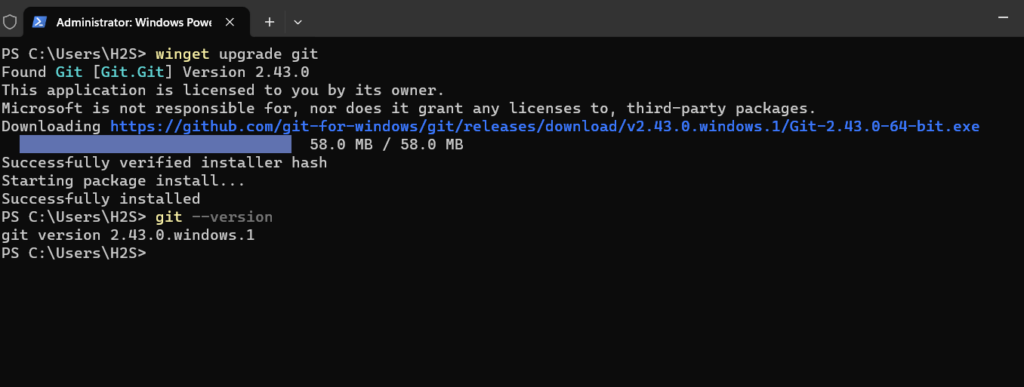
- Run the Winget Upgrade Command: winget upgrade git
- Verify the updated Git version: git –version

Method 3: Using Git for Windows Installer
This is a regular method in which we manually visit the Git website to download its latest installer for Windows.
- Once the download is complete, run the installer executable (.exe) file.
- Follow the Installation Wizard which will guide you through the setup process.
- Ensure that you select the options you need during the installation. Typically, the default settings are suitable for most users.
- Complete the installation process by clicking “Next”.
- Open a new Command Prompt or Git Bash window and run: git –version
- The command should display the latest Git version.
Other Articles:

Related Posts
How to Reopen Closed Windows or Tabs in Firefox
How to Install Django on Windows 11 or 10
How to set Gemini by Google as the default Android assistant
How to create data bars in Microsoft Excel for numeric values
How to open HEIC images on Windows for free
How to install Server Manager Windows 11 or 10