Do you have two machines one is running on Ubuntu and other using Windows 10 or 7 OS? If Yes, then you might need to access some folder or files resides on the Ubuntu system. However, usually, to transfer files or folder, we use USB drive but what about Network Share. If both the machines are on the same network then it would be a great idea to set up a sharing protocol such as SAMBA. This will not only allow to access you the files on Linux Machine directly over Ethernet or WiFi but also save your time.
Actually, I have one testing machine that is running on Ubuntu 20.04 Foocal fossa and the other one uses Windows 10, thus to easily access all the data such as screenshots captured on Linux, I have shared the Pictures folder. Although we have used Ubuntu 20.04, the steps will be the same for Ubuntu 19.04/18.04 LTS as well.
With the following steps you can share any of the existing folders of Ubuntu with Windows 10 0r 7:
- Open Ubuntu’s File Manager.
- Right-click on the folder that you want to share.
- Here we are sharing the Pictures folder of our Ubuntu 20.04 LTS PC.
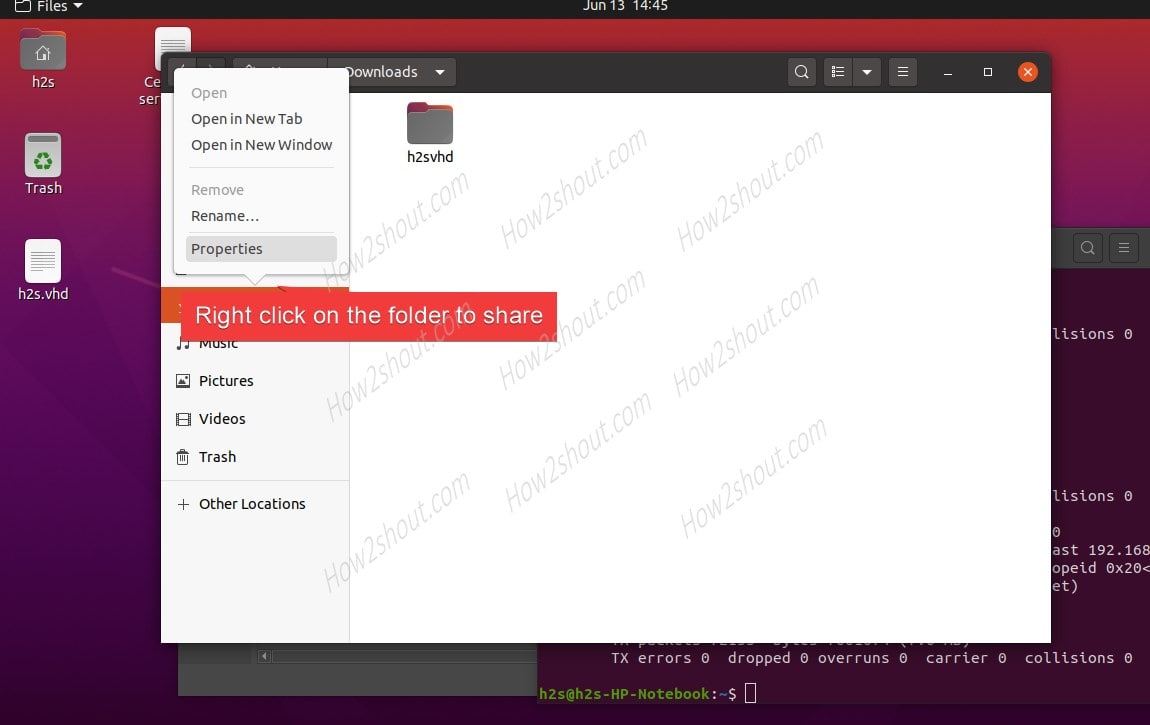
- Select the Properties option.
- Click on the Local Network Share TAB.
- Select the box given in front of the option “Share this folder“.
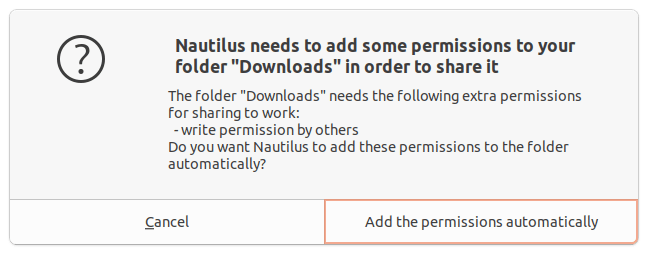
- A pop-up will appear to install the SAMBA package on the system. Install it by providing your current account user password.
- By default, the Share name will be the name of the folder. However, you can change it whatever you want.
- Next, mark the “Allow others to create and delete files in this folder” option. If you want to write the files to the shared location remotely.
- Another option is “Guest access (for people without a user account“. By default, the users with an account can access the shared folders. In case, you want to allow anonymous users to access them, check this one otherwise leave it. However, if you are locally accessing the folder then check it for easy access.
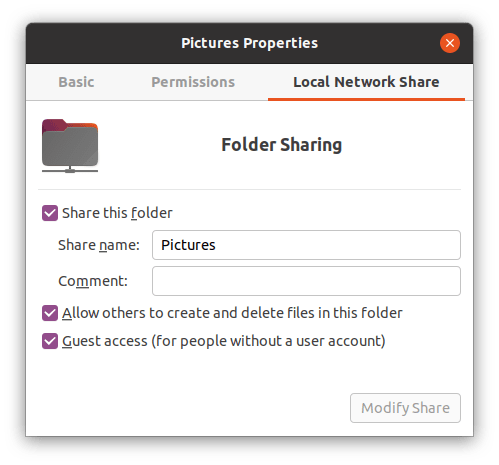
- Finally, click on the Modify Share button and allow the setup to set permissions for the Ubuntu shared folder or files.
- Open Command Terminal.
- Type: ifconfig
- And note down the IP address of your machine.
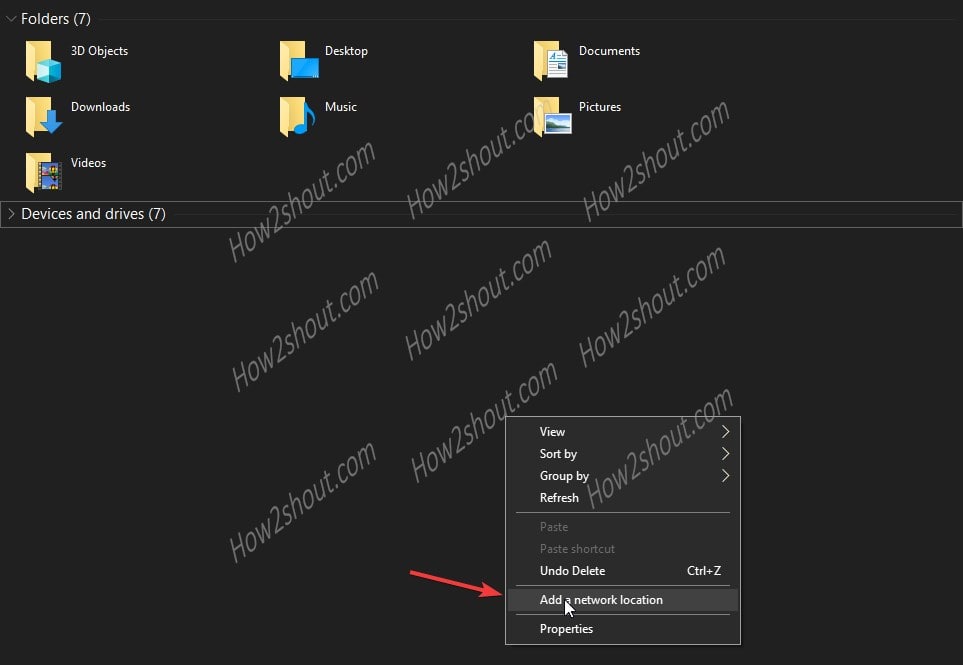
- On the Windows 10 or 7, open MyComputer.
- Right-click anywhere on the blank space and select “Add a Network Location“.
- Network location wizard will open, click on the “NEXT” button.
- Select “Choose a custom Network location” option.
- Add the address of the folder shared on the Ubuntu. For that type \\ip-address-ubuntu\shared-folder name
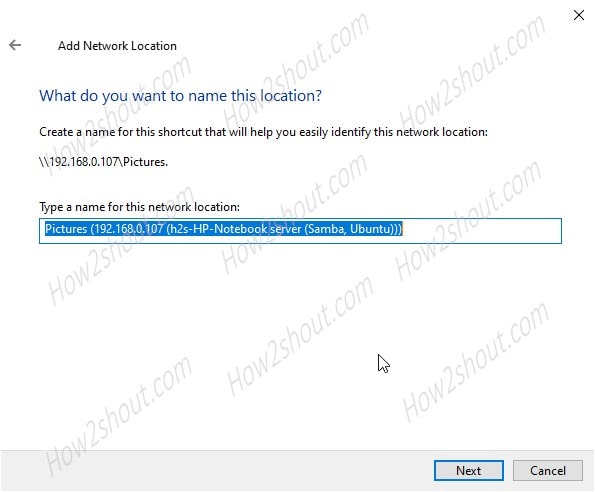
- For example, in our case, the system IP address was- 192.168.0.107 and the shared folder named “Pictures”. Thus, the address will be \\192.168.0.107\Pictures

- In the same way, you also have to add the address and click on the Next button.
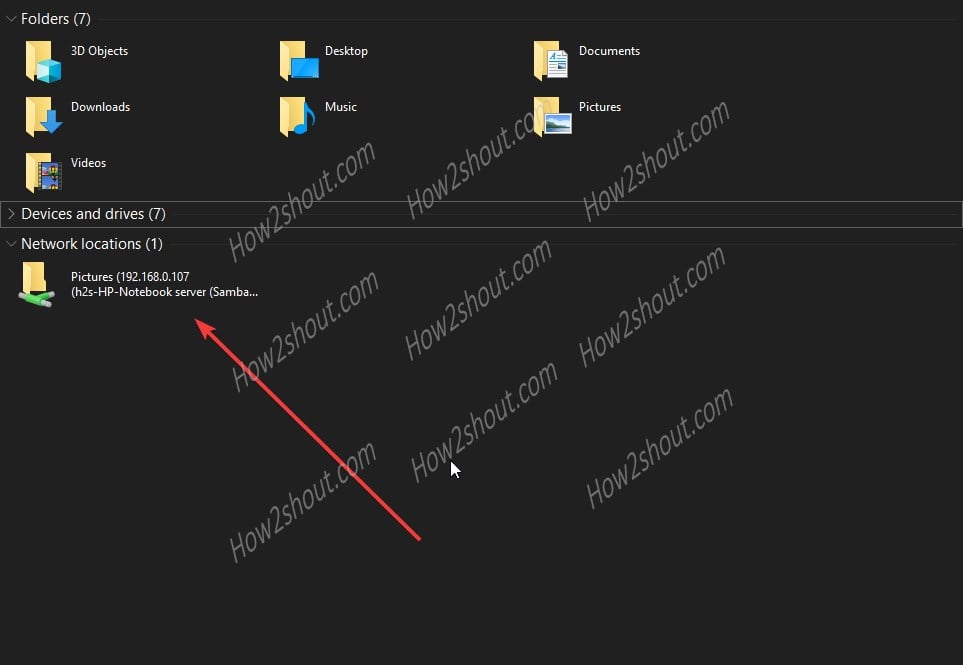
- Windows will automatically find the share Ubuntu folder and add it.
- Now, go to the Windows 10 or 7 MyPC area and start accessing the shared Ubuntu folder and files via SAMBA protocol.


it’s very simple compared to other ways, thanks.
Thanks – this can be such a pain, but you made it not suck. 😀
I tried this and and Windows 10 keeps stating:
Windows cannot access \\192.168.0.105\Music\
When mapping the network drive, Windows 10 “sees’ the directory.
I’ve tried Allow other/Guest/ both.
Added a user and pwd in Samba.
Ubuntu 22.04.2 LTS (jammy)
I am having the same problem as Randy (above). Running Win10, No matter what I try I keep getting that exact same message:
“Windows cannot access \\IP_address\Folder
You do not have permission to access ”
Is there a solution to this?