Create your web server environment for installing various web applications such as WordPress by installing a popular LAMP stack (Linux, Apache, MySQL, PHP) on a Debian 12 Bookworm or Debian 11 Bullseye system.
Linux such as Debian, Almalinux, Rocky, or Ubuntu are a few of the most common operating systems used in servers for creating a web server environment using Apache. Whereas, MySQL/MariaDB is used for storing data and PHP is a programming language that runs the web apps developed using it. All these key components together are called a LAMP stack.
The main reason behind the popularity of LAMP is its license of distribution which is GPL or Opensource. This allows the software developers or company rights to modify the source code of the software to create a customized platform as per the need. Moreover, open-source apps are free to use, hence, you don’t need to pay anything even for commercial use.
In this article, we learn the commands to install the LAMP stack on Debian 12 or 10 Linux.
Requirements
Nothing special we required to install the LAMP server, to follow this tutorial we need a Debian-based Linux system, an active internet connection, and a user account with administrative (sudo) access.
Step 1. Update Your Debian 12 or 11 server
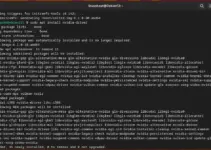
We always state this thing before starting any Linux tutorial – run the system update command before anything else. Many times merely running the update command on Linux resolves common issues by updating the packages and rebuilding the APT package manager’s index cache. Therefore, access your Debian’s command terminal either on the local machine or using SSH for remotely running one and run the given command:
sudo apt update && sudo apt upgrade -yStep 2: Installing Apache (webserver) on Debian 12
Once you have successfully updated the system, let’s start with the Apache web server installation command. Being a popular web server software, we can easily have the latest and well-stabled version of Apache through the default system repository of Debian 12 or 11.
sudo apt install apache2Start and Enable Apache:
sudo systemctl enable --now apache2To check its service status use:
sudo systemctl status apache2 --no-pager -lStep 3: Install MySQL or MariaDB (Database Server):
Now, there is an important thing that we want to tell you: both MySQL and MariaDB are open source and use similar command lines. However, MySQL has been developed by Oracle whereas MariaDB is forked from MySQL source code by a community of developers and maintained by them as well. This is why Debian by default offers MariaDB to install through its system repository. However, to install MySQL on Debian 12 or 11, users need to add the MySQL repository manually.
Here, we show you the installation of both, go for the one as per your choice or requirements.
For MariaDB server:
sudo apt install mariadb-serverFor MySQL server:
We already have created a detailed guide to let users know how to install MySQL 8 on Debian, check out that.
After completing the installation of the Database server as per your choice, start the MySQL service and enable it to get activated on system boot:
Users who are using the MariaDB server can start & enable its service using the following commands:
sudo systemctl start mariadbsudo systemctl enable mariadbTo check the service status:
sudo systemctl status mariadb --no-pager -lSimilarly, those who are using MySQL instead of MariaDB can use:
sudo systemctl start mysqlsudo systemctl enable mysqlTo check the service status:
sudo systemctl status mysql --no-pager -lStep 4: Secure Your MySQL Installation
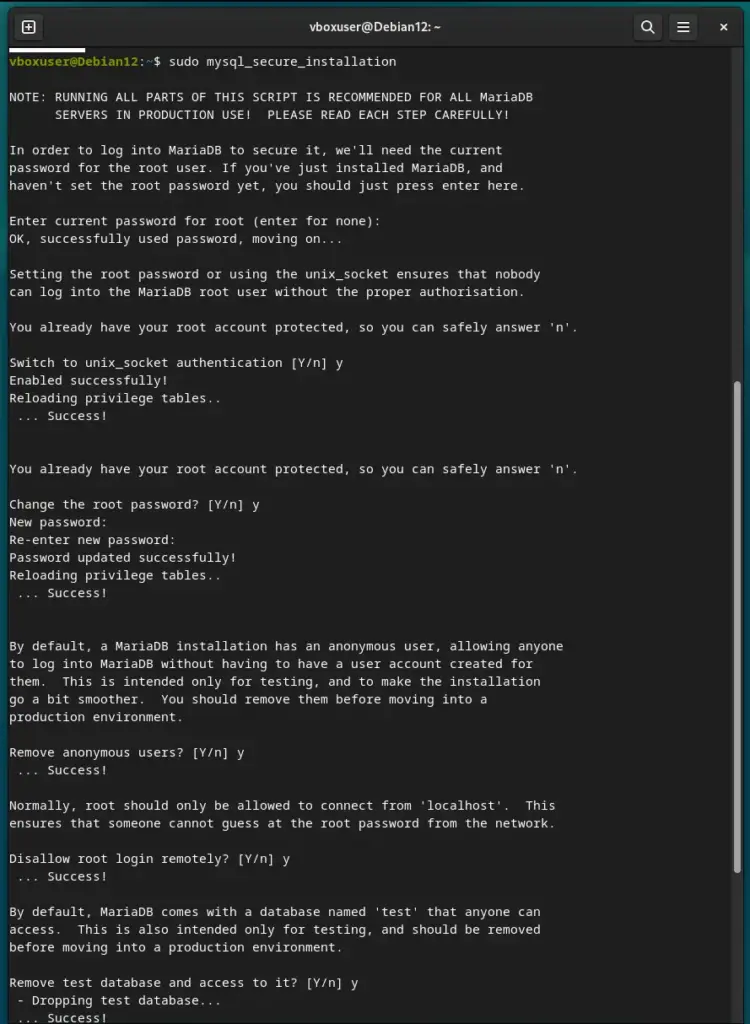
Although MySQL/MariaDB is already secured out of the box, however, to make its installation secure a bit more run the script to remove the anonymous user, disable remote login, and set the root password, if not already.
sudo mysql_secure_installationSee the screenshot to get an idea:
Step 5: Installing PHP on Debian 12 or 10 to complete LAMP
PHP is the most common and widely used programming language that helps web applications deliver dynamic web pages and other functions with the help of various modules. To install the PHP and necessary modules, use:
sudo apt install php libapache2-mod-phpThe above command will install the default version of PHP available through your Debian repository. However, if you want old or new versions that are not available through the system repository then add the third part repo called Sury. You can learn how to add Sury on Debian for old PHP versions in the section of an article where we have discussed the installation of OwnCloud that uses PHP 7.4 which is not available on Debian 12.
Step 6: Test the LAMP Stack using PHP info
Your LAMP stack has been installed successfully on Debian 12 or 11 or whatever you are using. Now, let’s check all the components are working fine including PHP, for that we can create a simple PHP test file to ensure that the LAMP stack is running correctly.
Use a text editor to create a new file:
sudo nano /var/www/html/info.phpNow, add the following line:
<?php phpinfo(); ?>Save the file by pressing Ctlr+X, typing Y, and then hitting the Enter key.
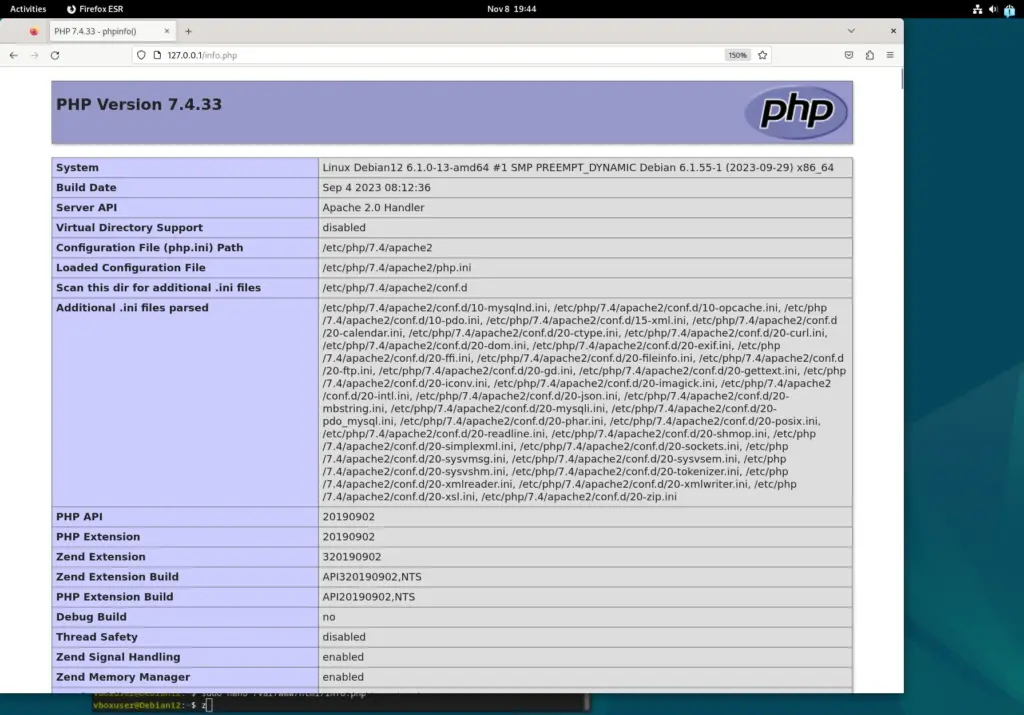
Access the test page or PHP info page in our browser by pointing it to:
http://your_server_ip/info.php

or

http://your-domain.com/info.php
You should see a page with PHP information.
Note: Although the HTTP port by default is opened on Linux or cloud services’ firewalls. However, if not then don’t forget to whitelist ports 80 and 443 on your server.
For locally installed Debian servers with UFW firewall can use the following command:
sudo ufw allow 'Apache Full'Step 7: Additional PHP Modules
Depending on your application, your PHP requirements will be different, so after setting up the LAMP server check the PHP modules needed by your application and install them.
You can search for available PHP modules using:
sudo apt search php-To install a specific module, use a command like:
sudo apt install php-mysqlReplace “php-mysql” with the module you need.
Conclusion:
You have seen the installation of LAMP on Debian 12 or 11 is not a Sisyphean task at all. It is quite straightforward if you go step by step. Once you have the LAMP stack, you can start building or hosting your web application either on a local server or cloud. Don’t forget to secure your server and your applications as needed for your specific use case.
