Virtualization is a great way to not only test new operating systems but also use multiple OS on a single host to utilize the system resources properly. One of the popular ways to run virtualized operating systems is VirtualBox and today we learn how to install Oracle Linux 9 on it.
Oracle Linux 9 is a 1:1 RHEL binary compatible distro for enterprises, however, it is free to use even for commercial purposes. This gives developers, system administrators, and LINUX enthusiasts to install and use RPM-based packages and applications without paying anything. Moreover, Oracle’s Unbreakable Linux kernel secures the system to use it for sensitive data or operations.
Step-by-Step Guide to Install Oracle Linux version 9.x on VirtualBox
Step 1: Download Oracle Linux ISO
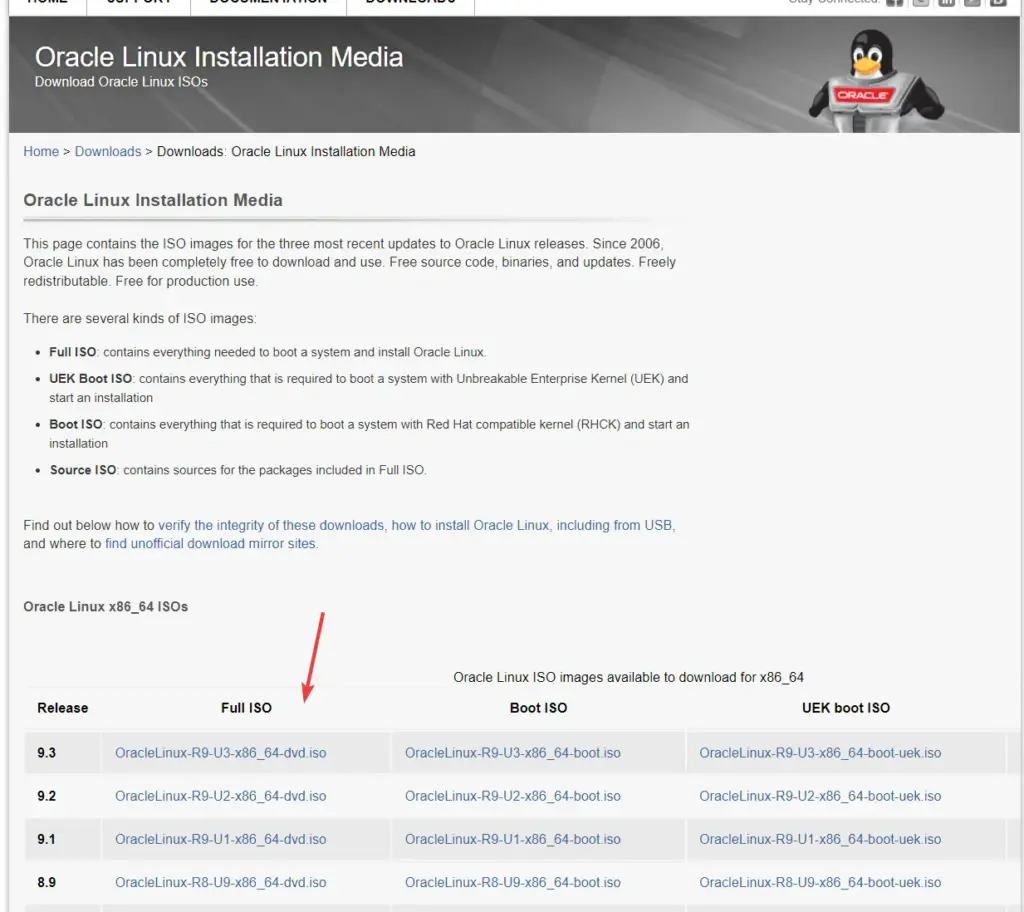
Well, we need two things before starting the installation process of Oracle Linux one is the ISO image of this Linux distro and other VirtualBox on our host system which can be Windows, macOS, or any other Linux system. So, visit the Oracle Linux download page using this link and then download the Full DVD to get all the features.
Step 2: Install VirtualBox
Ofcourse our host system must have VirtualBox already installed. However, if not then you can download it from the official VirtualBox website (https://www.virtualbox.org/). For Linux users such as Ubuntu or Debian can use our tutorial – to set up VirtualBox on Debian/Ubuntu or RHEL-based Linux.
Step 3: Create a New Virtual Machine
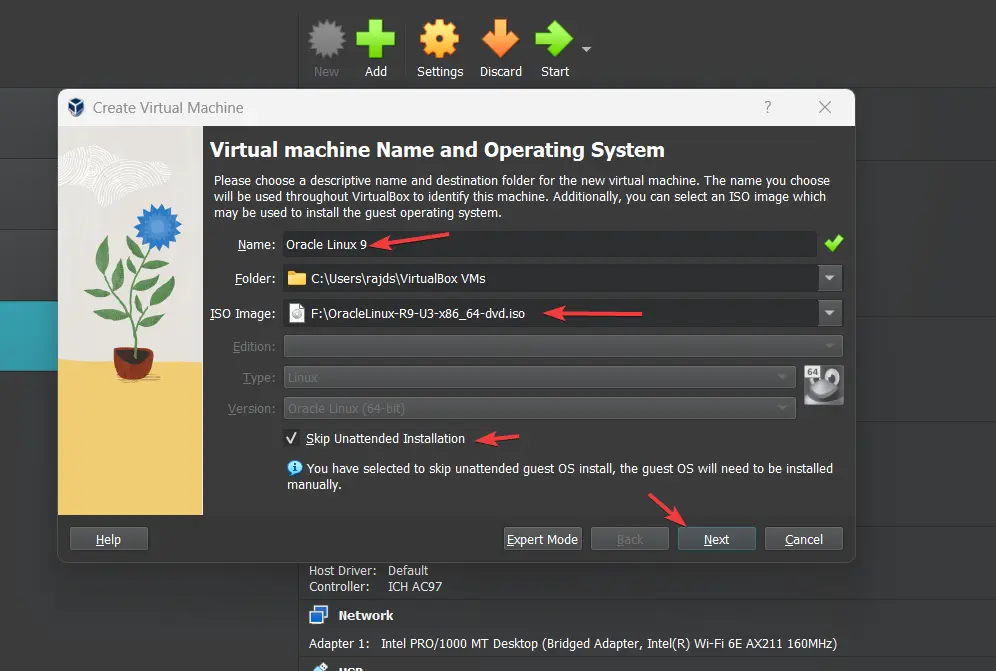
After having the ISO file of Oracle Linux and VirtualBox on your host system, launch it. Now, click on the “New” button given in the top menu to start creating a Virtual Machine.
- First, give some name to your virtual machine, here we are using “Oracle Linux 9” but you can assign whatever you like.
- After that, click on the arrow given for ISO Image to open the drop-down and select the Other… option.
- Navigate to the downloaded Oracle Linux ISO image and select it.
- Once the above steps are done, also check the “Skip Unattended Installation” option.
- Finally, click on the “Next” button to move further and configure Storage and RAM.
Step 4: Allocate Memory
In this step, we configure hardware such as RAM and Processor for the virtual machine. Use the slider given for Base Memory and configure the amount of RAM you want to give to your Oracle Linux. Similarly, set the amount of CPU cores. It is recommended to use 2GB of RAM and 2 cores of CPU for good performance of the VM.

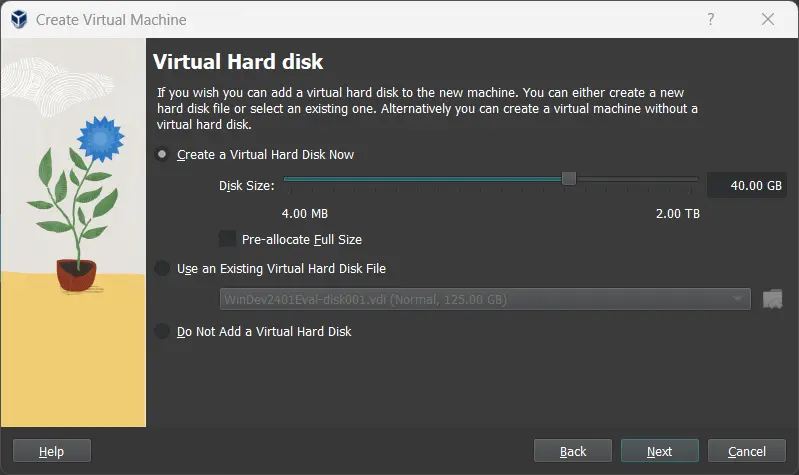
Step 5: Create a Virtual Hard Disk
By default the “Create a Virtual Hard Disk Now” will be selected on the VirtualBox for VM, so leave it as it is and just move the slider to set the Storage space for the Virtual Disk. It is recommended to allocate at least 20 GB. Leave the rest of the options and click on the Next button.
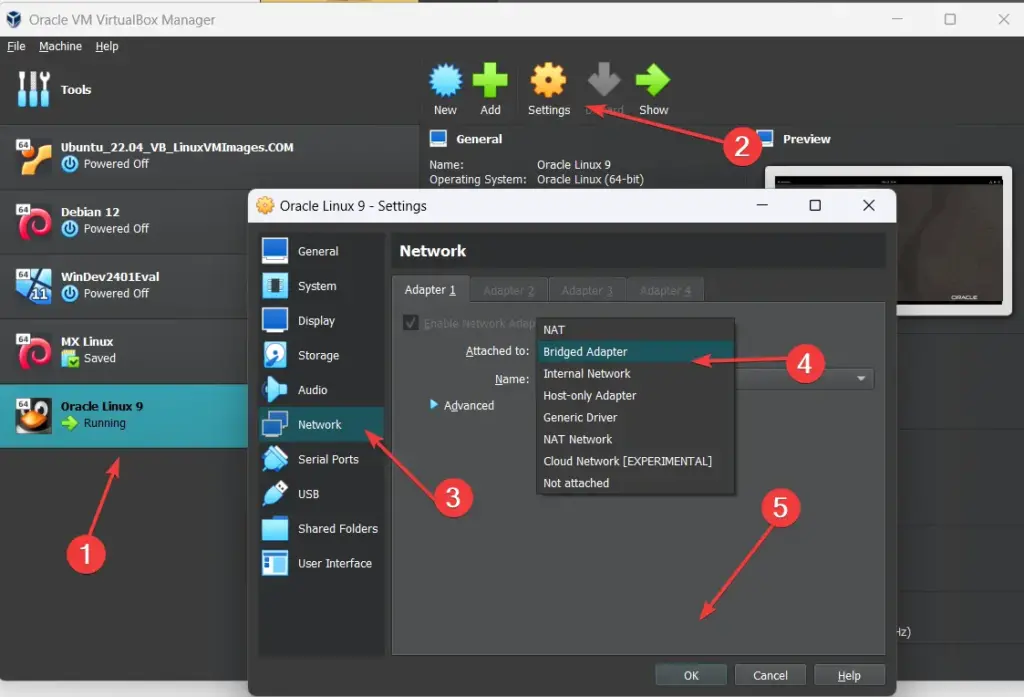
Step 6: Set Bridge Network (optional)
This step is optional… For those who want to do some additional settings. For example, those who want to use a Bridge Network setting instead of NAT, so that the Virtual machine will have the same network Ip-address range as the host system.
To do that, select the created Oracle Linux VM on VirtualBox and then click on the “Settings” icon. Now go to Network, click on the drop-down of “Attached to:” and select the “Bridge Adapter” option. To save the settings click on the OK button.
Step 7: Installing Oracle Linux on Vbox
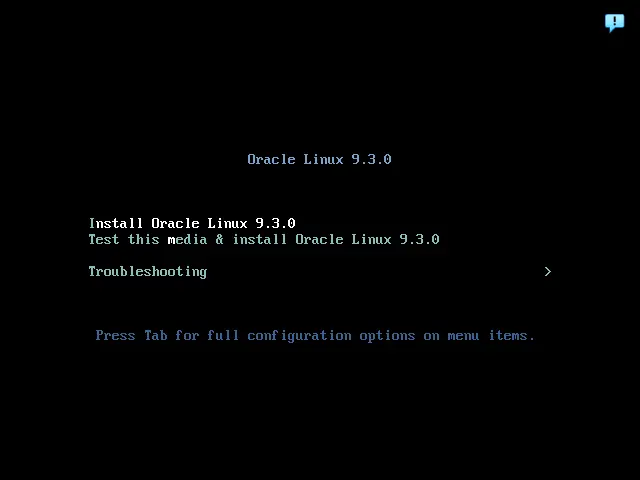
To start the final installation of Oracle Linux, select the VM created for it on VirtualBox and click the “Start” button. This will open another window with the boot menu, select the first option “Install Oracle Linux 9.3.0″ using the arrow keys and then hit the Enter key.
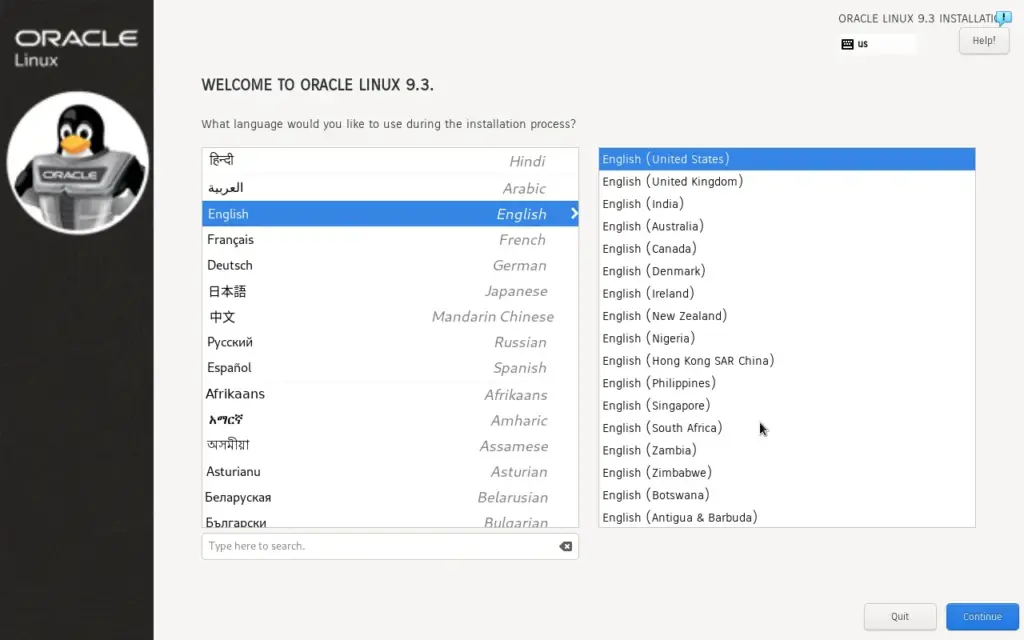
Follow the on-screen instructions to proceed with the installation and select the language preferences after that click the “Continue” button.
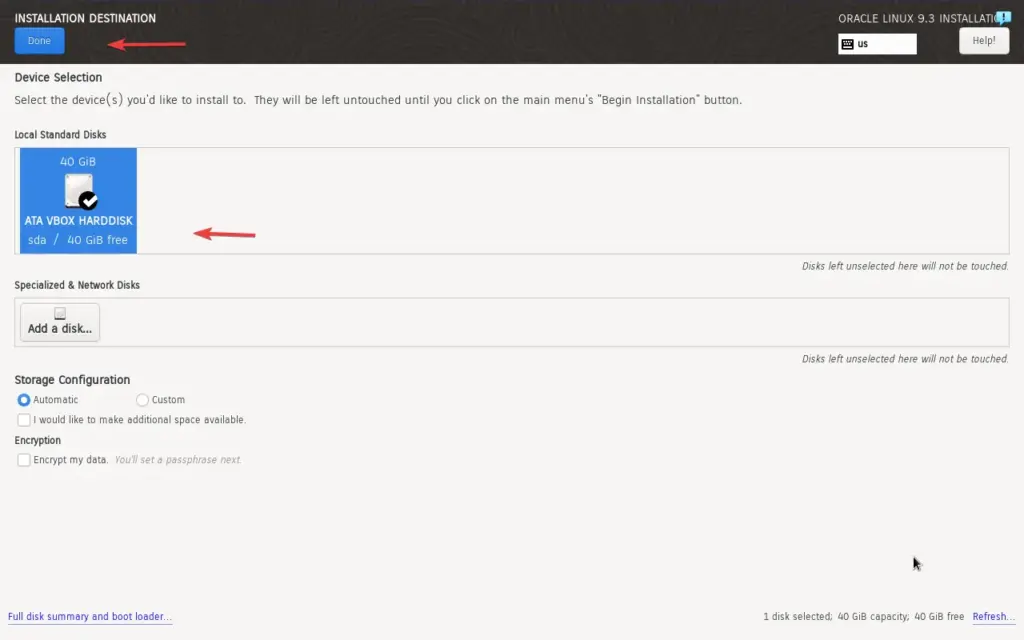
Now, you will see the Installation Summary of the items that are already configured by the system automatically and the others that are not such as “Installation Destination”. So, click it to select the virtual disk drive we have created in “step 5” of this tutorial.
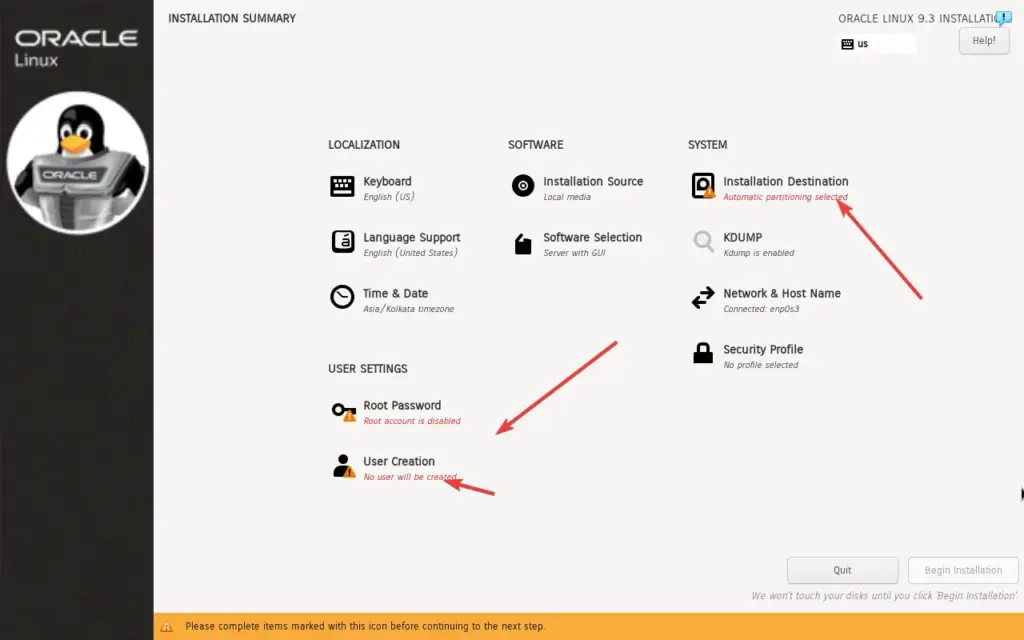
Select the VBox HardDisk and hit the Done button.
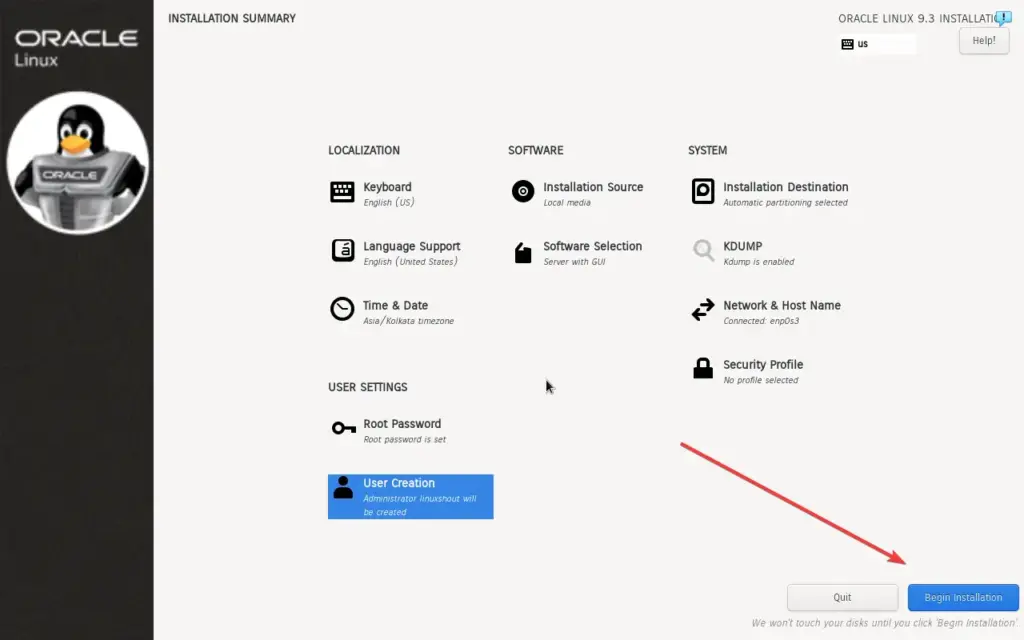
Now, similarly, also select the Root option to create the root user and User to create a system user with or without Admin (sudo) rights. The choice is yours…

Completing the configuration of all the items will look something like the given screenshot, now, finally, click the “Begin Installation” to start the main process of setting up the Oracle Linux on VirtualBox.
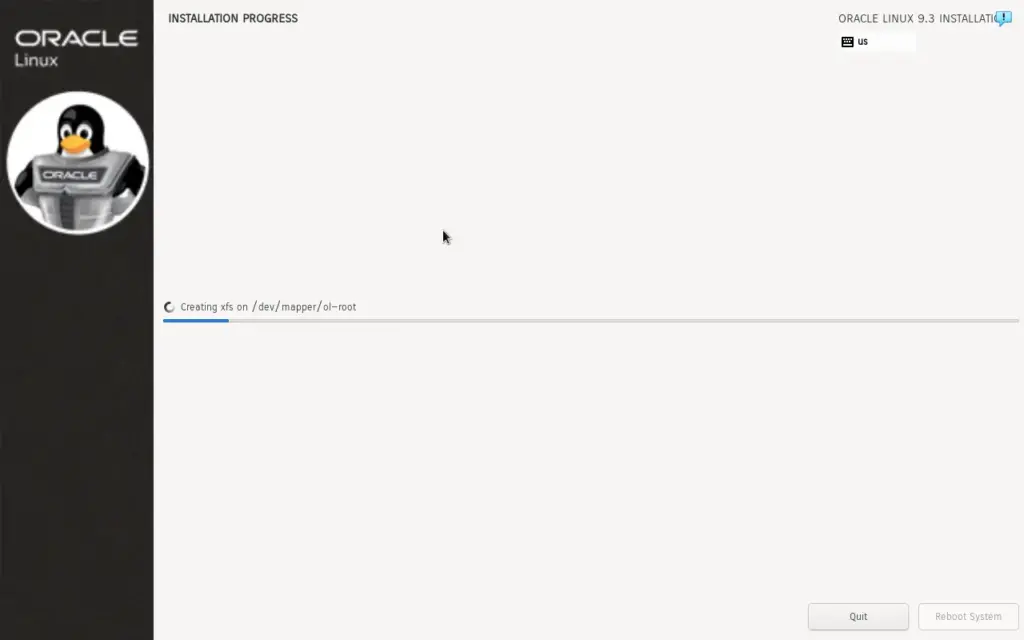
Once the installation process is complete, Oracle Linux will prompt you to reboot the virtual machine.
Step 8: Install Guest Additions on Oracle Linux
Well, after the installation is completed, when we start the Oracle Linux virtual machine it will not automatically adapt the host system display resolution and also not support the Drag & drop plus clipboard features. To enable them we need to install the Vbox Guest Additions. To do that, first, open the command terminal and run the given commands:
sudo dnf install epel-releasesudo dnf install install make gcc kernel-headers kernel-devel perl dkms bzip2After installing the kernel headers and other developer tools, click on the “Devices” option from the VirtualBox menu and select “Insert Guest Additions CD Image…”.
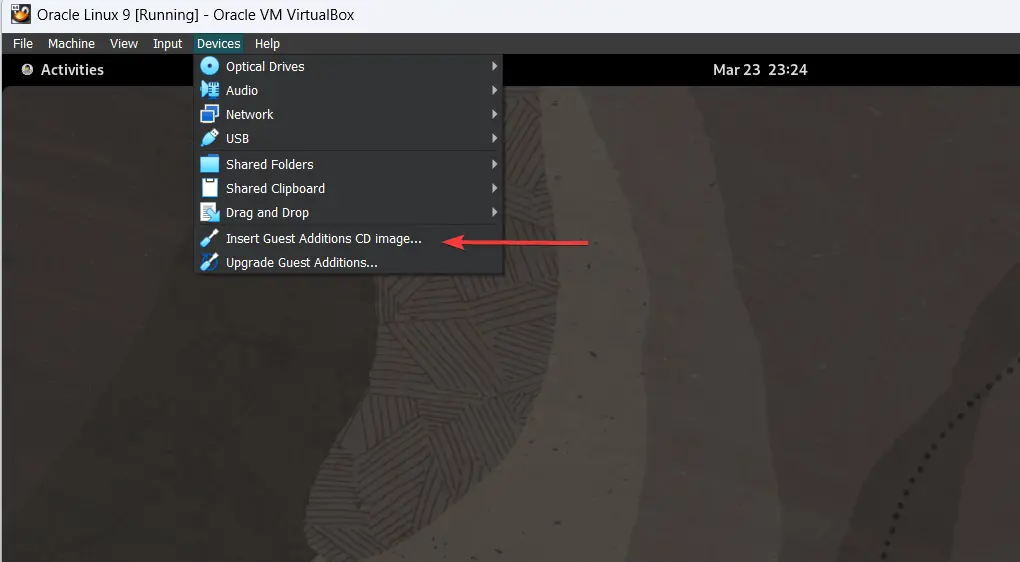
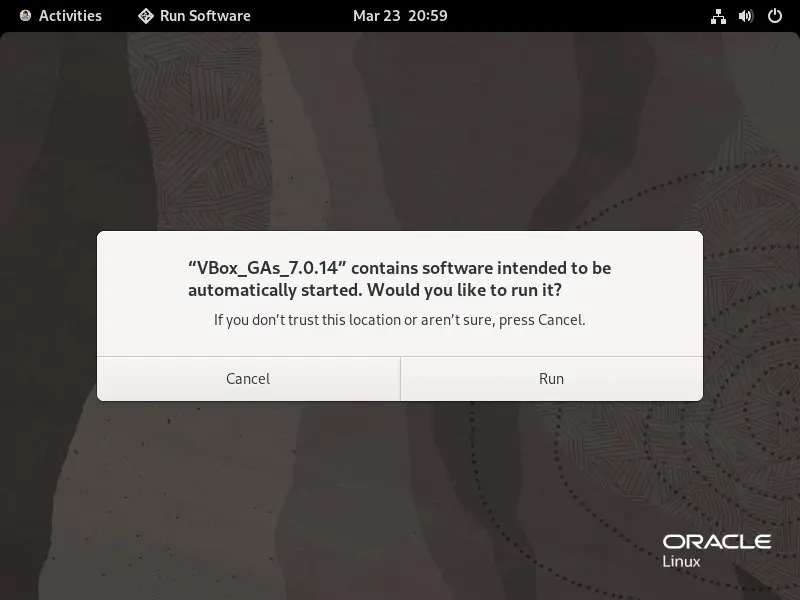
The system will automatically detect it and give the option to run the Guest Additions for installing the required files. Click the Run button and enter the system user password. This will open the terminal to perform the installation.
Step 9: Enable Clipboard and Restart
Now, to enable the Clipboard and Drag & Drop features, again from the VirtualBox menu select “Devices” -> Clipboard, select Bidirectional similarly do the same for “Drag & Drop“.
Once done, restart the system for proper integration of Guest Additions and the feature we have enabled.

Conclusion:
By following this step-by-step guide on VirtualBox you will have the latest version of Oracle Linux distro which provides the flexibility to users for experimenting with new software, testing configurations, or learning about Linux.