Get the terminal commands to easily install TeamViewer in Debian 12 Linux for accessing the remote desktop, transferring files, or providing assistance.
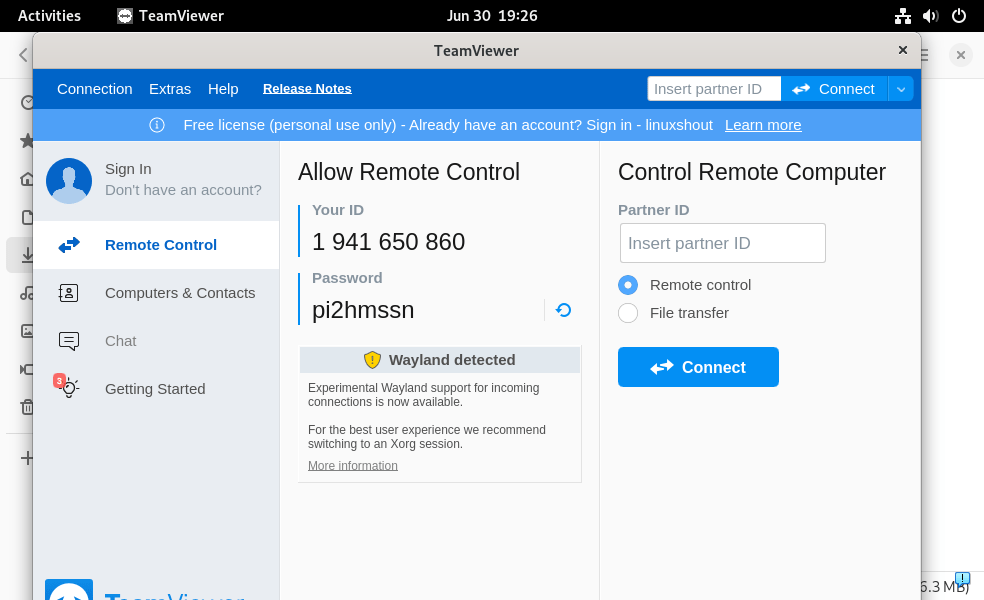
Remote collaboration becomes an essential part of the corporate work environment. Whether you need to provide technical support or access your computer from a remote location, the perfect remote desktop software must be in your arsenal. Out of popular RDP software, TeamViewer is one of the most used applications that offers remote access and support solution to enable seamless communication. It supports various operating systems, including Windows, macOS, Linux, Android, and iOS.
So, here we learn the steps to install TeamViewer in Debian 12 Bookworm.
#1st-way using Deb binary:
1. Open Command Terminal
To follow the repository or binary method for adding Teamviewer to our system, we need to access the command Terminal. So, click on the Activities button and search for the Terminal app. As it appears, click to open it.
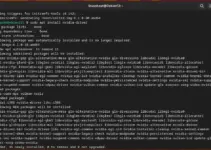
Once you have a terminal screen, run the system update command once.
sudo apt update && sudo apt upgrade2. Download TeamViewer Deb binary
Well, if you don’t want to add the repository manually then we can get the Teamviewer by directly downloading and installing its binary available for Debian or Ubuntu system on the official website.
The quick way is to use the terminal for getting the binary without visiting the website, here is the command to do that:
wget "https://download.teamviewer.com/download/linux/teamviewer_amd64.deb"3. Installing TeamViewer on Debian 12
Once you have the binary on your system, just execute the given command.
Note: if you have used the browser to download it, then don’t forget first to switch to the Downloads directory in your terminal.
sudo apt install ./sudo apt install ./teamviewer_amd64.debThe above command will automatically add the required repository for Teamviewer to get future updates easily.
#2nd method using repository manually
4. Add Repository Manually
Now those who want to configure the repository of this remote desktop tool manually, for them, the Developers of Teamviewer officially offer a repository to install their applications on Linux systems such as Debian, Ubuntu, and others. So, let’s follow the given steps to add it to our system.
First, add a GPG key that authenticates the packages are from the right source:
curl -fSsL https://download.teamviewer.com/download/linux/signature/TeamViewer2017.asc | sudo gpg --dearmor | sudo tee /usr/share/keyrings/teamview.gpg > /dev/nullAfter that add the official repository of TeamViewer:
echo "deb [arch=amd64 signed-by=/usr/share/keyrings/teamviewer.gpg] http://linux.teamviewer.com/deb stable main" | sudo tee /etc/apt/sources.list.d/teamviewer.listOnce again run the system update command:
sudo apt update5. APT Install TeamViewer
Once we have the repository added, the installation of Teamviewer on Debian 12 is just like any other software using the APT package manager. Here is the command that you need to follow on your Terminal screen.
sudo apt install teamviewer6. Run the Application
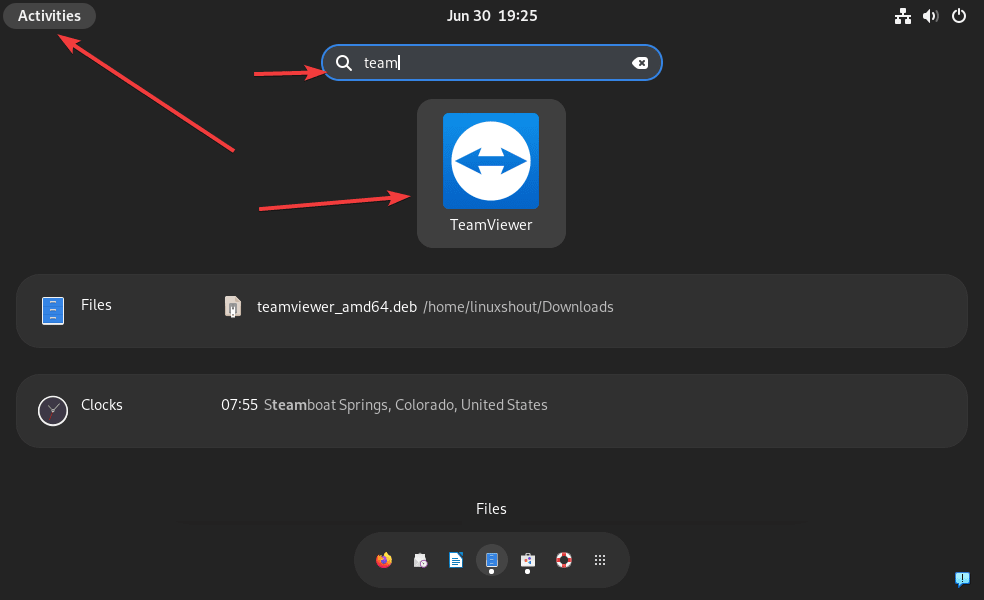
No matter what method you have used to install this remote desktop application, to start it:
- In the Taskbar, click on Activities.
- Type “Teamviewer” in the search box.
- When in the search results, it appears, click to run the same.
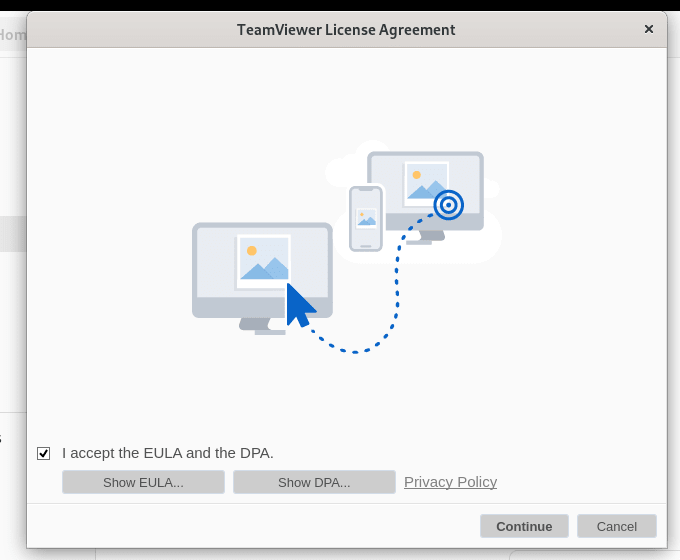
Accept the License by checking the box given for that.
7. How to update in future
If you want to update the TeamViewer to its latest version in the future then simply running the system update command will be enough.
sudo apt update8. Uninstallation TeamViewer Debian 12
In case you didn’t like TeamViewer and want to remove it completely from your Debian 12 Linux then here is the command for that:
sudo apt autoremove --purge teamviewerTo remove the repository as well use:
sudo rm /etc/apt/sources.list.d/teamviewer*Other Articles: