As we know Ubuntu 20.04 LTS which is the Long term version of Canonical has dropped the previous version of Python that is 2, to give space to the latest version of Python 3. Therefore, if there is some application that required Python 2.7 then you would not find it on Ubuntu 20.04 by default. However, there is a way to install it using the command line terminal.
Install Python 2.7 on Ubuntu 20.04 LTS Linux and make it default
1. Open a command terminal
Although everybody is familiar with how to run the command terminal, however, those who don’t know can use the shortcut key combination i.e Ctrl+Alt+T.
2. Add Universe repo
It is quite possible that your system would already have the Universe repository, still run the below command to add or confirm it.
sudo apt-add-repository universe
sudo apt update
3. Install Python2.7 on Ubuntu 20.04 LTS
Once done with the above command, its time to install Python 2.7 version on Ubuntu Linux, for that, follow this syntax:
sudo apt install python2-minimal
Check Python2 version
To view the current version of Python on your system run:
python2 -V
Output:
Python 2.7.18
4. See all available Python version on the system
As we know Ubuntu 20.04 comes out of the box with Python 3 thus, let’s check what are the available versions of Python are on our system.
ls /usr/bin/python*
5. Change the Default Python priority
You will see both python 2.7 and 3 on your Ubuntu 20.04 Linux. However, by default, the system will give priority to Python3, and that’s when we run python command it will give an error:
Command 'python' not found, did you mean:
command 'python 3' from deb python3
command 'python' from deb python-is-python3
Thus, we change the priority and set Python2 at the top so that it could call by applications as the default version. Whereas Python3 will be second.
sudo update-alternatives --install /usr/bin/python python /usr/bin/python2 1
sudo update-alternatives --install /usr/bin/python python /usr/bin/python3 2
Now, check the default version:
python -V
In the future, if you want to set Python 3 as default or first version in the priority list, simply update the alternatives list, using this command:
sudo update-alternatives --config python
You will get something like the below screenshot with the choice to set one at the priority. To select, just enter the number given corresponding to each version path under the Selection column and hit the Enter key.
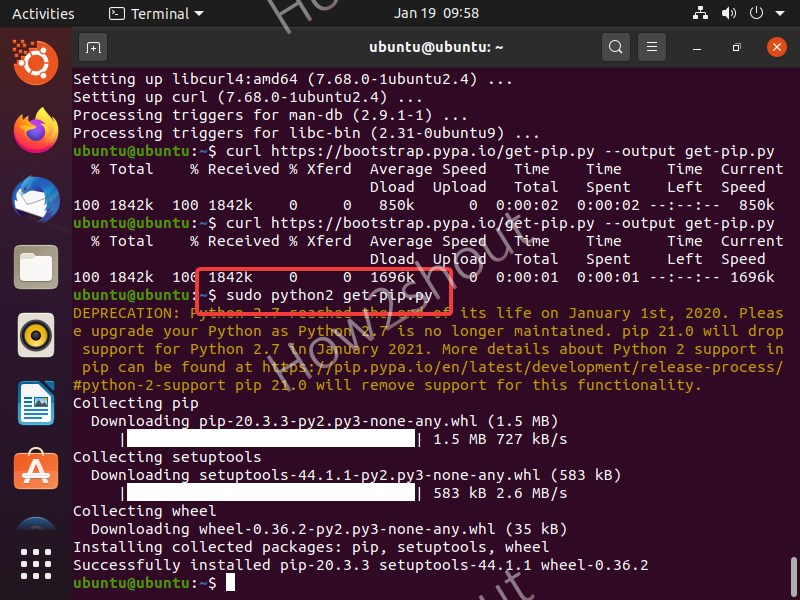
6. Install Pip 2 on Ubuntu 20.04
Now, if you are also interested in Pip 2 then here are the commands to follow.
Note: Make sure you already have enabled the universe repo given in Step 2 of this article and have Python 2 on your system.
sudo apt update
sudo apt install curl
curl https://bootstrap.pypa.io/pip/2.7/get-pip.py --output get-pip.py
sudo python2 get-pip.py
Check Version:
pip2 --version
7. Uninstall (optional)
If you don’t need Python 2.7 on your system then here is the command to remove it:
sudo apt remove python2-minimal


Hi, nice tutorial!
Just please update the URL where the get-ipi.py is downloaded, it should be:
https://bootstrap.pypa.io/pip/2.7/get-pip.py
On Ubuntu 21.10
I get “zipimport.ZipImportError: can’t decompress data; zlib not available” error when running get-pip.py.
There seems to be no zlib support compiled in for the available python2.7 package
Wow!! What useful POST, Works perfectly in Zorin OS 16.3
Thank you so much.