Timeshift is a free software for Linux systems, useful in creating a snapshot of system drives and restoring them later. In Linux Mint, this user-friendly tool comes pre-installed but on Debian users need to install TimeShift manually and in this tutorial we learn how to do that.
This simple-looking tool – Timeshift, is quite powerful as it can take a snapshot of the whole operating system including applications and user data. Hence, quite useful in backing up data when you are planning to upgrade or just for the safety of your critical files. Timeshift is particularly useful in scenarios where users want to revert system changes, recover from software issues, or ensure system stability.
Key Features of Timeshift:
- Timeshift creates snapshots of your Linux system at different points in time.
- Supports different snapshot types, including Rsync and Btrfs.
- It utilizes an incremental backup approach, saving disk space.
- Users can manage and browse snapshots through the Timeshift user interface.
- Timeshift allows users to specify the location where snapshots are stored.
1. Open a Terminal
Start with opening of terminal app because the command line is the easiest way to install software on Linux systems. Therefore, access your Debian terminal and first run the system update and upgrade command, given below, after that move to the next step.
sudo apt update && sudo apt upgrade2. Install Timeshift on Debian 12 or 11
Installing TimeShift on Debian is quite easy because we can get it using the default system repository, therefore is no need to add any repo manually. Run the following command and in a few seconds TimeShift will be on your system.
sudo apt install timeshift
3. Launch Timeshift
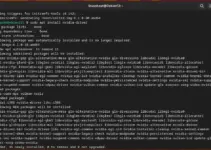
As we are finished with the installation, to start the TimeShift application either go to the application menu and search for it or else simply in the command terminal type-
sudo timeshift-gtkTo use the TimeShift via command line instead GUI, use:
timeshift4. Configure Timeshift
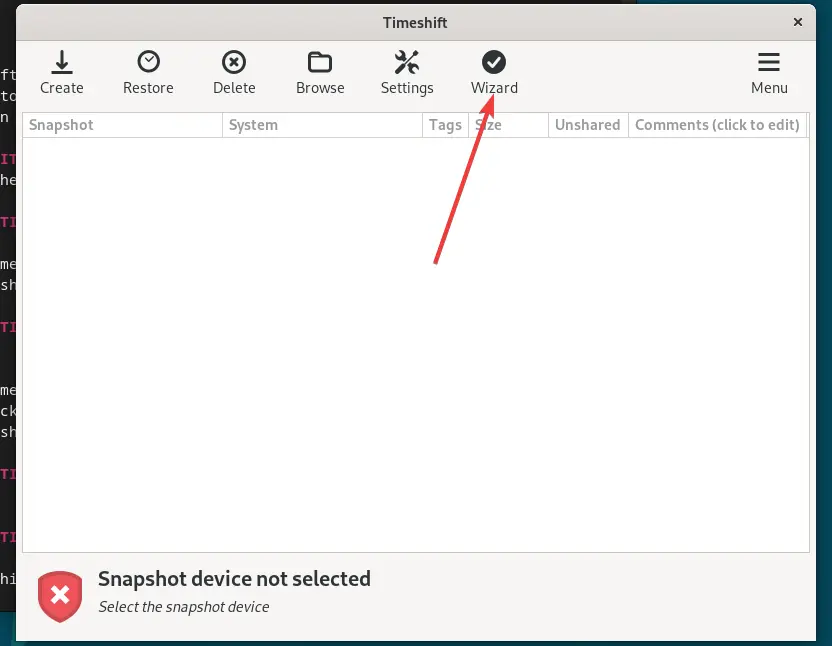
When you run Timeshift for the first time, you’ll be prompted to configure it, if not then click on the Wizard option given in the menu.
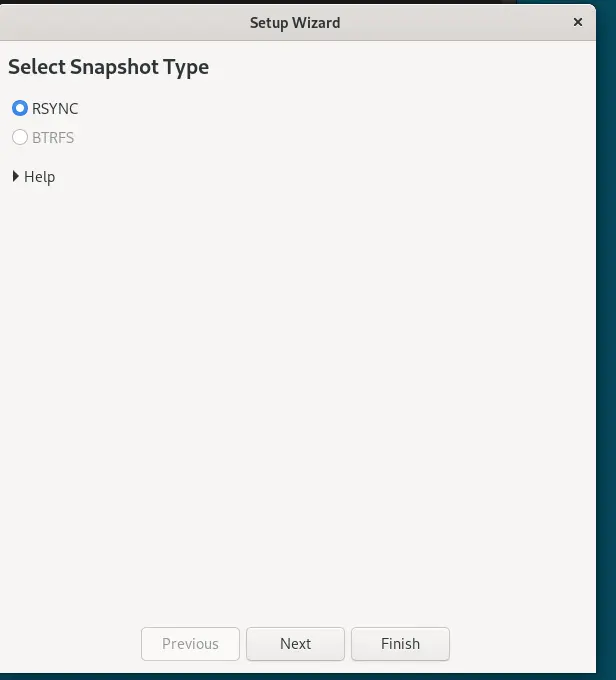
Choose the snapshot type (Rsync or Btrfs) based on your file system.
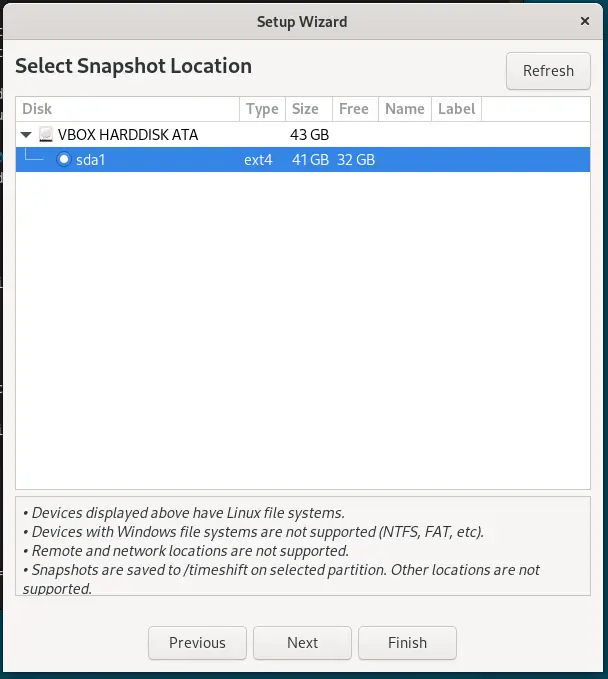
Select the snapshot location to save the backup created by the TimeShift, such as a dedicated partition or an external drive.
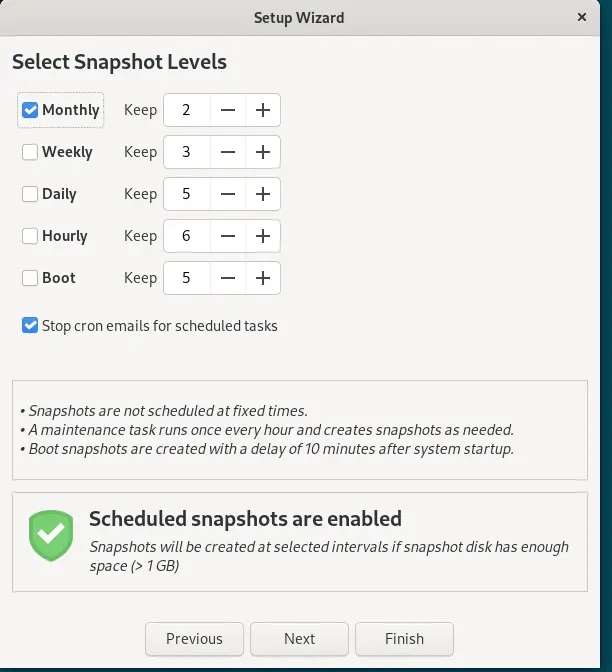
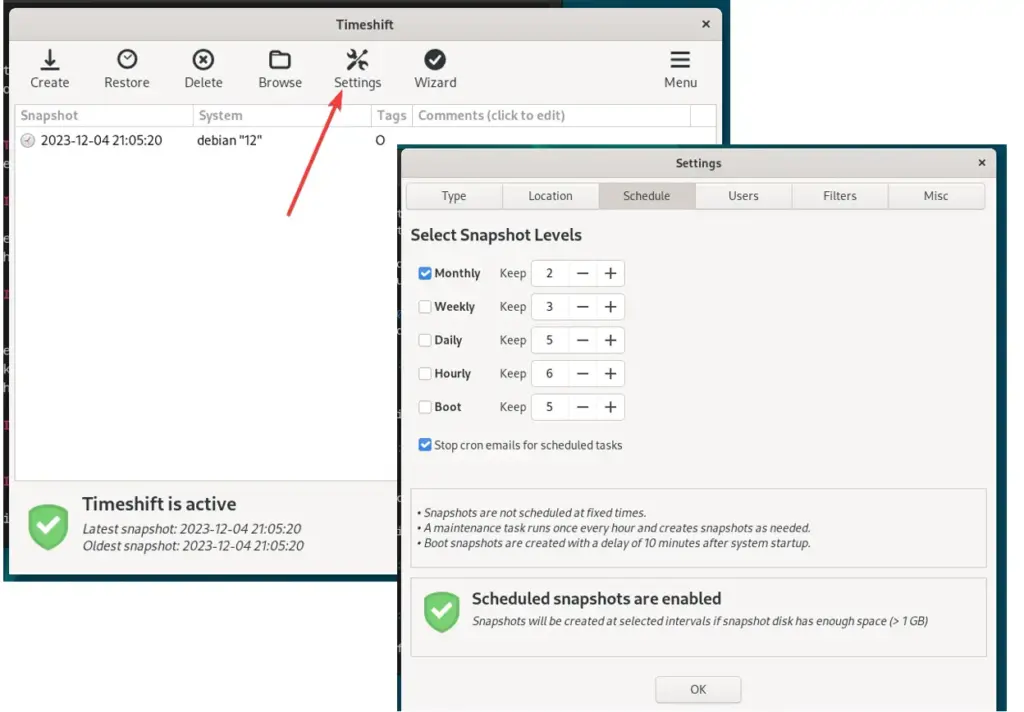
We can either take snapshots manually or configure the schedule for automatic snapshots if desired. Select the when and how many previous snaps Timeshift should save or retian on each level. For example, if you select Monthly level then the system, by default, will keep two previous snapshots (backup) copies.
Whereas, the Boot level shanpshot is to provide snapshot of System Boot, in case something wrong happened or user facing a problem in booting then it can be solved using this snapshot. Boot snapshot will be created after system startup, so that it won’t hinder the startup process.
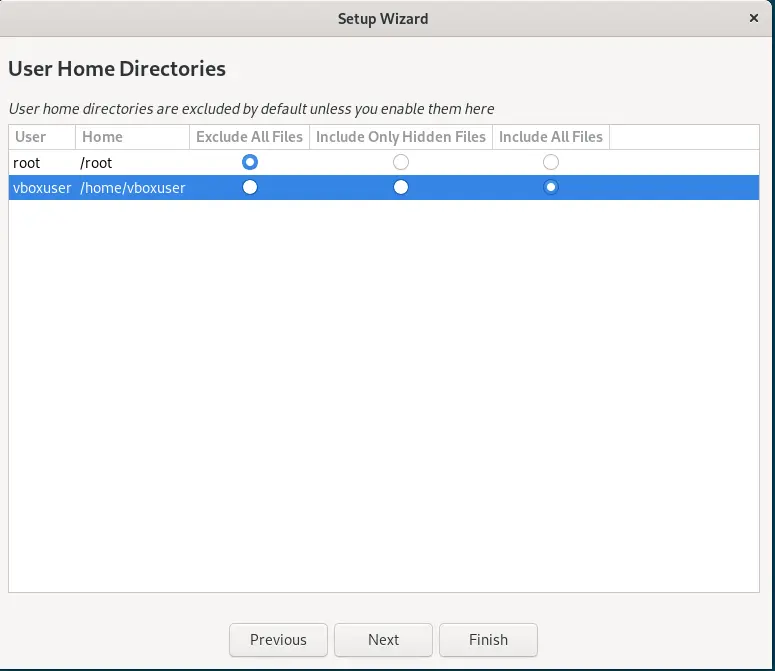
If you want to include the root and user home directories including all files then that can be done, here in this step. By default, the system will exclude all the files.
6. Create and Restore Snapshots:
Timeshift will automatically create a Snapshot as per the configuration, however if you want to start it manually then can click on the “Create” option to initiate the first snapshot.
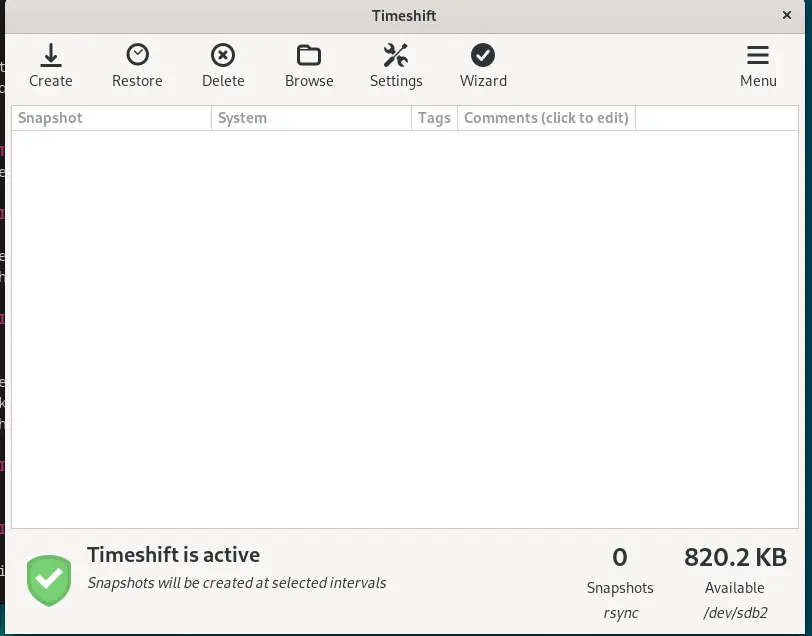

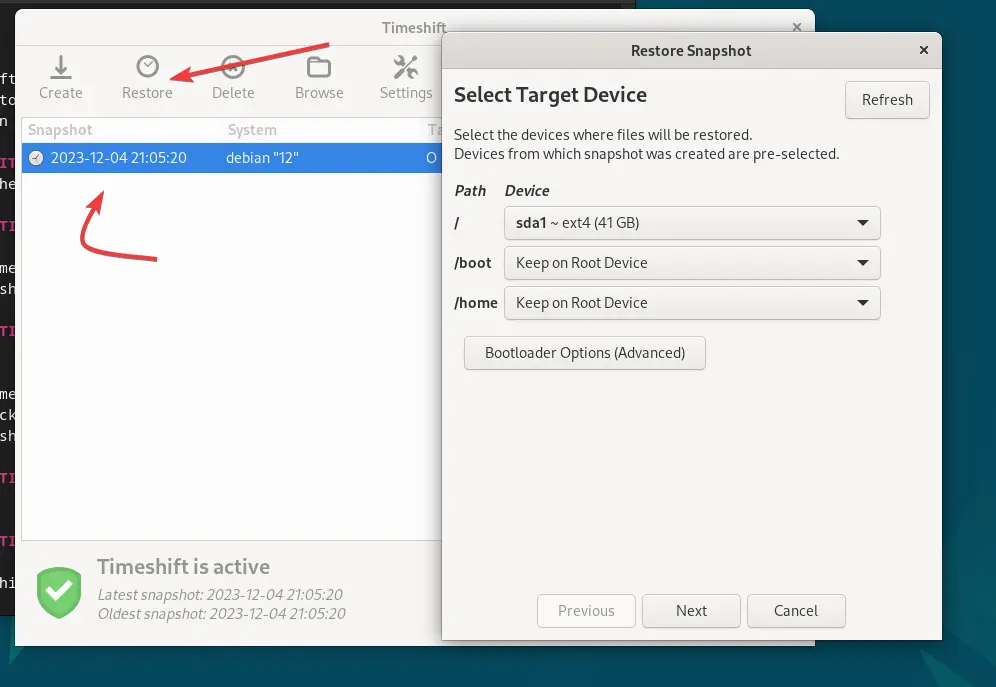
Like creating snapshots, we can also restore our system to a previous state by using the existing Snapshots.
For that, select a snapshot from the list and click “Restore.” System will first execute a Dry run to test what files are going to be affected after performing the restoring process. Check out that and if you assure everything is correct then finilaze the restoration.
7. Optional: Schedule Automatic Snapshots:
If you didn’t set up automatic snapshots during the initial configuration, you can do so later.
- Open Timeshift and go to the “Settings” tab.
- Set the schedule for creating automatic snapshots according to your preferences.
8. Additional Considerations:
We should monitor the space of the drive where TimeShift is saving the Snapshots and must ensure that it has sufficient storage space to number of copies or growing size of the backup.
You can manually delete the old snapshots, if not required, to prevent excessive disk usage.
Conclusion:
Installing Timeshift on Debian 12, 11, or even any other version you are using provides you with a reliable and convenient way to create system snapshots, allowing for easy system recovery in case of issues or changes. Following the steps of this tutorial, you can set up Timeshift and take advantage of its snapshot capabilities on your Debian system.
Other Articles: