OwnCloud allows users to set up their cloud solution using a local or cloud server such as AWS. Being an open-source application platform, anyone can easily install it on Debian 12, 11, or any other Linux version you have even Windows and macOS are supported. It is not only a medium to store data and access that remotely but comes with file synchronization, sharing, and collaboration features as well.
Prerequisites:
- Debian 10, 11, or 12 Linux server
- A non-root user with sudo privileges.
- Internet connection to install and update packages
Although we have performed the given steps on Debian 12 they all will be the same for Debian 11 or 10 servers as well. Even Ubuntu Linux users can follow them if needed.
Step 1: Debian 12 Update and Upgrade:
This is a common step we need to follow before installing packages on Linux systems i.e. updating the system. So, go to your terminal, if you are installing OwnCloud on some remote server then use SSH to access the terminal.
sudo apt update && sudo apt upgrade -yAlso, run the given command to install a few other packages:
sudo apt install apt-transport-https lsb-release ca-certificates wgetStep 2: Install LAMP Stack
Like any common PHP-based web application, OwnCloud also needs a web server environment along with PHP & a Database server. So, in this step, we learn the command to install the popular Apache web server, PHP, and MariaDB Database.
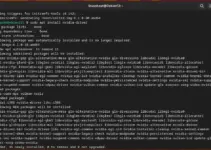
sudo apt install apache2 mariadb-serverYou will be asked to provide your user password to execute the above command. Once the installation is completed you can check the Apache and MariaDB services status by running the following:
sudo systemctl status apache2 mariadb --no-pager -l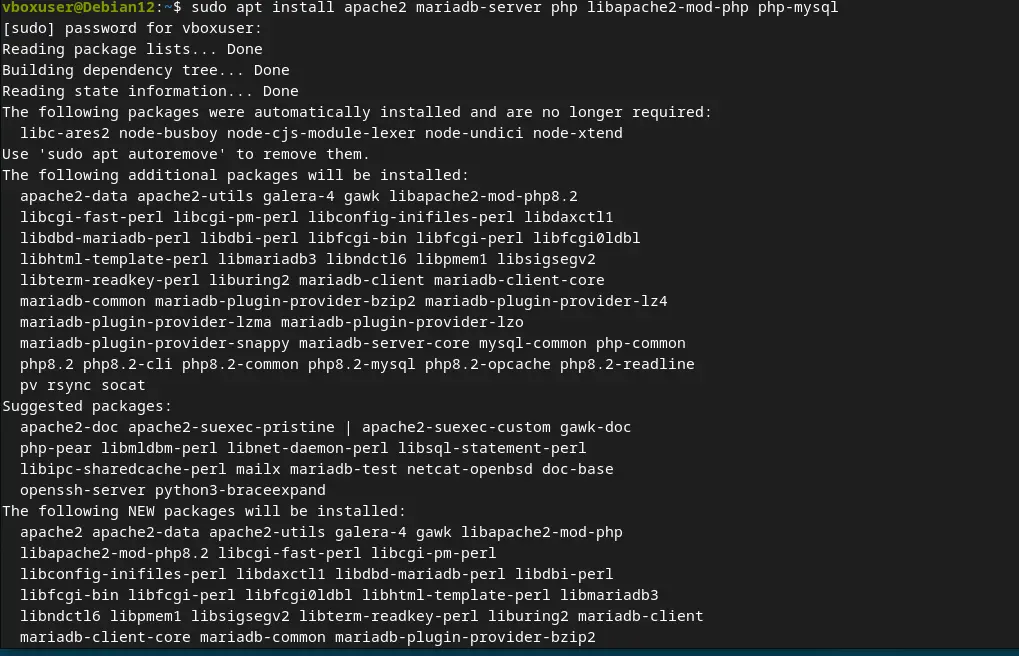
OwnCloud while writing this article was not compatible with PHP 8.x, hence we needed to install the PHP 7.4 version as per its system requirements, however, the problem is this old version of PHP is not available through the default system repository of Debian 12. So, add the Sury repository to get the older versions.
sudo wget -O /etc/apt/trusted.gpg.d/php.gpg https://packages.sury.org/php/apt.gpgecho "deb https://packages.sury.org/php/ $(lsb_release -sc) main" |sudo tee /etc/apt/sources.list.d/php.listsudo apt install php7.4-{xml,intl,common,json,curl,mbstring,mysql,gd,imagick,zip,opcache} libapache2-mod-php7.4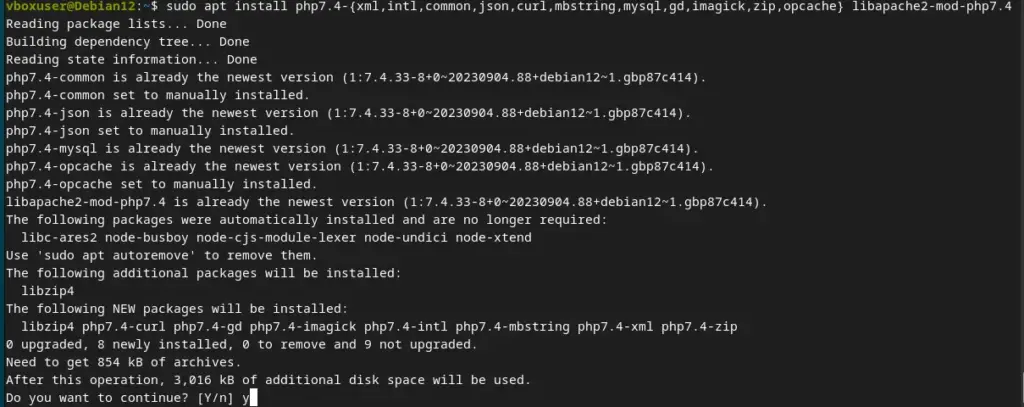
Step 3: Configure MariaDB:
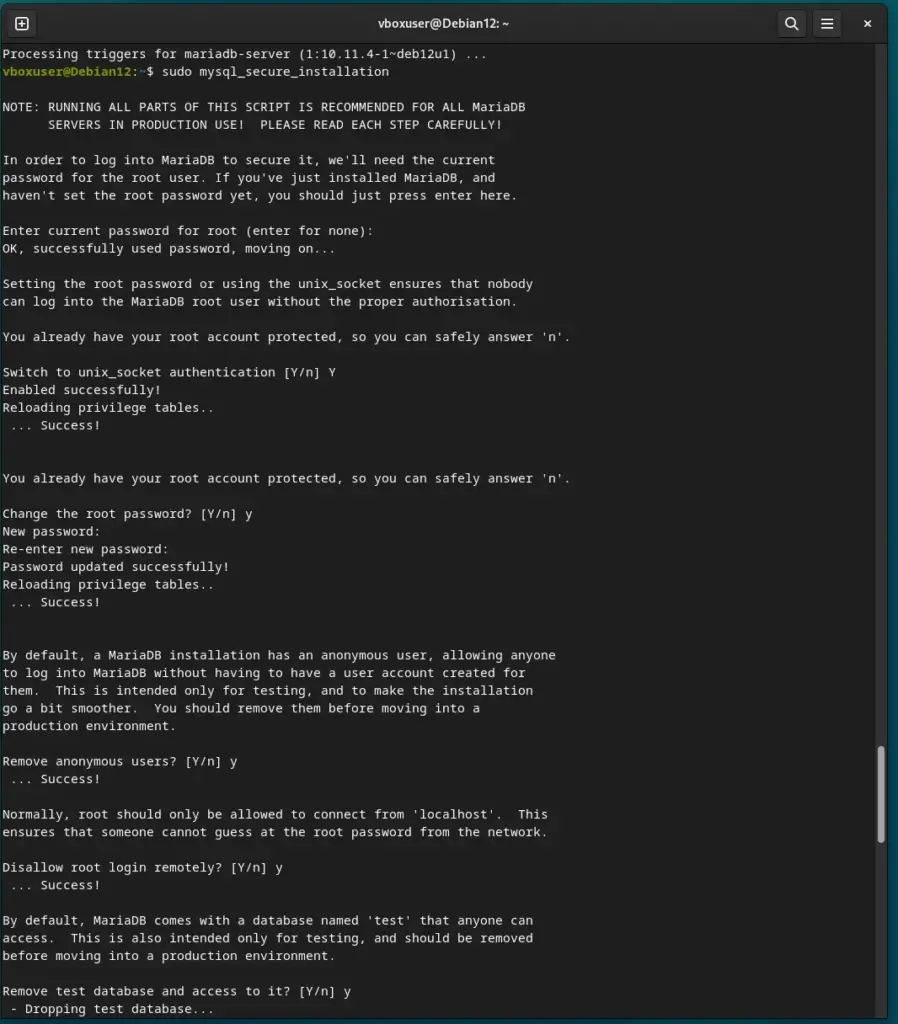
In the previous step, we installed the open-source database MariaDB, now let’s run a command that will secure it by setting the root password, removing anonymous users, disallowing root login remotely, and removing the test database.
sudo mysql_secure_installationYou will get some on-screen prompts to complete the setup.
Step 4: Create a Database and User for OwnCloud:
The data generated by the OwnCloud has to be stored somewhere and for that, we need to create a user and database in MariaDB. Hence, first log in your Database server as root:
sudo mysql -u root -pYou will be asked for the root password configured by you in the previous step, enter that. Alternatively, you can use sudo mysql only which will not ask for your password and directly give you the mysql command line access.
Note: Replace ‘ownclouduser‘ with your desired username and ‘your_password’ with a strong password in the given commands while creating a database for your OwnCloud instance.
CREATE DATABASE owncloud;
CREATE USER 'ownclouduser'@'localhost' IDENTIFIED BY 'your_password';
GRANT ALL ON owncloud.* TO 'ownclouduser'@'localhost';
FLUSH PRIVILEGES;
EXIT;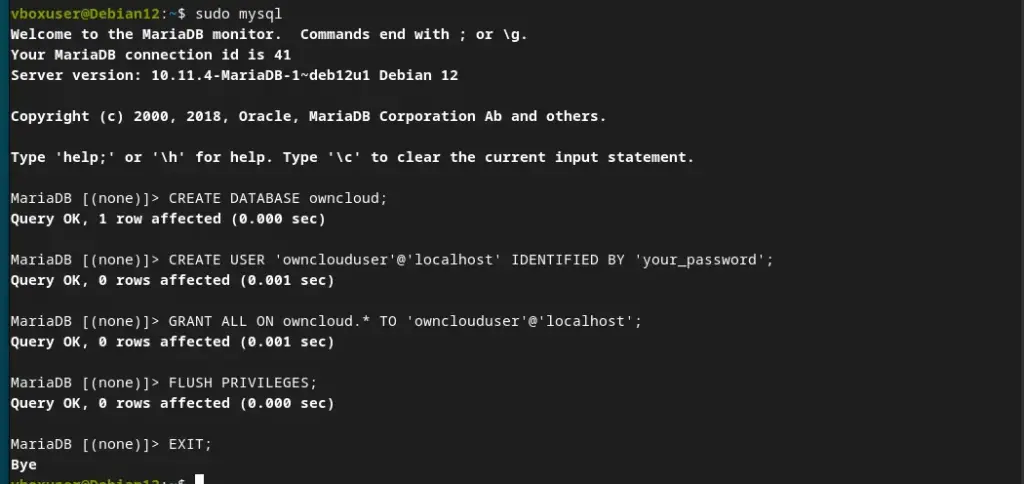
Step 5: Download and Install OwnCloud on Debian 12 or 10:
Now, we download the Owncloud server compressed file to extract it in our web directory.
wget https://download.owncloud.com/server/stable/owncloud-latest.tar.bz2Extract the downloaded file and move it to your web directory:
sudo tar -xvf owncloud-latest.tar.bz2 -C /var/www/html/Step 6: Set Permissions:
We also need to set permission for the moved folder, so that our Apache user can access the data or files in our OwnCloud folder moved to the web directory.
sudo chown -R www-data:www-data /var/www/html/owncloudNext, tell the Apache server how and from where to serve the OwnCloud files, that we will create an Apache configuration file:
sudo nano /etc/apache2/sites-available/owncloud.confCopy and paste the below-given lines. To save the file press Ctrl+X, type Y, and then hit the Enter key.
Alias /owncloud "/var/www/html/owncloud/"

<Directory /var/www/html/owncloud/>
  Options +FollowSymlinks
  AllowOverride All

 <IfModule mod_dav.c>
  Dav off
 </IfModule>

 SetEnv HOME /var/www/html/owncloud
 SetEnv HTTP_HOME /var/www/html/owncloud
</Directory>
Enable the OwnCloud site and necessary Apache modules:
sudo a2ensite owncloud
sudo a2enmod rewrite headers env dir mime
Step 8: Restart Apache:
To apply all the changes we have made for OwnCloud in Apache, restart the web server using the given command:
sudo systemctl restart apache2Step 9: Complete the Installation:
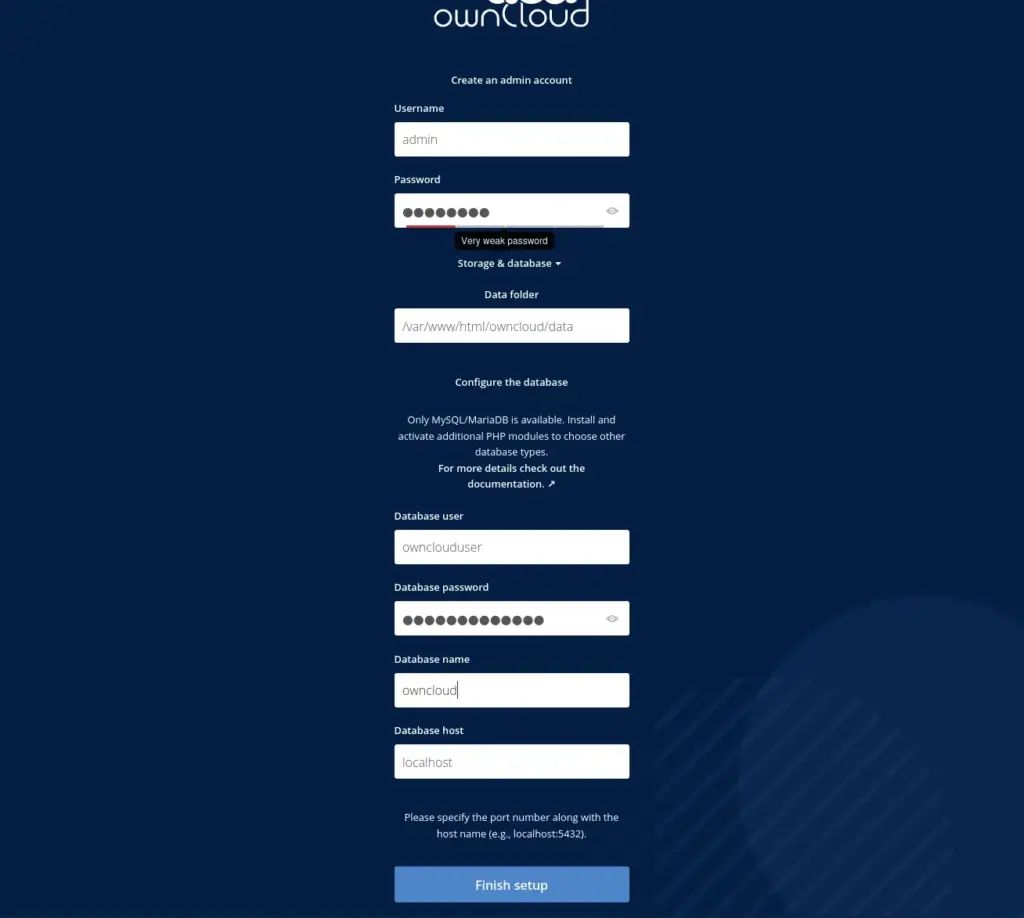
We are done with the backend configuration for OwnCloud, let’s move to the front end. To access the web interface, open your system browser and enter the IP address or domain followed by “/owncloud” (e.g., http://your_domain/owncloud or http://your_server_ipaddres/owncloud).
- Create an admin account.
- Configure the database connection with the database name, username, and password you created earlier.
- Click the “Finish setup” button.
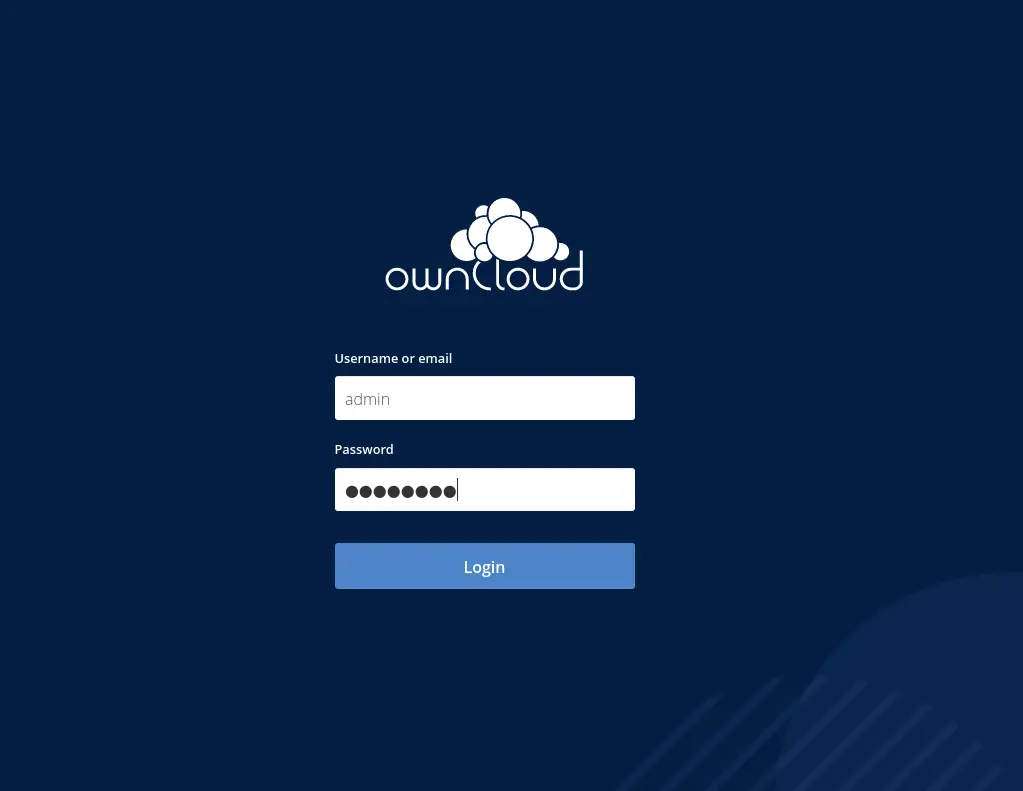
Step 10: Access Your OwnCloud:
As you finish setting up your user account and database details, Owncloud will show you the login page. Use the admin account you created and start uploading, syncing, and sharing files securely in your private cloud.

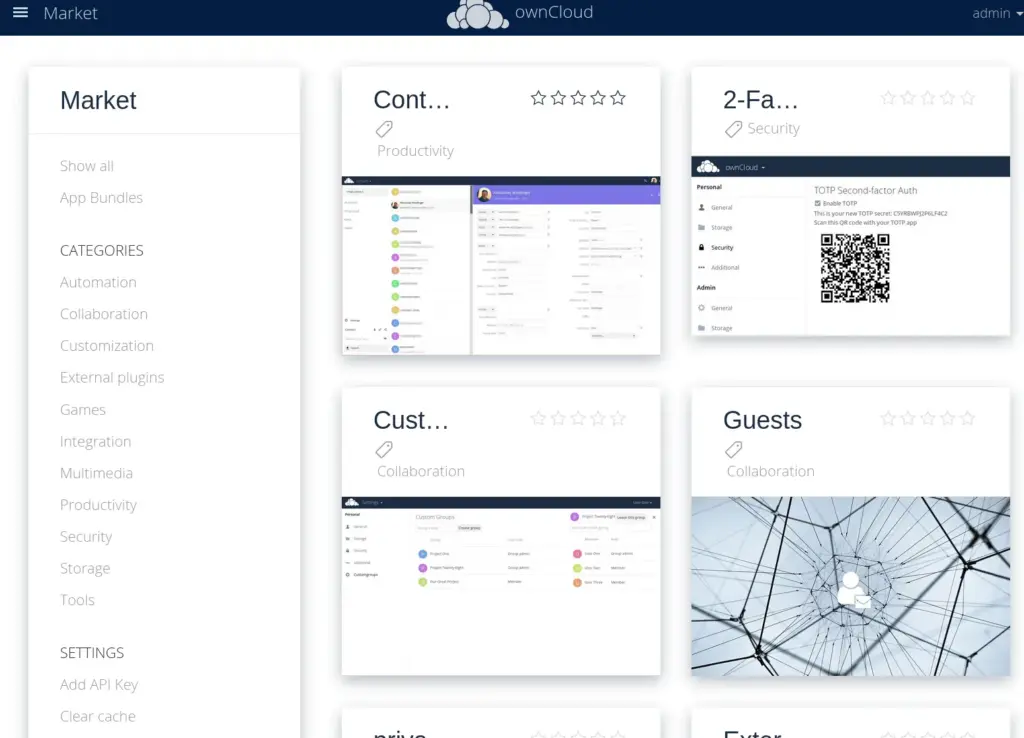
To add more features, we can use Marketplace of OwnCloud to install various plugins such as 2-Factor Authentication, Contacts, Music, Gallary, Claender, PDF reader, and more…
Conclusion:
Installation of OwnCloud is quite simple on Debian and other similar Linux servers. Free of cost anybody can use this software to create their own file synchronization and sharing platform that allows you to have your private cloud storage solution.
Other Articles: