Microsoft Powerpoint is a popular and extremely powerful tool for creating presentations slides. But now it is not only limited to text-based slides only. You can perform some basic image editing too. Yes, it is not like the Adobe photoshop but things like color correction, background removal, give some artistic effects and do you know, even you can blur the background of a picture in Powerpoint. These functions are available in almost all recent and older versions of Powerpoint such as PowerPoint 2007, 2010, 2013, and 2016.
Many times while creating some slides in Powerpoint, we require to blur out some parts of an image or text; and if you don’t know, you can do it directly on powerpoint then you might start struggling with some other tools to achieve that.
Here we tell you how to blur the background, text or specific part of an image in Powerpoint 2007, 2010, 2013, or 2016.
Overview of steps need to follow:
- Go to Microsoft Powerpoint.
- Insert or paste the image on the slide of Powerpoint.
- To blur specific part, first, snip that area using the Windows Snipping tool.
- Now paste that over the picture and select it.
- Go to Format Tab -> Select Artistic effects -> Select the Blur effect.
- Now go to the Picture effects option given under the Format Tab and select the Soft Edges effect.
- Select the pre-define strength of the Soft edges effect or customize according to your requirement.
- If you want to blur the text then simply copy and past it as the picture. Now follow the same steps given above to blur the text in Powerpoint.
Tutorial in detail along with screenshots to easily comprehend it
How to blur a part of the picture in Powerpoint
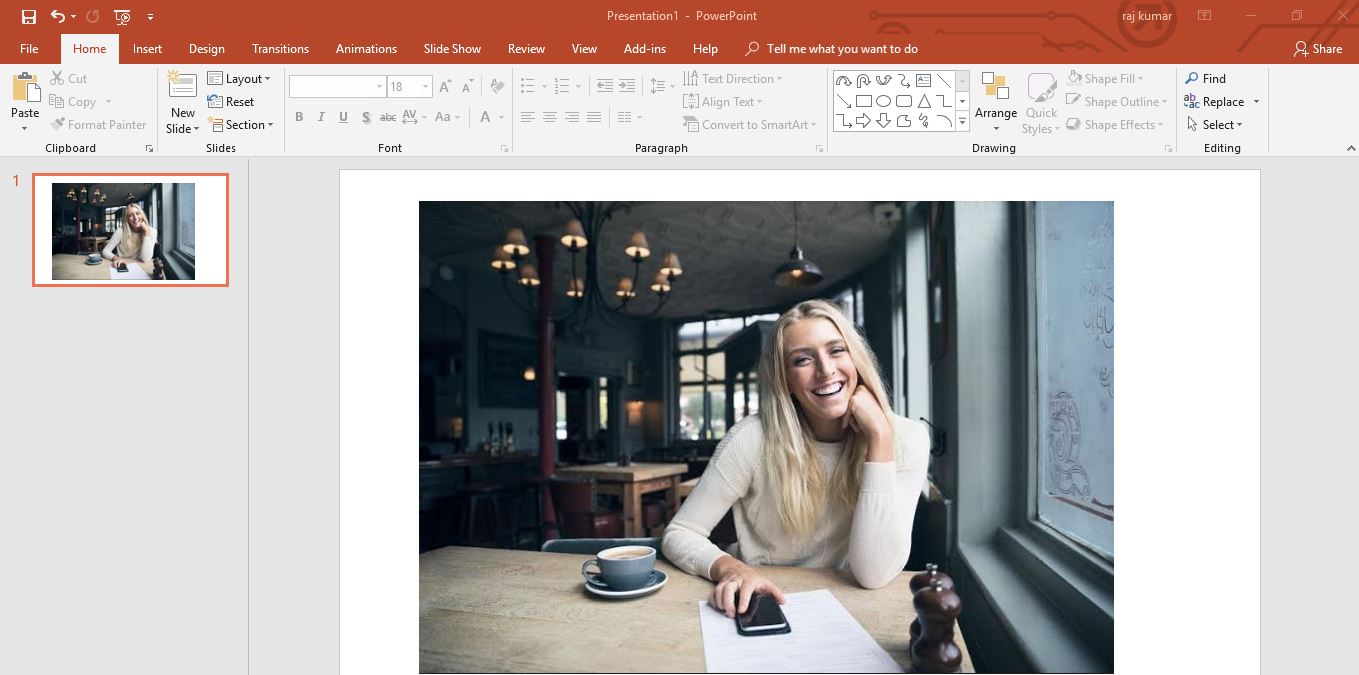
Step 1: Import or Copy -Paste the image.
You can import your picture that you need to edit in powerpoint by two ways either go to Insert-> click on Pictures and import the image from the computer to Powerpoint or just copy the image and directly past it by right-clicking and selecting the Paste option or just CTRL+V.
Step 2: Get the Snipping Tool
Now Window 7/8/10 all have one tool to snip the part of anything appears on your computer desktop- called Snipping Tool. You can get it by typing Snipping in the Windows search box. If you are on Mac OS then you can use some other tool for performing this.

Step 3: Snip the part of the picture you want to blur.
Just for tutorial purpose, here we are going the blur the face of the women appearing in the image of ours. It is a common requirement of anybody who is dealing with pictures in a slide. So, with a help of snipping tool, we have snippet out the lady’s face to perform the blur.

Step 4: Apply the Blur effect
Now click on the snippet part of the photo to select it. After that just go to Format Tab given on menu ribbon of the Powerpoint. Select it and go to Artistic effect, click on that and select the Blur effect.
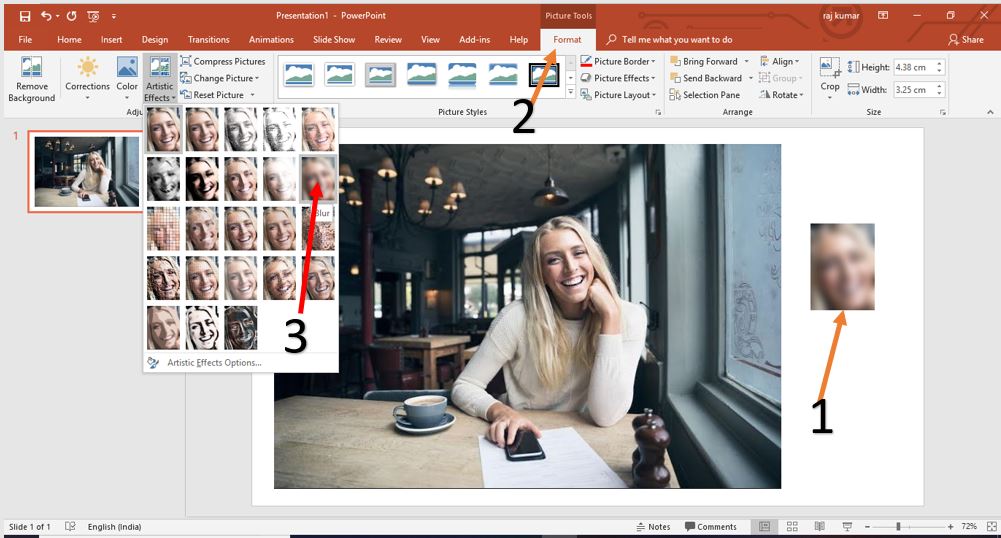
Step 5: Place the Blur part over the right position in the photo.
So as I said, here we are trying to blur the face of this pretty lady. So, just drag and place it over her face to match and give it a natural effect.

Step 6: Use the Soft edge effect to make the blur more presentable.
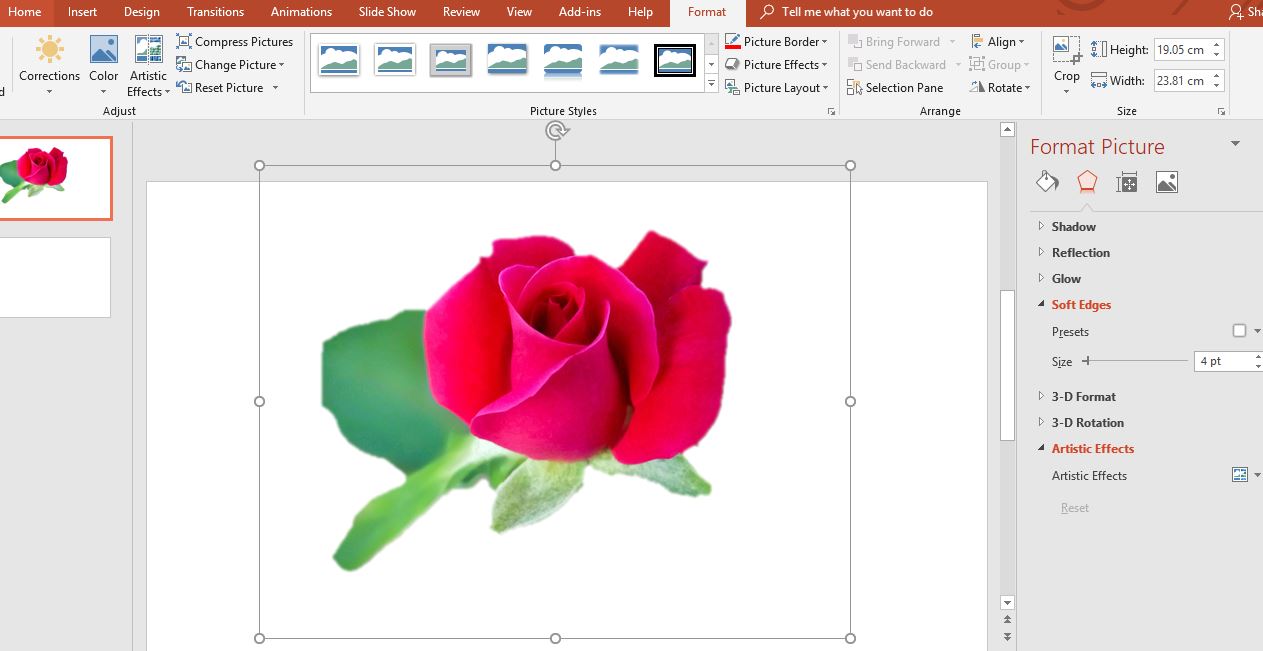
To access the Soft edge, first of all, click on the blur part of the image and then go to Format Tab-> Picture -> Effects and Soft Edges->Soft Edges options.
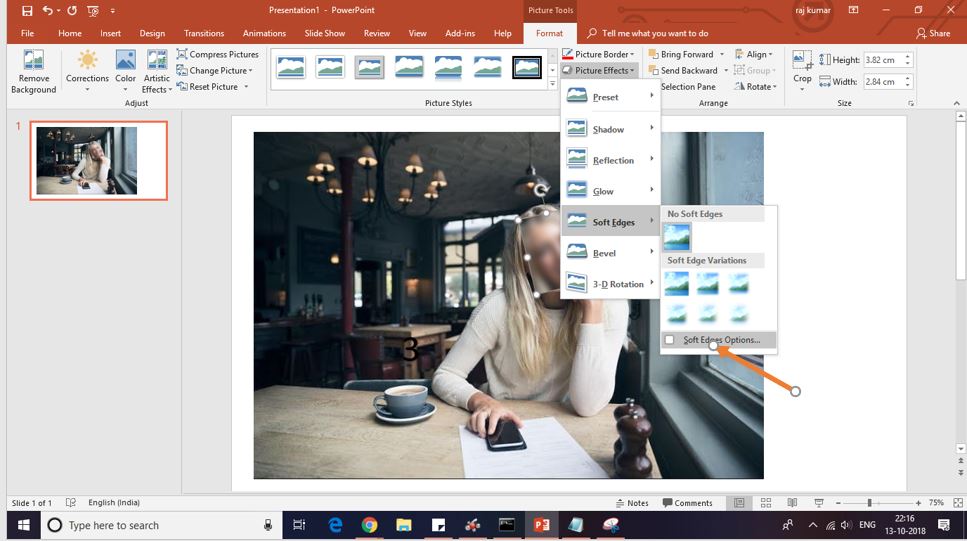
Step 7: Apply the Soft edges effect strength
On the right side, you find the Format picture options in which click on the Soft edges and use Size slide to adjust the strength of the Soft Edges effect. For increasing the Blur effect in order to decrease the transparency of the image uses the Radius slide given under the Artistic effect.

How to Blur Text in the Powerpoint
To blur the text just you need to first select that text and then paste it as an image on the slide of powerpoint where exactly you want the Blur text. After that click on your text image and then go to Format tab-> Artistic tab and select blur effect. And you got your text blur. If you want to increase or decrease the blurriness then you can follow the same steps we performed above in this tutorial.


How to blur the background of an image in Powerpoint
To blur the background in powerpoint either you can follow the steps we used above to blur the part of the image. In which just first paste the image then use the blur tool and then again past the same image over it and send it back. However, for this, you need to play around your image a little bit. OR you can use the method given below.
In this method, first, we remove the background from the image and then we use the blur tool.
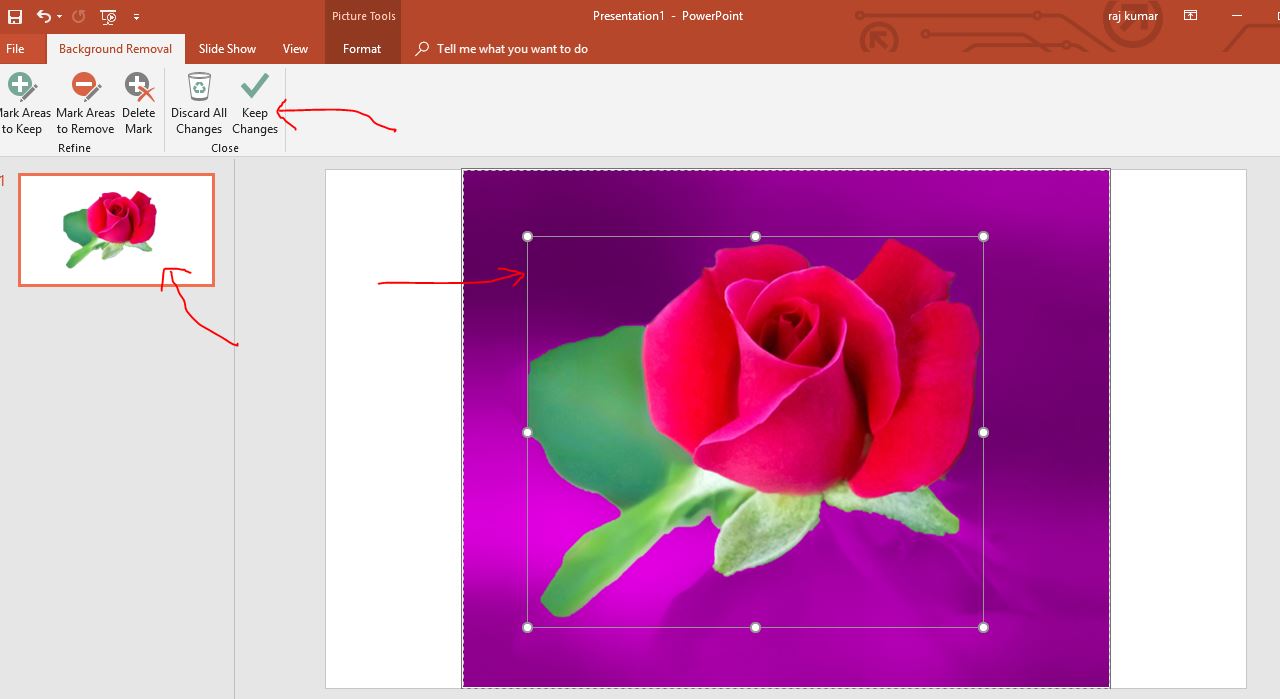
Step 1: Paste the image in the Powerpoint slide. Click on the Format Tab and then select the Remove Background option.

Step 2: The Powerpoint Remove Background tool will automatically identify the subject and background. However, you can use maximize or minimize the marked area using the mouse pointer to exactly get subject out of the background. You can also see the preview in the image given on the left side. Once you ensure that everything is OK, click on the Keep changes option. In this way, you can remove the background from the image in the Powerpoint.
Step 3: Click on the image and go to Format Tab-> Picture Effect->Soft Edges and use it to soften the Edges of the photo.
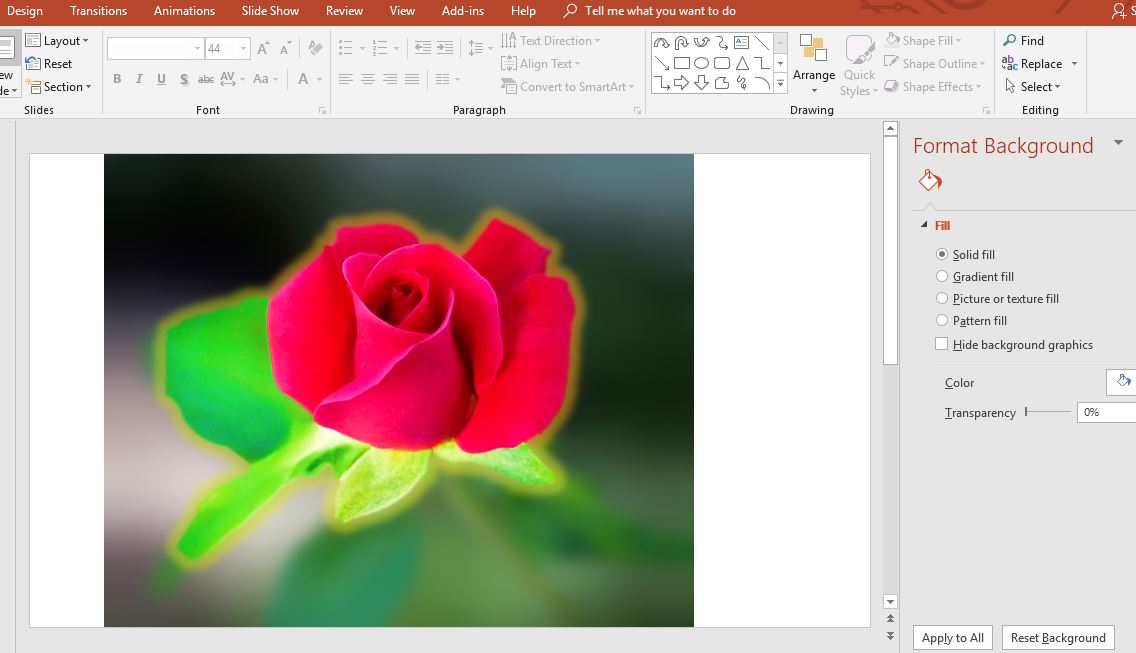
Step 4: Again paste the original image of the same we edited above. And use the Blur option given under the Format Tab-> Artistic Effects->Blur effect to blur the original image. Once you applied the blur effect on that, go to the image carved out from the background; in our case, it is a flower. Now right click on it and select the option Bring front.

Step 5: Now use the mouse and move the image exactly on the blurred image where it has to be. Now the background is totally blurred while the subject of the image remains in focus. You can also play with Artistic and other effects to give a unique touch to your picture.
Step 6: Once you have done. Just right-click on the image select the option Save as Picture.
In case you have any confusion or doubt you can tell us, the comments section is all yours!!
Other Useful Tutorials and Articles
- Use the Bokeh Effect in Snapseed Camera Editing App
- Blur out part of a picture on Instagram (Android &iPhone)
- Use AfterFocus App to Blur the Photo Background in Android
Related Posts
How to do hanging indents on Google Slides presentation on the web
How to embed a YouTube video in a Google Slides presentation
How to get the mirror image or water reflection of a text on Microsoft Word
How to show sheets from Microsoft Excel to PowerPoint presentation
How to add offline or online videos to a Microsoft PowerPoint presentation
How to create a flowchart in Microsoft Office Word and PowerPoint