Splunk is a great free tool that we can install on our Debian 12 server to use its web interface for searching, monitoring, and analyzing machine-generated data. In short, Splunk is a security, information, and event management software (SIEM for short).
It understands machine data as well as the texts that people have created. Machine data is the information (unstructured data) that is generated during the operation of various systems (computers, mobile devices, network components, security appliances, measuring devices, etc.).
Hence, this tool is quite valuable if you are dealing with big data, or need insight into your machine data for IT operations, security, and compliance.
Although the hardware requirement for a single enterprise Splunk instance is not basic, users need x86 64-bit with 12 physical CPU cores or 24 vCPU at 2Ghz or greater speed per core and 12GB RAM. However, for learning purposes, we can go for a system with comparatively fewer resources as well.
Let’s start with the steps for installing Splunk on Debian 12 server:
1. Download Splunk Free
Well, as we download Splunk, it will be with a trial period of 60 days that includes all the Enterprise features to use but with limitations. However, once the trial period is completed, the license will automatically converted to a forever free license, of course, but with limited features. Also, the free version will only be allowed to index 500 MB per day, there will be no searching; bulk loading of large data sets allows only 2 times within 30 days. Know more about a free license.
To install Splunk on Debian, the developers of this platform offer Deb binary that can easily be downloaded from the official website (link). But to get the executable binary, the user must create a free Splunk account with a business email address.
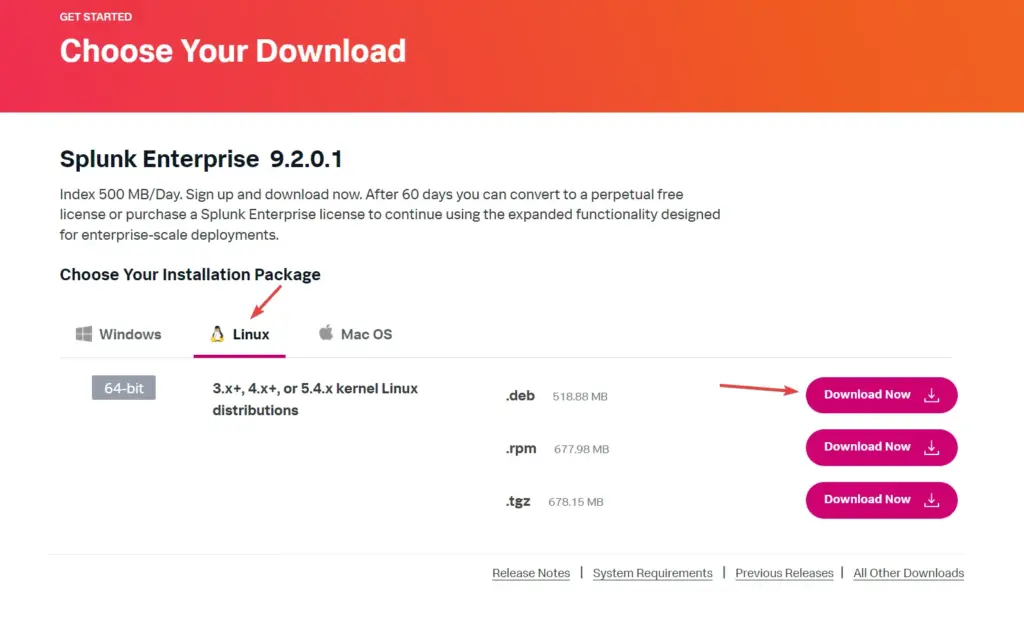
On the Download page, select Linux and then click on the “.Deb” download button. Whereas, those who want to install it on some remote server can copy the Wget link given there on the next page opens after clicking the Download button.
You can paste the Wget command line link in the terminal to directly download the Debian binary on the system instead of via the browser.
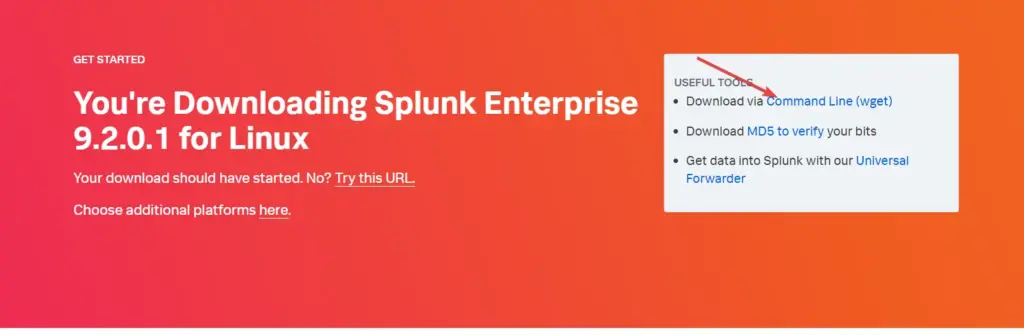
For example: while doing this article the latest version was 9.2.01, and to get it via the command line the command was:
wget -O splunk-9.2.0.1-d8ae995bf219-linux-2.6-amd64.deb "https://download.splunk.com/products/splunk/releases/9.2.0.1/linux/splunk-9.2.0.1-d8ae995bf219-linux-2.6-amd64.deb"Note: If you don’t have “wget” already then to get it use – sudo apt install wget
2. Installing Splunk on Debian 12
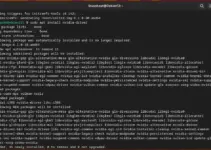
With the Debian executable of Splunk downloaded on our Debian system, we can start the process. Simply on your command terminal navigate to the directory where you have saved the downloaded file, if you are not already there. After that, execute the given command:
sudo dpkg -i splunk-*-amd64.debIf you face any permission error then use chmod 644 splunk-*-amd64.deb
3. Enable Boot Start
Once the installation is completed, let’s configure the Splunk to automatically start with system boot. For that run the given command in your terminal.
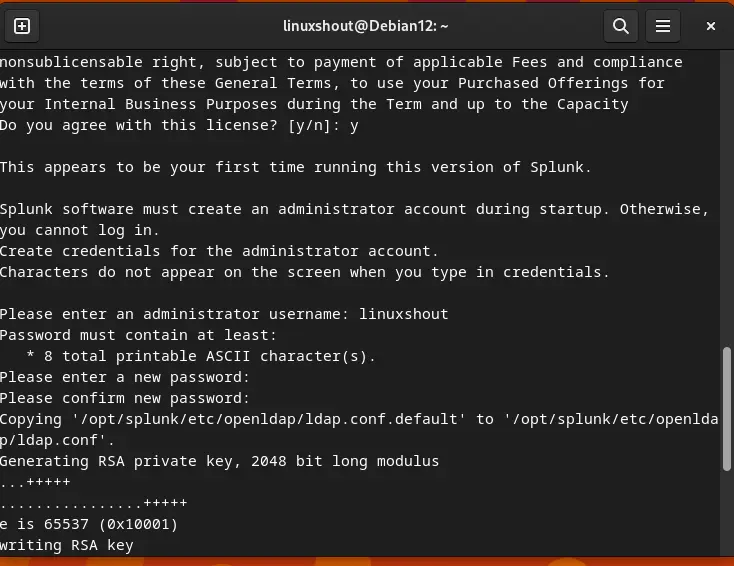
sudo /opt/splunk/bin/splunk enable boot-startThe system will ask you to accept the license, press ‘q‘ and then press the ‘Y‘ key and hit the Enter button.
After that create Admin user and password to access Splunk Web interface.
4. Start and Enable Splunk Service
The service of Splunk will not start automatically after completing the installation process, we need to do that manually. So, use the given commands and not only start the Splunk server but also enable it:
sudo systemctl start splunksudo /lib/systemd/systemd-sysv-install enable splunkTo check the status:
sudo systemctl status splunk5. Spunk Web interface
Now, that this data analytical platform is ready, let’s access its web interface at localhost:8000. In contrast, the users who want to access Splunk Dashboard on some remote system, need to open port 8000 in the system firewall. For that run:
sudo ufw allow 8000
Note: If you get a command not found then first enable UFW, here is the article on it: Install and Configure UFW on Debian
After that:
For remote system browsers – http://your-server-ip:8000
For Local system browser- http://localhost:8000
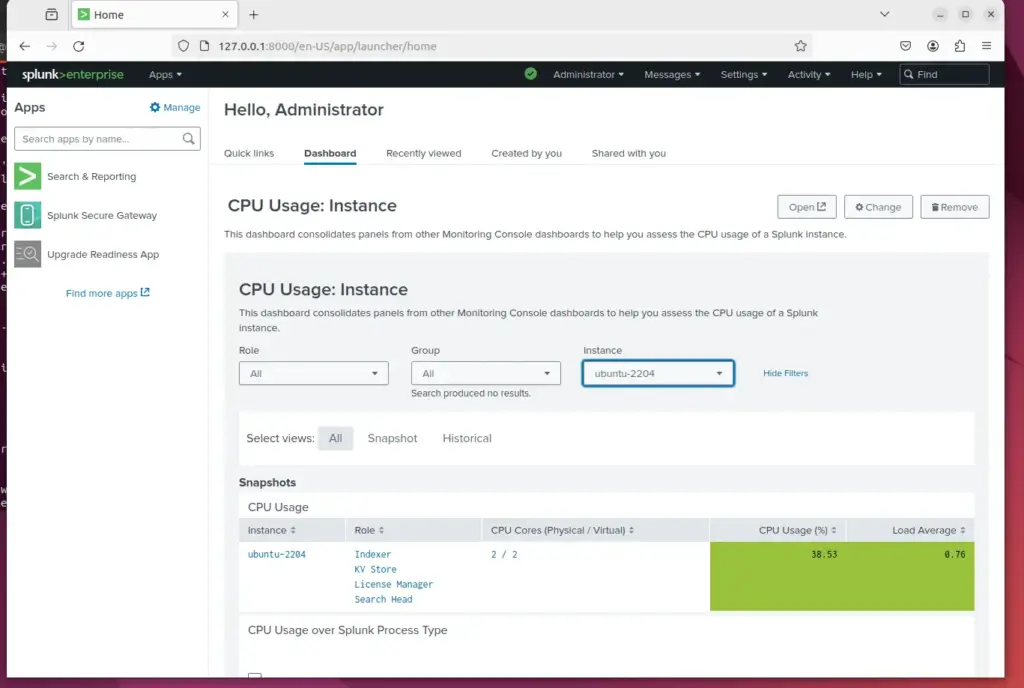
6. Dashboard
Finally, you have the Splunk on your Debian or Ubuntu system, now click on Add Data to integrate the source of Data for analysis.
Uninstall Splunk Enterprise (optional)
sudo /opt/splunk/bin/splunk disable boot-start
sudo apt remove splunk
You can refer to the official Splunk documentation to know more…