Teamviewer is a cross-platform remote desktop application that can be installed in Ubuntu 20.04/18.04 or Debian Linux easily using the command line. Apart from Linux, we can use it on Windows 10/7, macOS, ChromeOS, Android, or iOS.
It is a completely free remote desktop access software for personal usage that allows us to connect and use some other person’s computer. It is completely safe because connecting a remote computer requires a User ID and Passcode generated on that PC. Furthermore, the user doesn’t have to perform any changes in the system’s firewall.
This means your and remote, both the computer must have Team viewer installed then only the communication will be possible. Most of the time, people use this software for remote maintenance of PCs via the Internet. The best thing, you can also watch and monitor your computer screen to know what the other person is doing.
Installing Team viewer on Windows 10, 8, or 7 is not a difficult task, however, those are new to Linux then you would face some problems as this remote desktop tool is not available in the official package repository list of Ubuntu 20.04, 18.04, or earlier versions.
Steps to install TeamViewer on Ubuntu 20.04 using Terminal
We are going to use a pure command method to set up this free Remote Access & Support tool, the steps are applicable for Ubuntu 20.10/19.04/18.04/17.04/16.04 including Linux Mint, Debian, ElementaryOS, Deepin, Zorin, and other similar operating systems of Linux as well.
Open Command Terminal
As we are using the command line method, then of course we need to access the terminal first. You can run it from the Applications, however, the shortcut for Ubuntu to open Terminal is CTRL+ALT+T.
Get GPG Key
To make sure whatever the packages we will download and install for Team Viewer will be authentic and from the original source, thus, we add the GPG key.
wget -O - https://download.teamviewer.com/download/linux/signature/TeamViewer2017.asc | sudo apt-key add -
Add TeamViewer Repository on Ubuntu 20.04
Although we can directly download the Debian package from the official website of Team Viewer, for that we need to access the browser. Then the tutorial will lose its meaning of complete command based. Thus, we add repo using the below command:
sudo apt-add-repository "deb http://linux.teamviewer.com/deb stable main"
Other Repos to use if you want a preview or development version of the software.
# deb http://linux.teamviewer.com/deb preview main
# deb http://linux.teamviewer.com/deb development main
Run system update command
To let the system recognize the added repository, we have to run the system update command, it will flush and rebuild the repo cache.
sudo apt update
Command to Install TeamViewer Linux
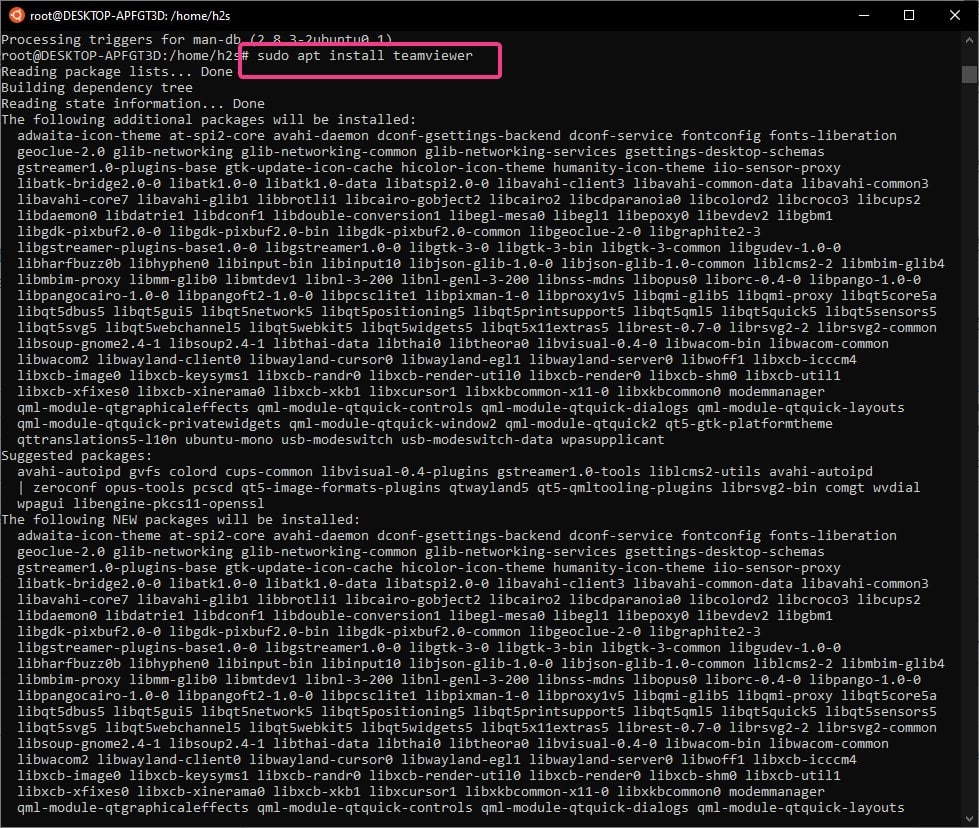
Finally, everything is ready, now we can install this software using a single command. Also, in the future, if there are some updates available for Linux TeamViewer, the simple system update command will update the software as well. Nothing special needs to do.
sudo apt install teamviewer
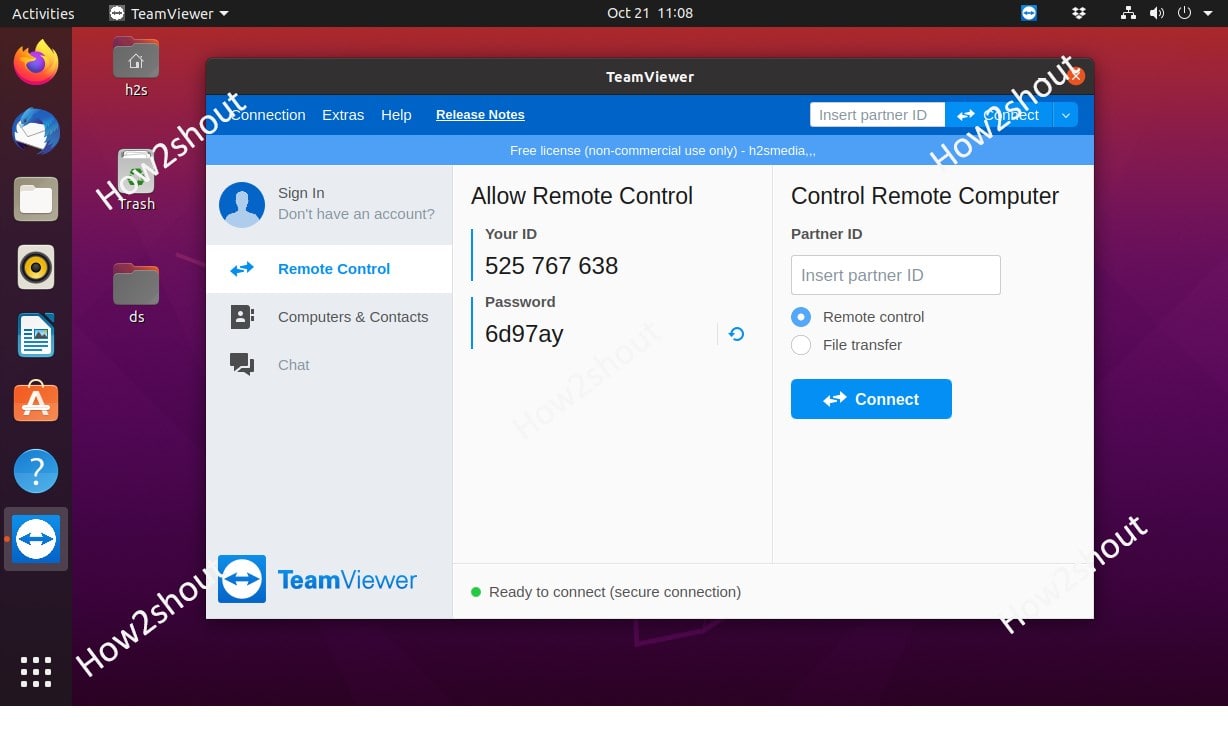
Run this Free Remote Desktop tool
To access the TeamViewer, go to all applications, and click on its icon.


An EXCELLENT JOB !!!
Your instruction and especially the “Copy Me” function made the whole install procedure as good as it gets.
Thank You