CodeIgniter which follows the Model-View-Controller (MVC) pattern is an open-source PHP web application framework that facilitates rapid web development. It provides a set of libraries, helpers, and tools to simplify common web development tasks. This web-based framework is also known for its lightweight and user-friendliness hence a good choice for building dynamic web applications and websites.
Some of the key features CodeIgniter offers are MVC architecture, a small footprint, built-in libraries, various security features; and multiple database support including MySQL, PostgreSQL, SQLite, and more. Further, its excellent documentation, flexibility, active developer community, and ecosystem make it easily manageable for new users as well. This also means you can find a wealth of tutorials, plugins, and third-party libraries to extend its functionality.
The tutorial is not just limited to Ubuntu to install CodeIgniter but even can be used on Debian and other Linux systems as well.
Step 1: Update Ubuntu 22.04 or 20.04 Server Package List
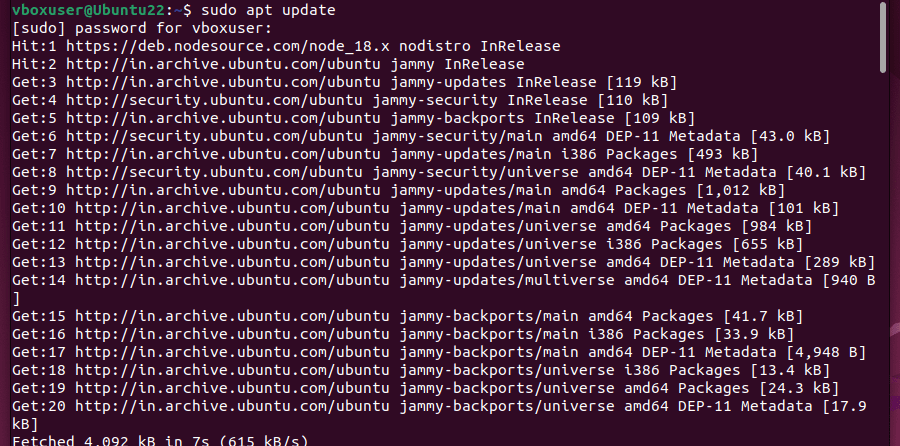
Access the command terminal on your server or Desktop directly or using SSH with a user that has sudo rights on the system. After that, first, run the system update command to update the available packages and refresh the APT index cache.
sudo apt update
Step 2: Install Apache Web Server & PHP
CodeIgniter is a PHP-based Framework, so we need to configure the PHP language on our Ubuntu 22.04. Whereas to serve it via the web Apache HTTP server is required. So, in this step, we install both.
sudo apt install apache2Install PHP along with the necessary extensions. The default version of PHP available on Ubuntu 22.04 through its repository was PHP 8.1
sudo apt install php php-{cli,mysql,gd,xml,curl,zip,redis,intl,imap,mbstring}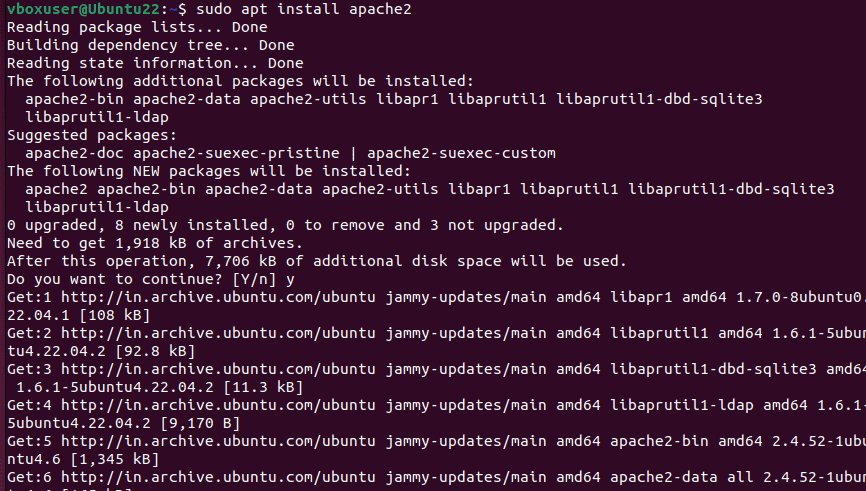
Step 3: Install Composer
After setting up the PHP, next we need the Composer. It is a dependency management tool that helps users install the various PHP packages and libraries required by their projects. So, here we also need it to install the required dependencies by our CodeIgniter.
Download Composer
curl -sS https://getcomposer.org/installer -o composer-setup.phpInstall Composer globally:
sudo php composer-setup.php --install-dir=/usr/local/bin --filename=composerTo check Composer availability, run:
compser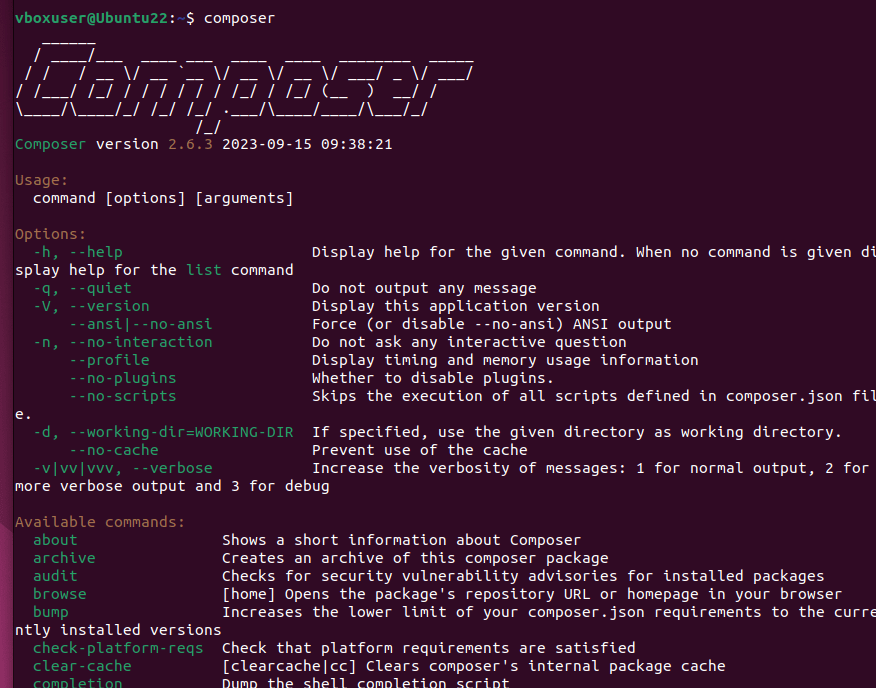
Step 4: Download and install CodeIgniter on Ubuntu 22.04
Navigate to your Apache web server’s root directory:
cd /var/www/htmlDownload the CodeIgniter project using Composer:
Note: You can replace “mycodeigniterapp” with whatever name you want to give to your project if you need to.
sudo composer create-project codeigniter4/appstarter mycodeigniterapp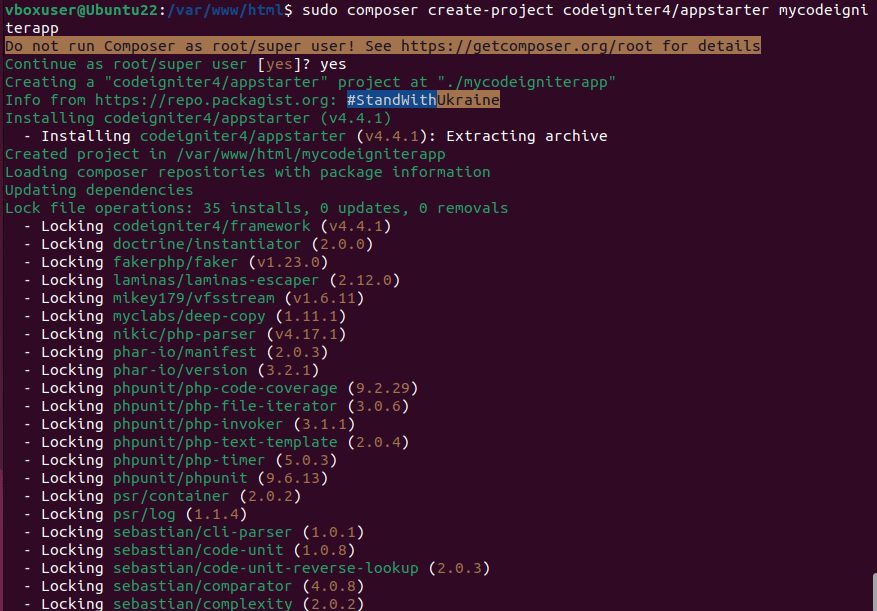
Step 5: Create an Apache configuration file for CodeIgniter
To serve the Codeigniter from our specific domain, if you are hosting multiple websites on the same Apache server, create an Apache virtual host configuration file for CodeIgniter. Here are the steps to follow:
sudo nano /etc/apache2/sites-available/codeigniter.confAdd the following lines in it:
Note: Replace “mycodeigniterapp” in the below code block with your app project name, if you have used something different than we have.
<VirtualHost *:80>

ServerName yourdomain.com

DocumentRoot /var/www/html/mycodeigniterapp/public


<Directory /var/www/html/mycodeigniterapp>

AllowOverride All

</Directory>


ErrorLog ${APACHE_LOG_DIR}/error.log

CustomLog ${APACHE_LOG_DIR}/access.log combined


</VirtualHost>
Replace yourdomain.com with the one you want to use for CodeIgniter. Alternatively, you can leave it as it is and use the server IP address to access it initially.
Save the file by pressing Ctrl+X, type Y, and then hit the Enter key.
Step 6: Set Permissions
Ensure that Apache has the necessary permissions to access your CodeIgniter files so that they can be accessible by the Apache web user.
sudo chown -R www-data:www-data /var/www/html/mycodeigniterappsudo chmod -R 755 /var/www/html/mycodeigniterappNote: Don’t forget to replace “mycodeigniterapp” if you have used something else while creating the app using Composer.
Step 7: Enable Apache Rewrite Module
Enable the Apache Rewrite module, which is required for CodeIgniter’s URL rewriting:
sudo a2enmod rewriteNow, disable the default Apache configuration and enable the CodeIgnitor one.
Disable:
a2dissite 000-default.confEnable:
a2ensite codeigniter.confRestart Apache:
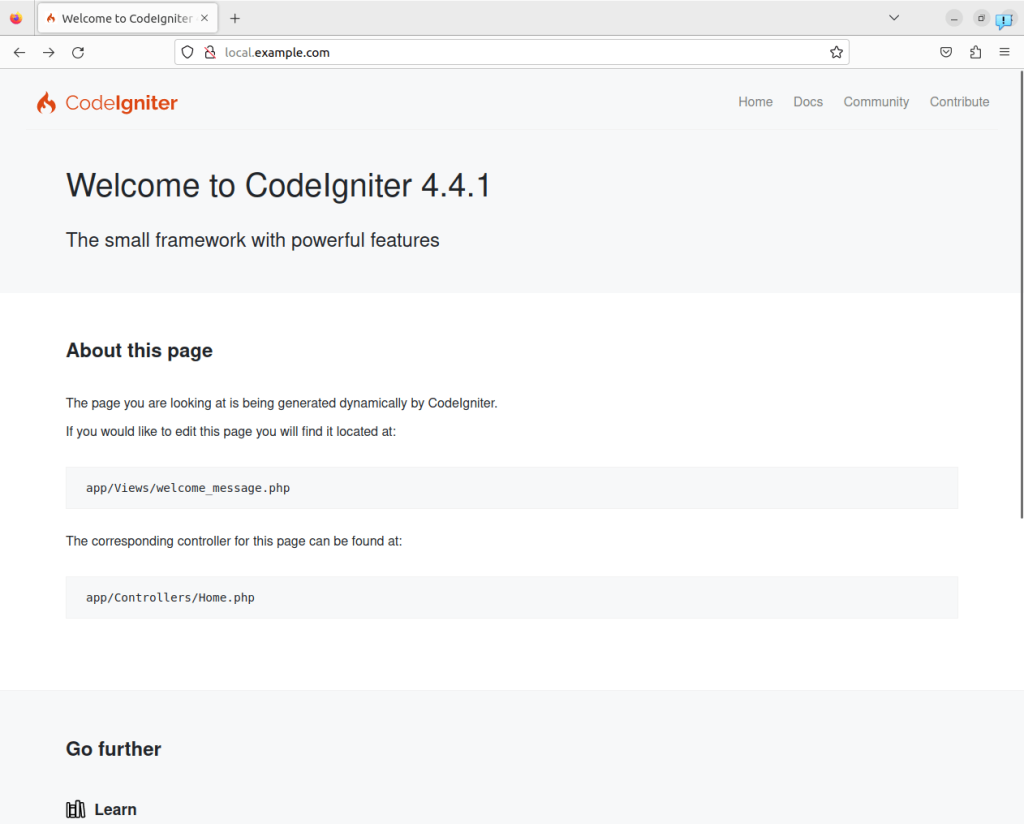
sudo systemctl restart apache2Step: Access Your CodeIgniter Application
We have successfully configured our CodeIgniter Application, now to access it, open your system browser and point it to the app by entering your server’s IP address or the domain name where CodeIgniter has been configured.
That’s it! we’ve installed and configured CodeIgniter on Ubuntu 22.04 Linux. From here you can start developing your web applications using the CodeIgniter framework.
(optional) Configure Database for CodeIgniter
If your project needs MySQL/MariaDB Database to store data, then in this step we learn how to install and configure that for CodeIgniter.
Install MariaDB:
sudo apt install mariadb-serversudo systemctl enable --now mariadbSecure your installation by running and following the text-based wizard offered by the given command:
sudo mysql_secure_installationHere are a few questions the above command will ask to answer…
Switch to unix_socket authentication [Y/n] y
Change the root password? [Y/n]: Y
Remove anonymous users? [Y/n] y
Disallow root login remotely? [Y/n] y
Remove the test database and access to it? [Y/n] y
Reload privilege tables now? [Y/n] y
Login MariaDB server
sudo mysql -u root -pCreate Database
CREATE DATABASE mycodeigniterdb;
CREATE USER 'mycodeigniteruser'@'localhost' IDENTIFIED BY 'password';
GRANT ALL PRIVILEGES ON mycodeigniterdb.* TO 'mycodeigniteruser'@'localhost';
FLUSH PRIVILEGES;
EXIT;
Note: Replace ‘mycodeigniterdb’ with your desired database name and ‘mycodeigniteruser’ with your preferred username and password.
Add the Database details in the CodeIgniter configuration file to set up your database connection. Open the database configuration file:
sudo nano /var/www/html/mycodeigniterapp/app/Config/Database.phpUpdate the database settings with the database name, username, and password you set earlier.
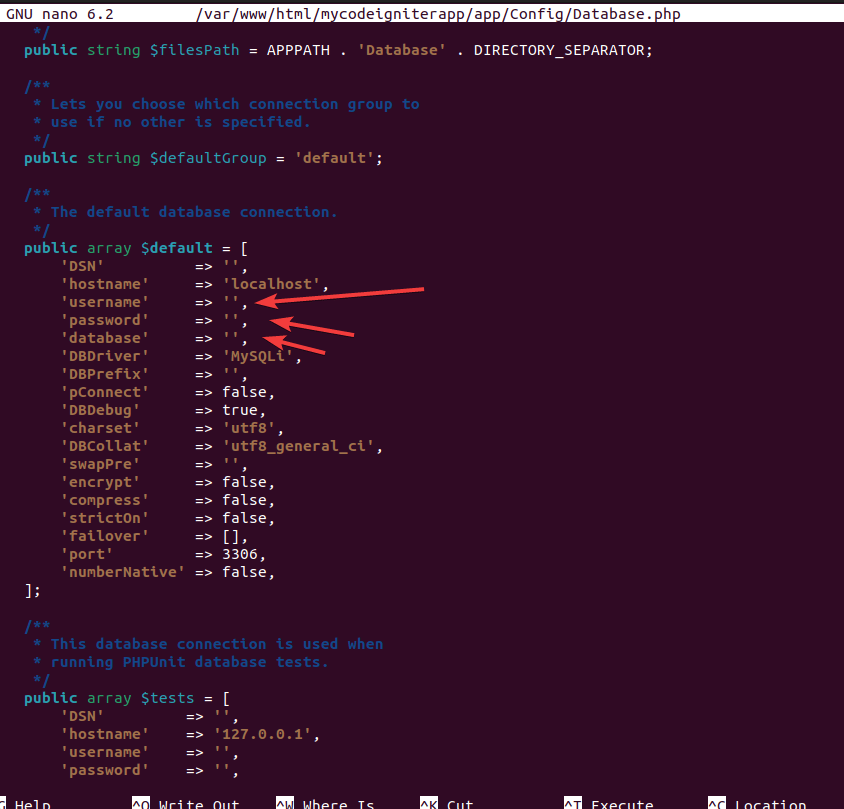
After that save the file using Ctlr+X, Y and pressing the Enter key.
So, these are the quick steps you can follow on your Ubuntu 22.04 Linux or any other you are using for the installation of CodeIgniter.
Other Articles:


